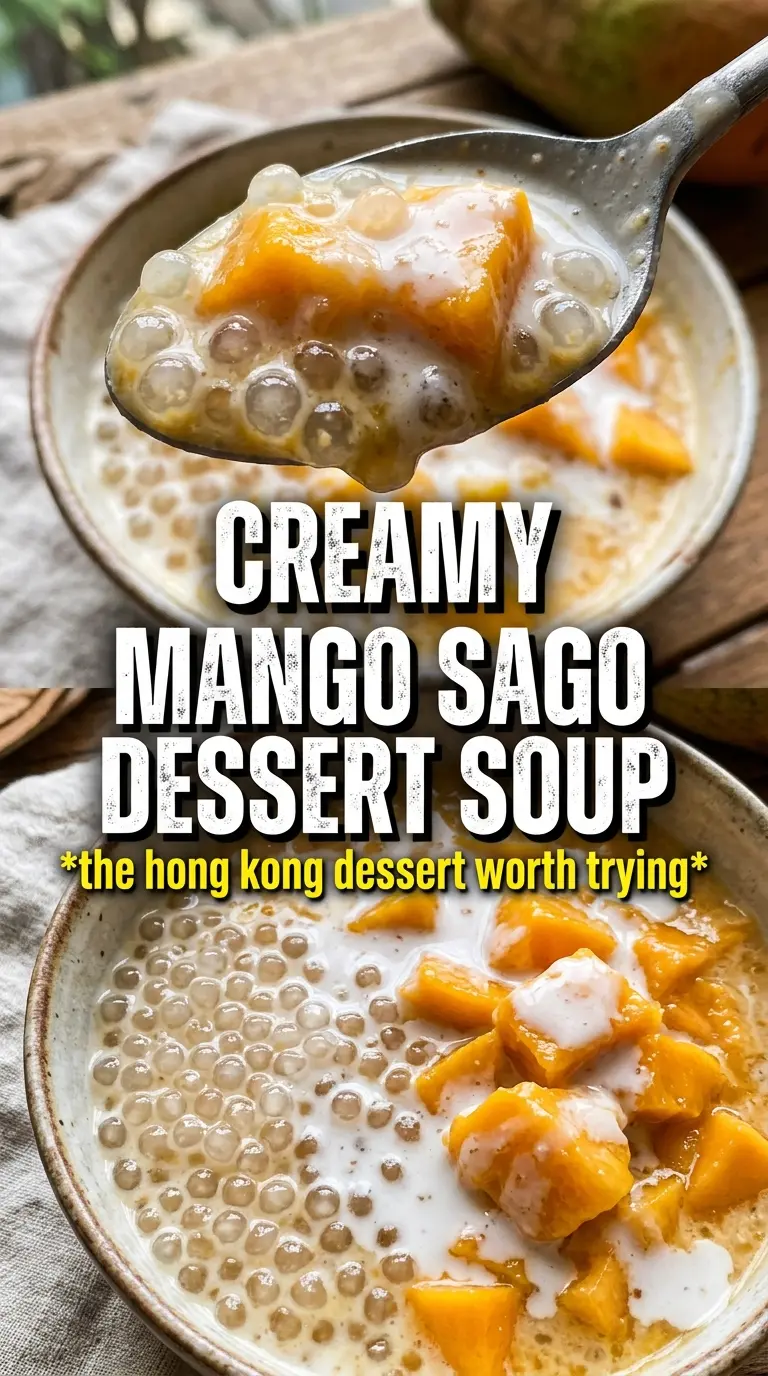
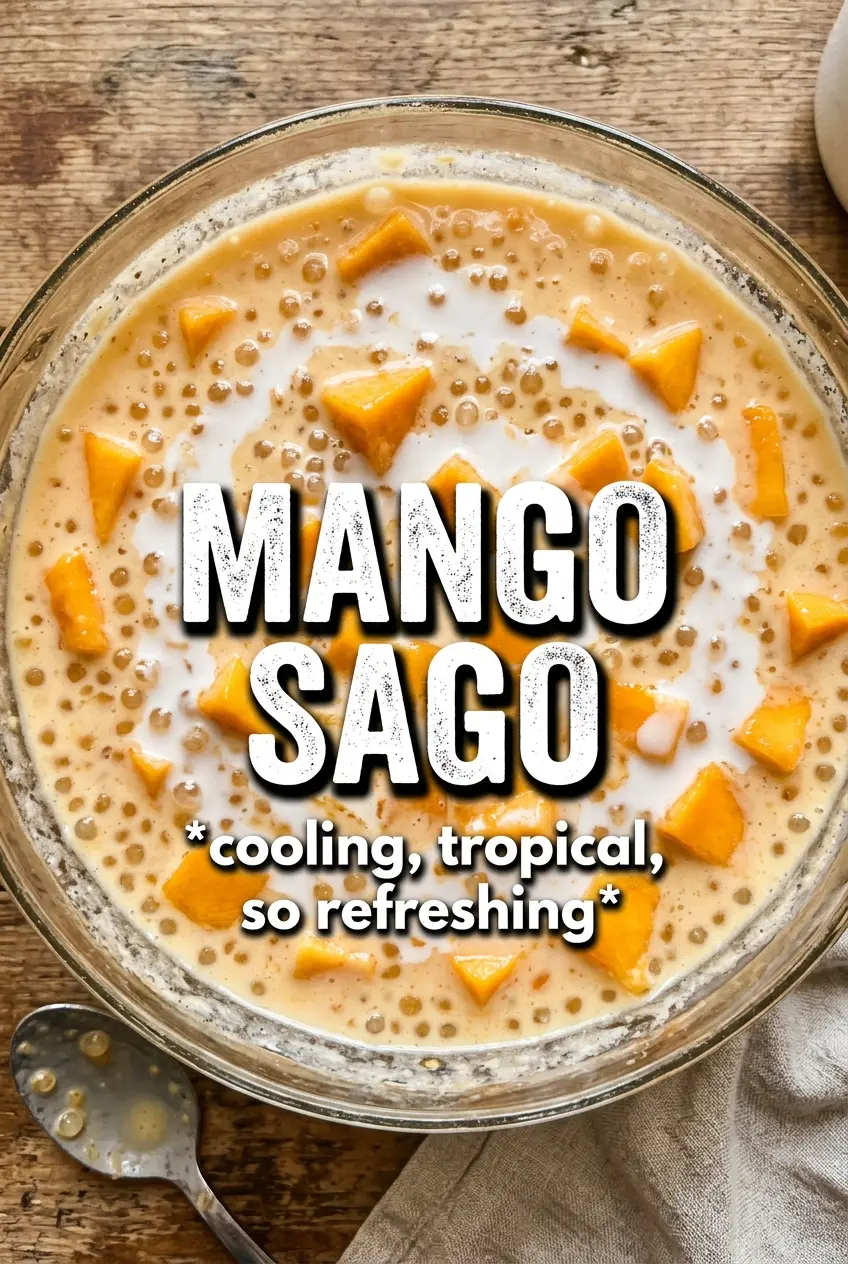
Mango sago lands with that soft, slurpy contrast that keeps you going back for another spoonful: creamy coconut mango base, chewy little tapioca pearls, and bright cubes of fresh fruit on top. The best bowls taste like ripe mango first and finish cool, silky, and lightly sweet, with enough texture to keep the dessert from feeling flat.
What makes this version work is balance. The mango puree gets blended with full-fat coconut milk for body, then just enough condensed milk and sugar to round out the fruit without burying it. Cooking the sago until the centers turn translucent, then rinsing it well, keeps the pearls from turning gummy or clouding the whole dessert. Once it chills, the mixture thickens slightly and the flavors settle into each other.
Below, I’ve included the small details that matter most: how to keep the tapioca tender, what to do if your mangoes aren’t perfectly sweet, and a few ways to adjust the richness depending on how you like to serve it.
The sago stayed pleasantly chewy after chilling, and the coconut-mango mixture thickened up just enough without turning heavy. My mangoes were a little tart, so the condensed milk was perfect.
Mango sago with silky coconut milk and chewy tapioca is even better chilled, so it’s worth making ahead.
The Part That Keeps Mango Sago Creamy Instead of Gluey
The biggest mistake with sago desserts is rushing the pearls. If they go into the mango base while they’re still hot, they keep swelling and can make the whole bowl feel heavy and sticky. Cooking them until the centers are translucent, then rinsing them cold, stops that carryover texture and gives you pearls that stay tender after chilling.
The other thing that matters is the mango itself. A ripe, fragrant mango makes the puree taste bright and round without needing much sugar; an under-ripe one turns the whole dessert flat and grassy. If your fruit isn’t sweet enough, use the condensed milk as the adjustment, not more coconut milk, because you want richness without thinning the flavor.
What Each Ingredient Is Actually Doing in This Recipe
- Primary ingredient (the star) — Quality matters most. Choose the best you can find.
- Cooking medium (oil, butter, or broth) — This carries flavors and prevents dryness.
- Seasonings (salt, pepper, spices, herbs) — Layer flavors so nothing overpowers. Build depth gradually.
- Aromatics (garlic, onion, herbs) — Cook with fat to bloom flavors. Become the foundation.
- Supporting ingredients — Complement the main ingredient without overpowering it.
- Sauce or liquid (if applicable) — Brings flavors together. Balance richness with acid.
- Acid (lemon, vinegar, wine, or other) — Brightens and prevents flat-tasting results.
- Final finish (garnish, glaze, or sauce) — Prevents one-dimensional taste and adds visual appeal.
What Each Ingredient Is Actually Doing Here
- Small tapioca pearls — These give the dessert its signature chew. Use the small kind here; larger pearls need a different cooking time and won’t blend into the soft, spoonable texture this recipe is aiming for.
- Ripe mangoes — One gets blended into the base and the second stays in cubes for texture and contrast. Ataulfo, Honey, or any deeply fragrant mango works well; if your mango is fibrous, strain the puree after blending for a smoother finish.
- Full-fat coconut milk — This brings body and a mellow richness that light coconut milk can’t match. The fat helps the puree taste lush instead of watery, so this is one ingredient I wouldn’t downgrade.
- Condensed milk — This is more than sweetness. It softens the mango’s acidity and gives the chilled dessert a little dairy-like roundness, which is why it works better than just adding extra sugar.
- Whole milk — A small amount loosens the coconut base so it pours cleanly and doesn’t feel heavy. If you want a dairy-free version, replace it with more coconut milk or a neutral unsweetened oat milk, but expect a slightly richer, denser result.
How to Build the Bowl So the Texture Stays Light
Cooking the Sago Until It Turns Clear
Bring a large pot of water to a strong boil and add the tapioca pearls, stirring often so they don’t clump on the bottom. They should look opaque at first, then gradually turn translucent with only a tiny white center left before the heat comes off. If you stop too early, the middle stays chalky; if you overcook them by a lot, they lose that springy chew. Drain and rinse them under cold water until the surface starch is gone and the pearls separate easily.
Blending the Mango Base
Blend one mango with the coconut milk, sugar, condensed milk, and whole milk until completely smooth. Stop and scrape down the blender if any mango chunks cling to the sides, because a silky base is what makes the dessert feel polished instead of pulpy. Taste it before you add the sago. If the mango is a little flat, add a touch more condensed milk; if it’s already very sweet, leave it alone so the fruit still tastes fresh.
Chilling and Serving
Stir the cooled sago into the mango mixture, then chill the bowl for at least an hour. The mixture thickens slightly in the fridge, and the pearls finish setting into that ideal soft-chewy texture. Serve it cold with diced mango on top and a mint leaf if you want a clean finish. If it sits too long at room temperature, the coconut base loosens and the sago gets softer, so don’t let it hang around once it’s plated.
Three Ways to Adjust Mango Sago Without Losing the Point
Dairy-Free Mango Sago
Swap the whole milk for more coconut milk or an unsweetened oat milk. Coconut milk keeps the dessert cohesive and rich, while oat milk makes it a little lighter but still creamy. Don’t use a strongly flavored plant milk or you’ll lose the clean mango flavor.
Lighter-Sweet Version
Cut the sugar back or skip it entirely if your mangoes are peak-ripe and fragrant. The dessert will taste fruitier and less custard-like, which is great if you like a sharper mango finish. Keep the condensed milk unless the fruit is exceptionally sweet, because it helps the coconut base stay balanced.
Make It Vegan
Replace the condensed milk with sweetened coconut condensed milk or a spoonful of maple syrup and extra coconut milk. The texture will still be creamy, but the flavor will lean a little more tropical and less milky. Taste after chilling, because cold desserts read less sweet than warm ones.
Make-Ahead Dessert Cups
Portion the sago into glasses before chilling, then top with fresh mango right before serving. This keeps the garnish bright and stops the fruit from bleeding color into the cream. It also gives you a cleaner, more restaurant-style presentation with almost no extra work.
Storage and Reheating
- Refrigerator: Store for up to 2 days. The sago keeps soaking up liquid, so the dessert will thicken as it sits.
- Freezer: I don’t recommend freezing it. The coconut base separates and the tapioca turns unpleasantly firm after thawing.
- Reheating: Don’t reheat this dessert. Serve it chilled straight from the fridge. If it gets too thick, stir in a splash of milk or coconut milk to loosen it before serving.
Questions I Get Asked About This Recipe
Mango Sago
Ingredients
Equipment
Method
- Bring a large pot of water to a rolling boil, then cook the small tapioca pearls (sago) for 12-15 minutes, stirring often, until translucent. When done, drain and rinse with cold water, then set aside to prevent sticking.
- Puree one mango with the full-fat coconut milk, granulated sugar, condensed milk, and whole milk in a blender until completely smooth. Scrape down as needed so the mixture is fully uniform and silky.
- Dice the second mango into small cubes, then stir them into the mango-coconut mixture with the cooked sago pearls. Mix until the pearls are evenly distributed and coated.
- Refrigerate the mixture for at least 1 hour until chilled and cool throughout, then serve in bowls or glasses. Top with fresh mango cubes and a mint sprig right before eating.