Peas with pancetta is one of those side dishes that disappears before the rest of dinner hits the table. The peas stay sweet and bright, the pancetta turns crisp and salty, and the whole skillet finishes with just enough butter and lemon to make it taste polished instead of plain. It’s fast, but it doesn’t taste thrown together.
The key is building the flavor in stages. Pancetta renders its fat first, which gives the shallot and garlic a savory base without needing a heavy sauce. Frozen peas work beautifully here because they cook quickly and keep their fresh snap as long as you stop as soon as they turn vivid green. A little broth keeps everything glossy, and the butter at the end rounds out the edges without making the dish feel rich in a heavy way.
If you’ve only had peas as an afterthought, this version changes that fast. Below, I’ve included the one timing detail that keeps the peas tender, plus a few smart swaps if you need to adapt what you have on hand.
The peas stayed bright and sweet, and the pancetta got perfectly crisp without turning chewy. I loved the little hit of lemon at the end — it kept the butter from feeling heavy.
Save these peas with pancetta for a fast Italian side with crisp pancetta, sweet peas, and fresh mint.
The Reason the Peas Stay Sweet Instead of Going Flat
The mistake with a skillet pea dish is treating the peas like they need long cooking. They don’t. Frozen peas are already blanched, so the job here is to warm them through and coat them with the pancetta fat and broth before they lose their snap. If they sit in the pan too long, they turn dull and muddled instead of tasting clean and sweet.
The other thing that matters is the order. Pancetta first, then shallot, then garlic, then peas. That gives you layers of flavor without burning the garlic or steaming the pancetta after it’s crisp. If the pan looks dry before the peas go in, the broth loosens everything and helps carry the butter and lemon zest across the whole dish.
What Each Ingredient Is Actually Doing in This Skillet
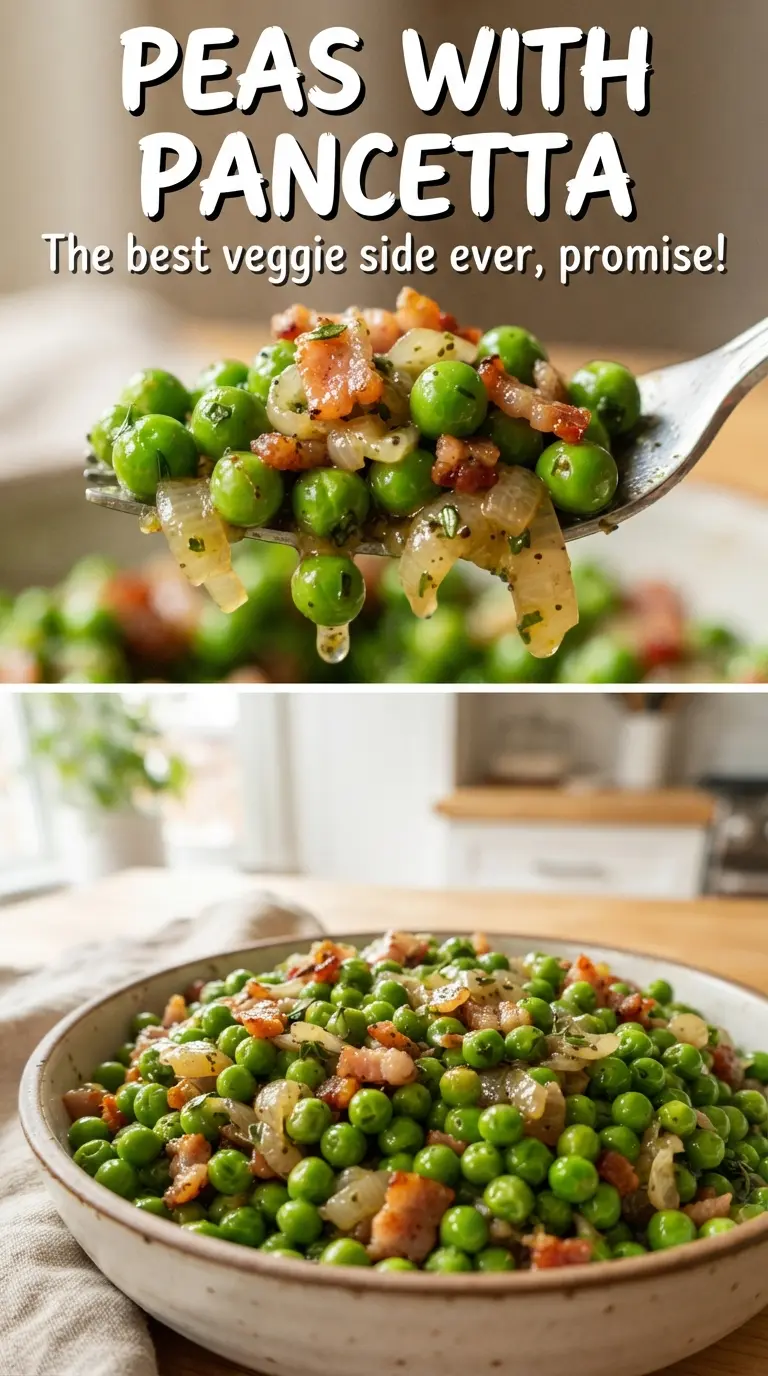
- Pancetta — This is the backbone of the dish. It gives you salty depth and rendered fat for cooking the shallot and garlic. If you swap in bacon, the flavor gets smokier and a little louder, which is good, but it won’t taste as clean and Italian.
- Frozen sweet peas — Frozen peas are the right choice here because they’re picked and frozen at peak sweetness. Fresh peas work if you’ve got them, but they’ll need a little more attention and usually a bit longer to cook. Don’t thaw the frozen peas first; they go into the pan straight from the freezer.
- Chicken broth — This keeps the skillet from feeling greasy and gives the peas a light savory gloss. Water works in a pinch, but the dish tastes flatter. Use low-sodium broth if your pancetta runs salty, which most of them do.
- Butter and lemon zest — Butter smooths out the edges at the end, while lemon zest lifts the whole pan so it doesn’t taste heavy. Add them off the heat or at the very end so the zest stays fragrant instead of getting cooked out.
- Mint or parsley — Mint gives the dish a fresh, springy finish that works beautifully with peas. Parsley is the safer, more neutral backup. Chop it just before serving so it stays bright.
How to Build the Skillet So Nothing Turns Greasy or Limp
Rendering the Pancetta Properly
Start the pancetta in olive oil over medium heat and give it time to crisp slowly. You want the fat to melt out and the cubes to turn deeply golden, not just browned on the outside. If the heat is too high, the outside scorches before the fat has a chance to render, and the final texture turns chewy instead of crisp.
Softening the Shallot Without Browning It
Once you remove half the pancetta for topping, add the shallot to the same pan and cook it in the rendered fat until it softens. It should look translucent and smell sweet, not browned. Garlic goes in for just 30 seconds after that; any longer and it picks up bitterness fast.
Warming the Peas Through Fast
Add the peas and broth together and cook just until the peas are hot and bright green. You’re not reducing a sauce here. You’re using the broth to carry the pancetta flavor and keep the peas glossy, so once the liquid mostly clings to the vegetables, move on. Overcooking is the main reason this dish loses its charm.
Finishing with Butter, Zest, and Herbs
Stir in the butter and lemon zest at the end, then season with salt and pepper. The butter should melt into a light sheen rather than pool in the bottom of the pan. Scatter the reserved pancetta and fresh mint over the top right before serving so the contrast between crisp, warm, and fresh still shows up on the plate.
How to Adapt This Pan of Peas for Different Tables
Make It Gluten-Free Without Changing the Texture
This recipe is naturally gluten-free as long as your chicken broth is certified gluten-free. That’s the only ingredient that can quietly trip people up. The texture stays the same because the dish doesn’t rely on flour or breadcrumbs for body.
Use Bacon Instead of Pancetta
Bacon works if that’s what you have, but it brings smoke and sweetness that pancetta doesn’t. Use a thinner-cut bacon and watch the salt level at the end, since bacon broth and fat are usually more assertive. The dish will taste a little more rustic and a little less delicate.
Make It Vegetarian
Skip the pancetta and use olive oil plus a little extra butter or a vegetarian butter substitute. Add a pinch of smoked salt or a few finely chopped olives if you want back some of the savory depth. The result will be lighter and less meaty, but the peas will still taste bright and balanced.
Storage and Reheating
- Refrigerator: Store in an airtight container for up to 3 days. The peas will soften a little, but they still hold up well.
- Freezer: I don’t recommend freezing this one. The peas lose their texture and the pancetta turns soft after thawing.
- Reheating: Warm gently in a skillet over low heat just until hot. High heat will make the peas wrinkled and the pancetta rubbery.
Questions I Get Asked About This Recipe
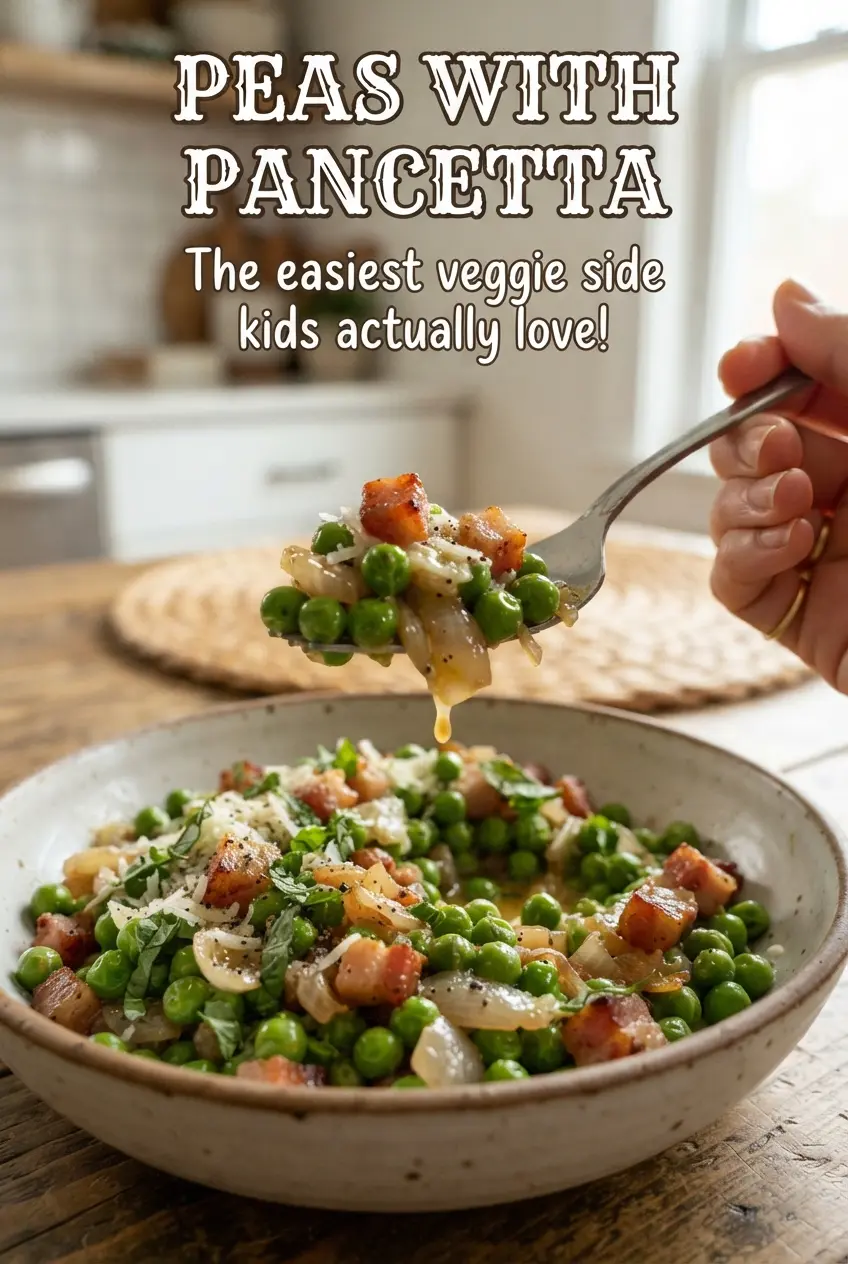
Peas with Pancetta
Ingredients
Equipment
Method
- Heat olive oil in a skillet over medium heat and cook pancetta for 6-8 minutes until crisp; remove half for topping and keep the rest in the skillet.
- Add minced shallot and cook for 2 minutes until softened, then stir in minced garlic for 30 seconds.
- Add frozen sweet peas and chicken broth, then cook for 4-5 minutes until peas are bright green and hot.
- Stir in butter and lemon zest, then season with salt and black pepper.
- Top with the reserved pancetta and chopped fresh mint or parsley, then serve.