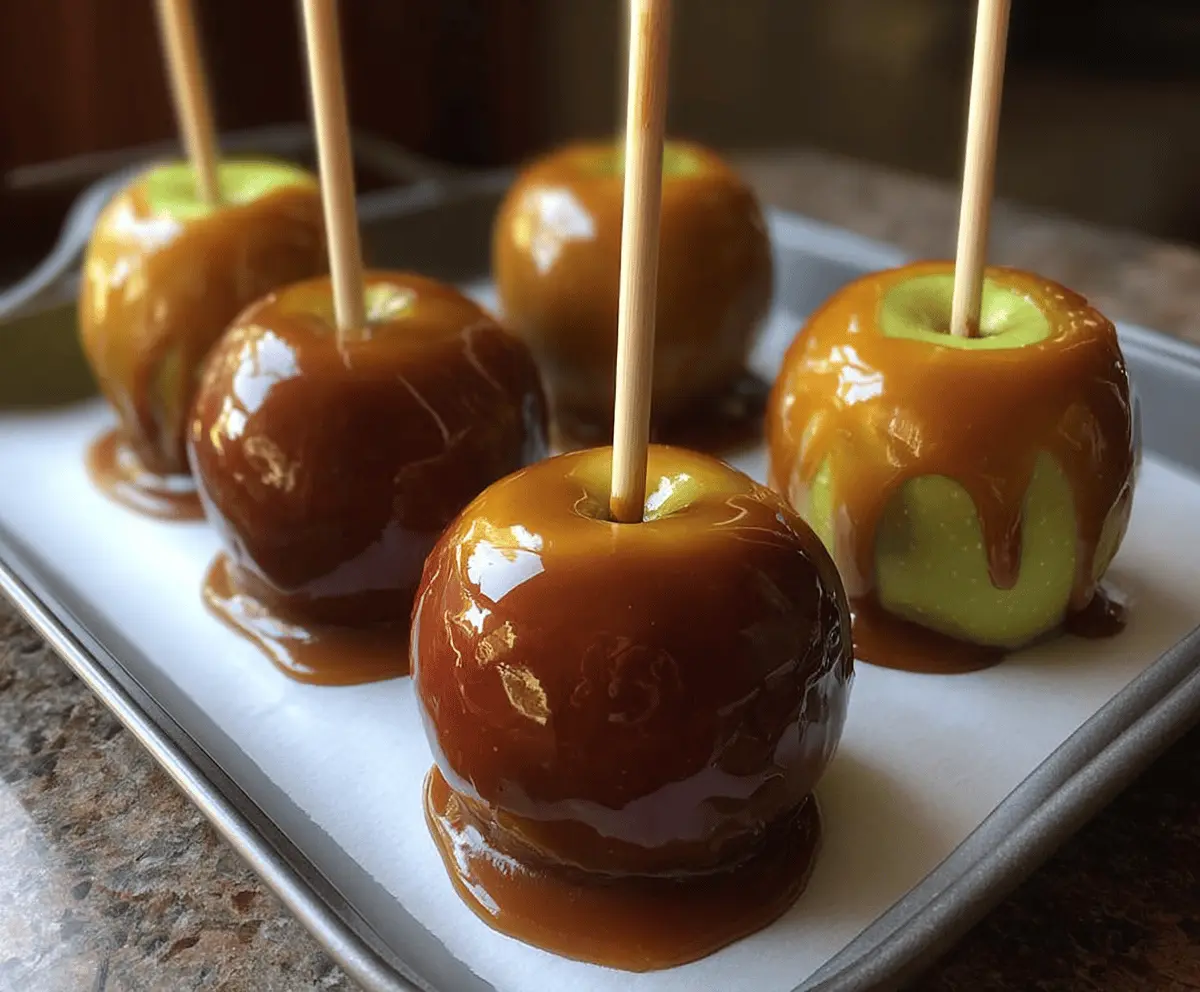
These gluten-free caramel apples are a fun treat that everyone will love! Sweet, crisp apples are coated in rich caramel, making them a perfect snack for kids and grown-ups.
Honestly, who can resist that gooey caramel? It’s like a hug for your taste buds! I love making these during fall. Just grab some apples and let the sticky fun begin!
Key Ingredients & Substitutions
Granny Smith Apples: These tart apples balance the sweetness of caramel perfectly. If you want something sweeter, honeycrisps or Fuji apples are also good alternatives!
Granulated Sugar: Make sure it’s labeled gluten-free. Coconut sugar can be used as a substitute for a different flavor, but it may not create the exact texture.
Light Corn Syrup: This helps prevent sugar from crystallizing. If you can’t find it, you can use maple syrup or a homemade syrup made from sugar and water, but the texture may vary a little.
Sweetened Condensed Milk: This is key for a creamy caramel. If you’re dairy-free, try using coconut condensed milk to keep it rich and sweet!
How Do I Ensure My Caramel Turns Out Smooth?
Making caramel can seem tricky, but it’s quite manageable with these tips:
- Use a heavy-bottomed saucepan to help distribute heat evenly.
- Stir the syrup gently until completely dissolved; avoid stirring while it cooks to prevent crystals from forming.
- Use a candy thermometer to check the temperature accurately. It helps to achieve that perfect firm-ball stage.
After adding butter and sweetened condensed milk, stir quickly but carefully. The mixture can bubble up quite a bit, so keep your distance!
And remember, patience is key! Let it cool completely on the parchment paper before enjoying. You’ll love making these at home!
Gluten Free Caramel Apples
Ingredients You’ll Need:
- 4 medium Granny Smith apples (or your preferred tart apple variety)
- 1 cup granulated sugar (ensure gluten free)
- 1/4 cup water
- 1/2 cup light corn syrup
- 1/2 cup unsalted butter
- 1/2 cup sweetened condensed milk
- 1 tbsp vanilla extract
- 1/2 tsp sea salt, plus extra for sprinkling (optional)
- Wooden sticks or skewers
- Parchment paper or silicone baking mat for cooling
Time Estimate:
This delightful recipe will take you about 15 minutes to prepare and around 30 minutes for the caramel to set. In total, you’re looking at about 45 minutes to make these delicious treats!
Step-by-Step Instructions:
1. Prepare the Apples:
Start by washing and drying the apples thoroughly. This step is important because any wax or residue can prevent the caramel from sticking. Remove the stems, and then firmly insert wooden sticks into the tops of each apple. This makes it easier to dip and enjoy later!
2. Set Up Your Cooling Station:
Next, prepare your baking sheet by lining it with parchment paper or a silicone baking mat. This will keep the caramel from sticking once it sets. Place it nearby for easy access when you dip the apples.
3. Make the Caramel:
In a medium heavy-bottomed saucepan, combine the granulated sugar, water, and light corn syrup. Heat over medium heat while stirring gently until the sugar fully dissolves. Once it’s dissolved, bring the mixture to a boil—this is where the magic happens! Avoid stirring at this point.
4. Check the Temperature:
Continue cooking until the mixture reaches 245°F (118°C) on a candy thermometer (this is called the firm-ball stage). Keep a close eye on it; it cooks fast!
5. Stir in the Creaminess:
When it reaches the target temperature, carefully remove the saucepan from the heat. Immediately stir in the unsalted butter, sweetened condensed milk, vanilla extract, and sea salt. Be careful, as the mixture will bubble up a bit. Stir until smooth and fully combined.
6. Dip the Apples:
Now comes the fun part! Dip each apple into the caramel mixture, tilting the saucepan to help coat them evenly. If necessary, use a spoon to help spread the caramel over any bare spots. Allow any excess caramel to drip back into the pan.
7. Cool the Apples:
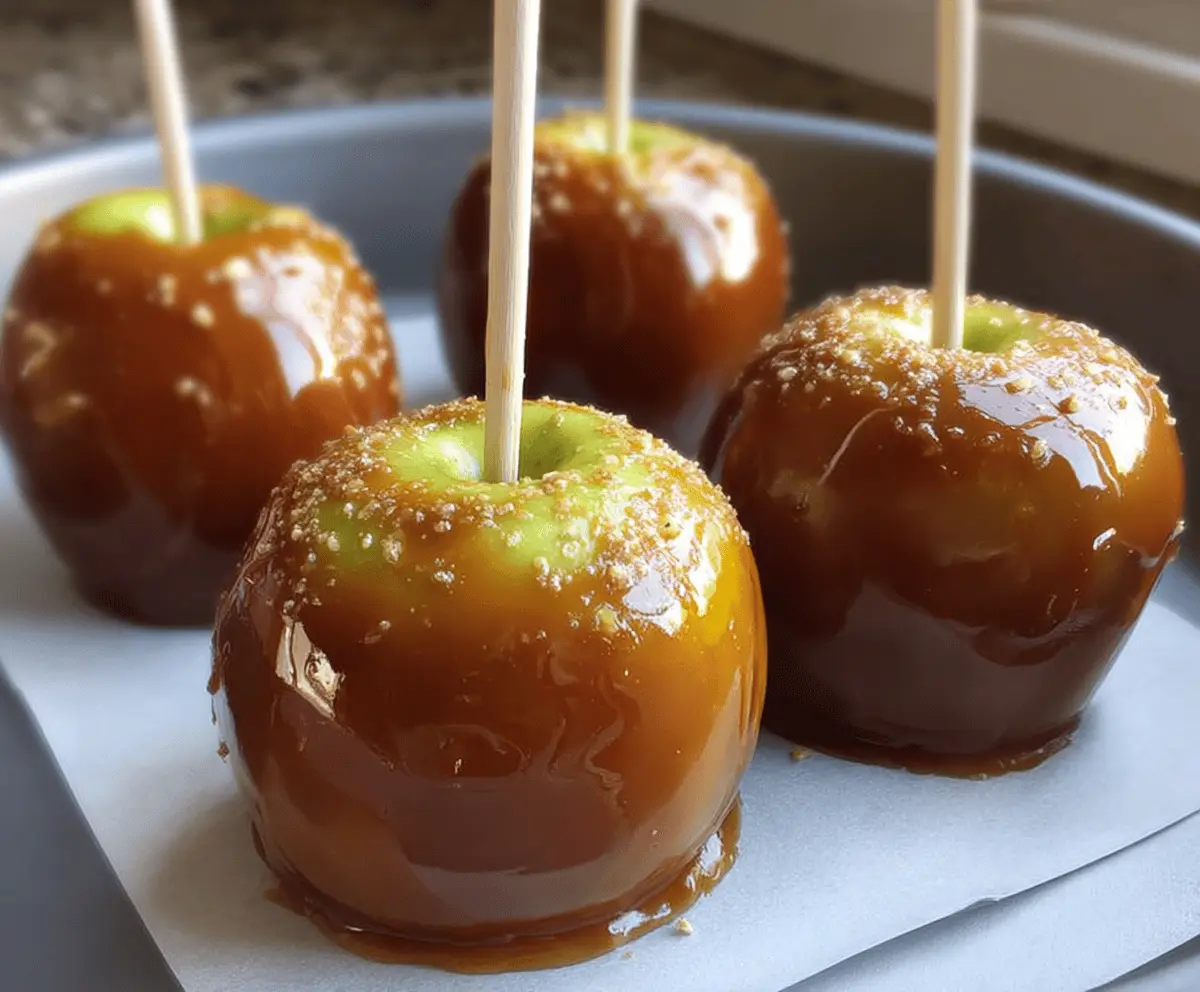
Place each caramel-covered apple onto the lined baking sheet. If you like a salted caramel flavor, sprinkle a little sea salt on top while the caramel is still warm.
8. Let Them Set:
Allow the caramel apples to cool completely at room temperature for about 30 minutes. This lets the caramel firm up nicely!
9. Store and Enjoy:
Once the apples are set, store them in a cool, dry place. For longer freshness, they can be refrigerated, but try to enjoy them within 3 days for the best texture.
Enjoy your homemade gluten free caramel apples — they’re the perfect indulgence for the fall season, and oh-so-satisfyingly sticky and sweet!
Can I Use Other Types of Apples?
Absolutely! While Granny Smith apples provide a nice tartness that pairs well with sweet caramel, you can use any apple variety you prefer, such as Honeycrisp, Fuji, or Gala. Just make sure they are firm and fresh for the best results!
Can I Make the Caramel Ahead of Time?
It’s best to make the caramel fresh for the best texture and flavor. However, if you need to prep in advance, you can prepare the caramel a few hours ahead of time and keep it warm in a slow cooker set to low. Just stir occasionally to avoid hardening.
How Long Can I Store Leftover Caramel Apples?
You can store caramel apples in a cool, dry place for up to 3 days. If you refrigerate them, make sure to place them in an airtight container to prevent the caramel from becoming sticky or runny. Just be aware that refrigeration may slightly change the texture of the caramel.
What If My Caramel Is Too Thick?
If your caramel becomes too thick, simply reheat it gently over low heat on the stove, stirring constantly until it becomes smooth and pourable again. Adding a splash of water can help loosen it up, but be cautious not to add too much or it may affect the consistency.