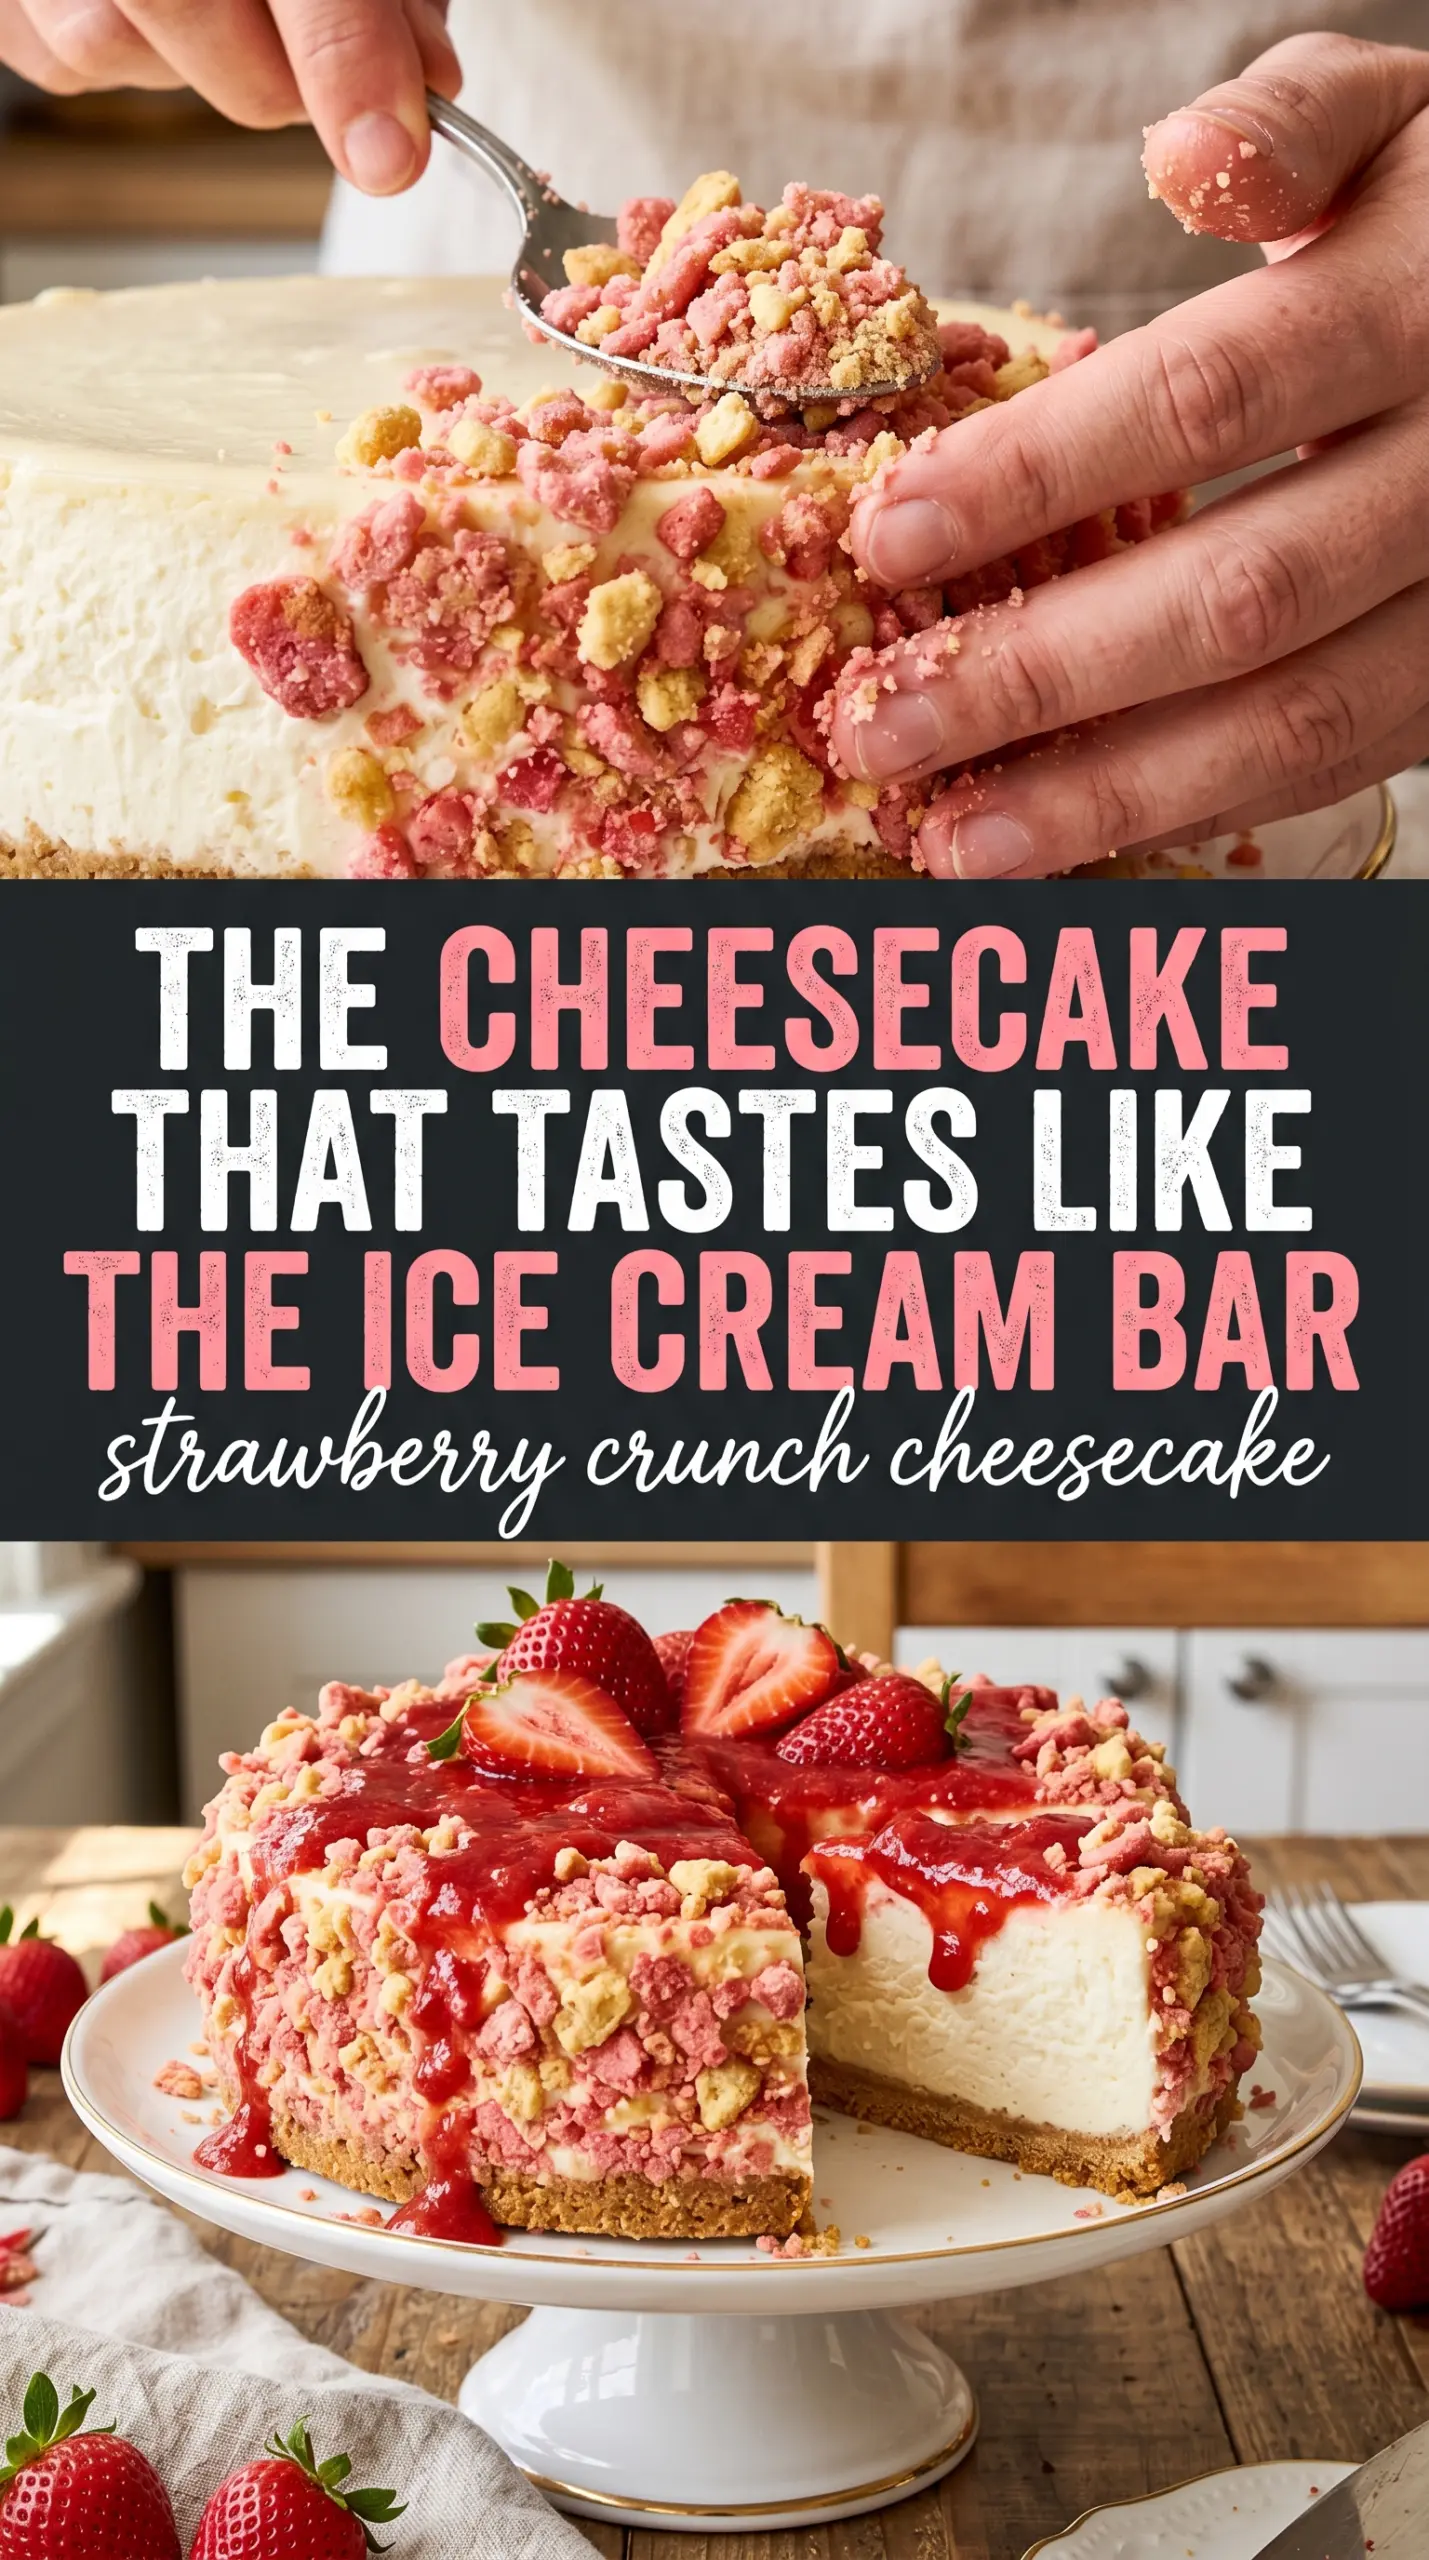
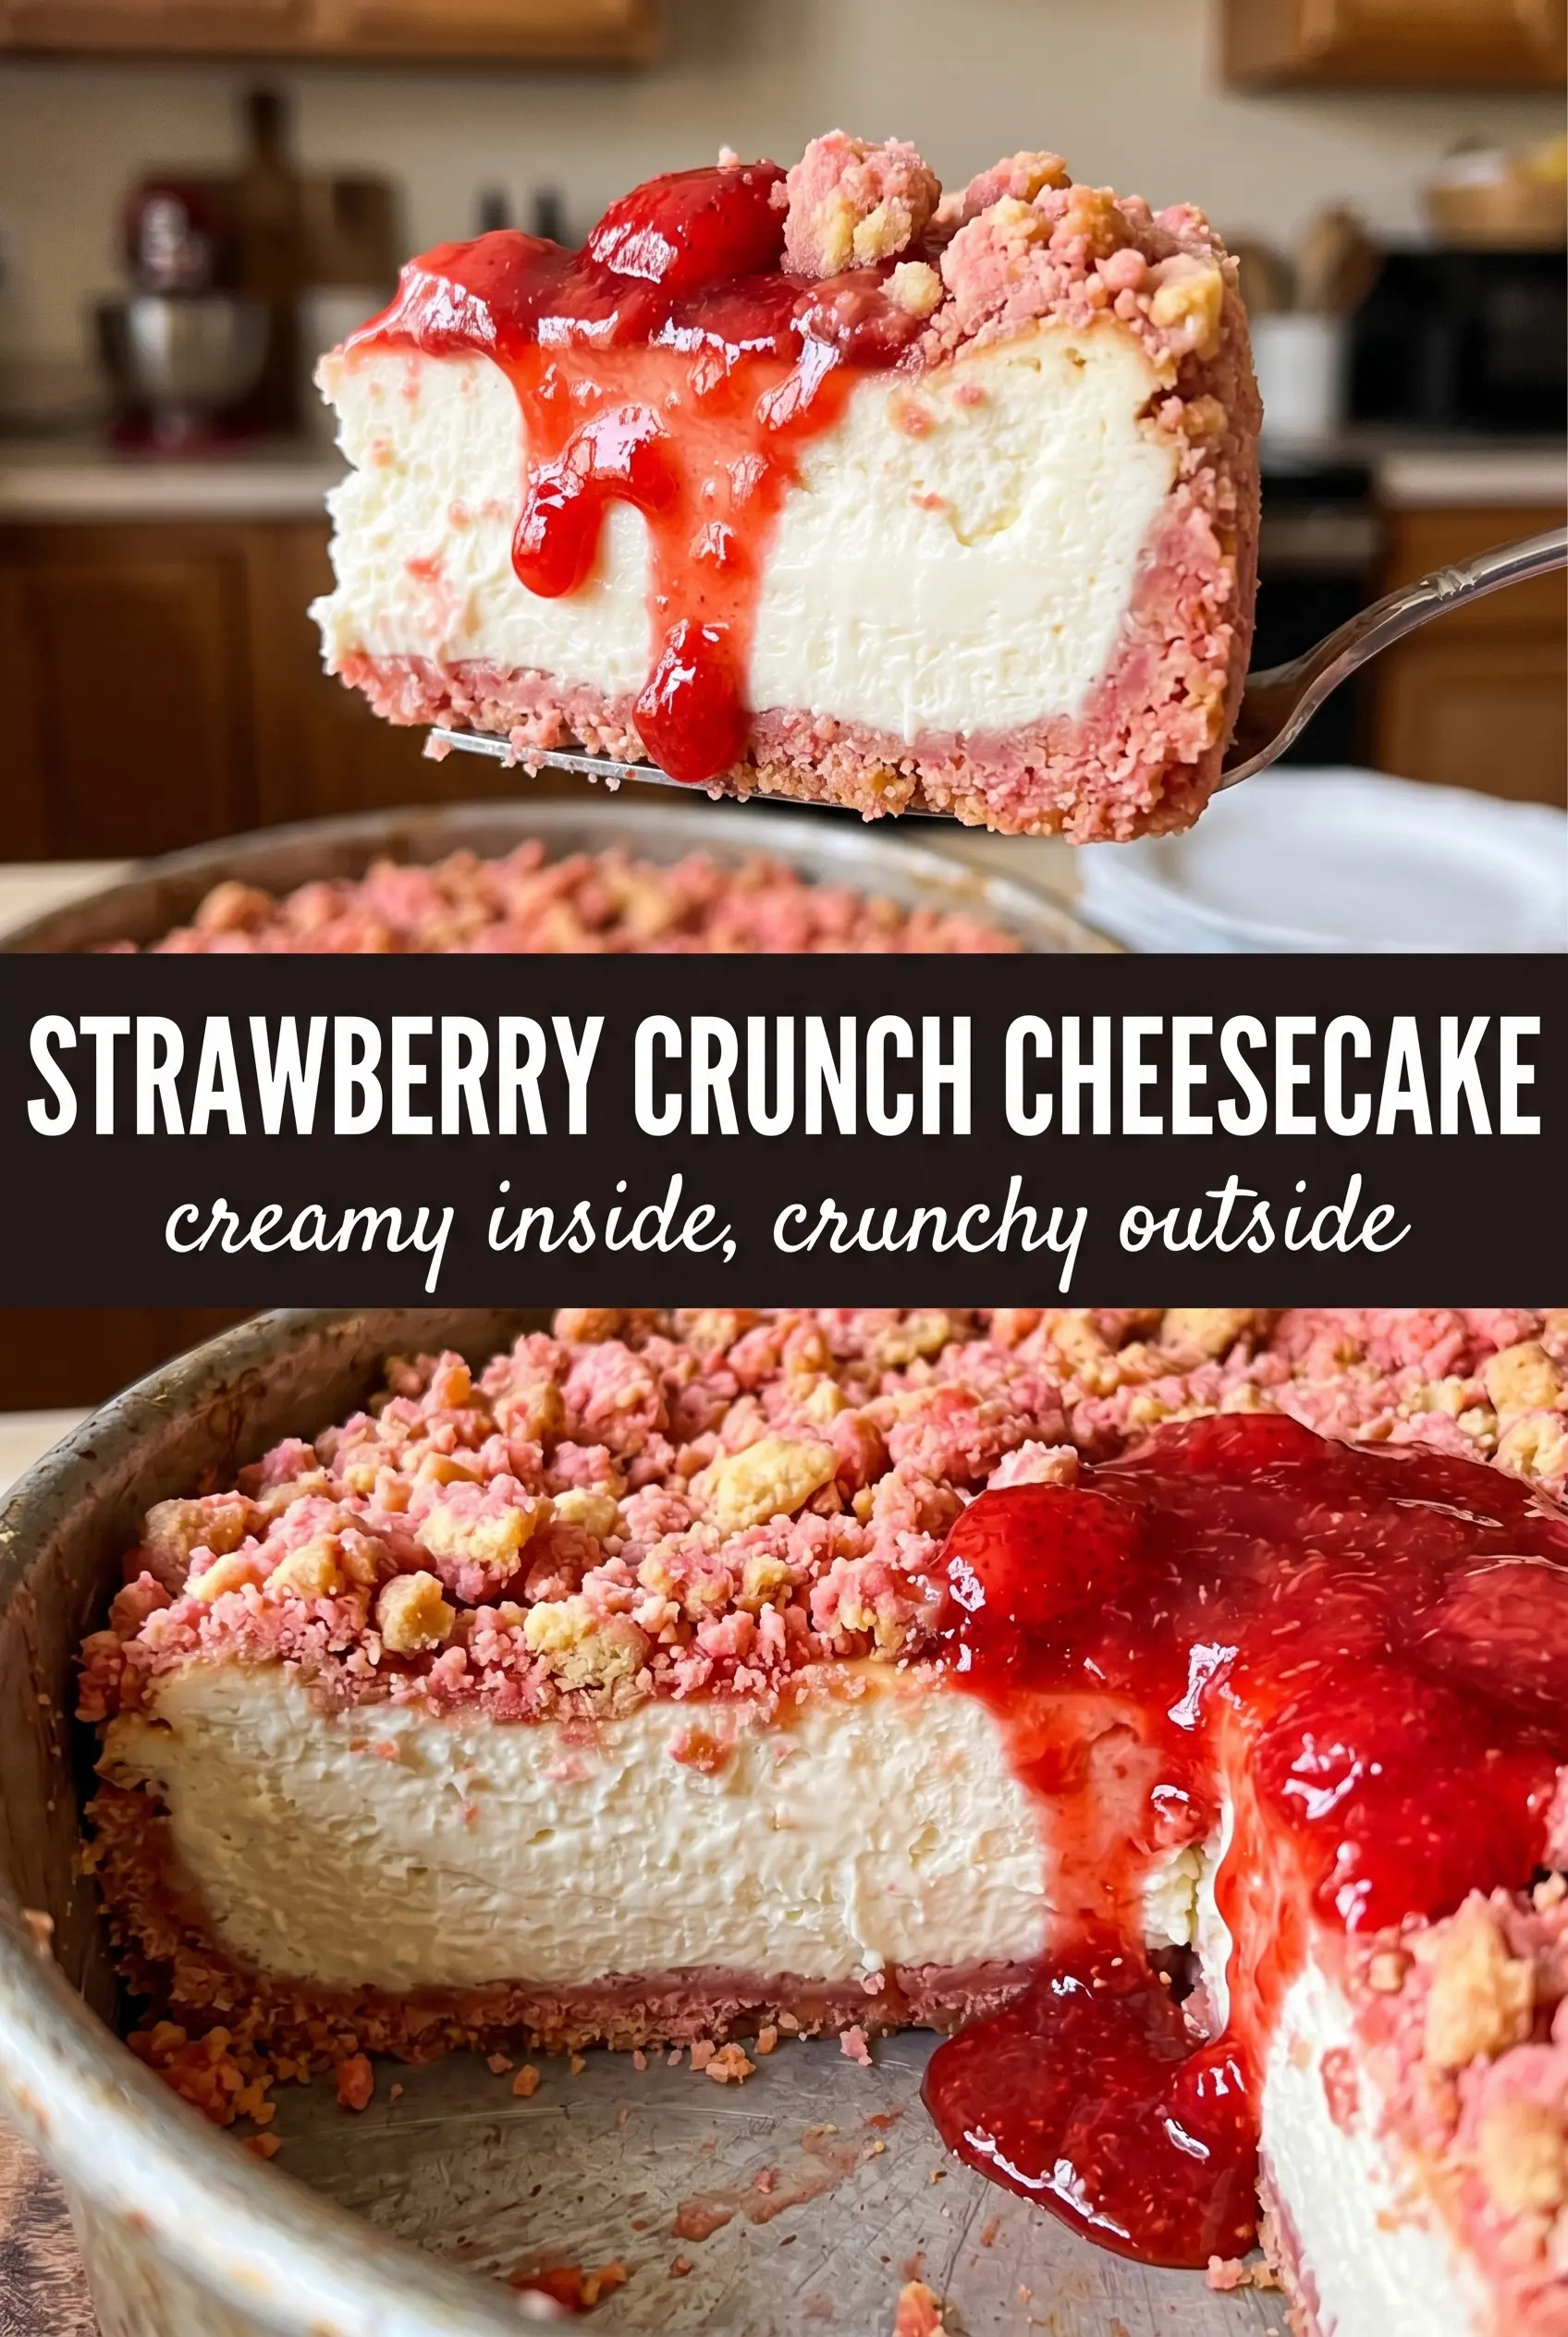
Strawberry Crunch Cheesecake gets its appeal from contrast: a cold, silky filling with a thick pink-and-gold crust that gives way under the fork, then a burst of strawberry on the finish. It’s the kind of dessert that looks bakery-made the second it comes out of the fridge, but the method is straightforward enough to trust on a weeknight or for a crowd.
The no-bake filling stays light because the whipped cream is folded in after the cream cheese base is smooth. That matters. If you rush it or beat the cream too hard into the filling, the texture turns dense instead of airy. The freeze-dried strawberry powder brings real berry flavor without watering anything down, and the Golden Oreo crust keeps the whole dessert sweet, buttery, and sturdy enough to slice cleanly once it’s chilled.
Below, I’ll walk through the part that makes the coating stick without crumbling off, plus the swaps I’d use if you need a different cookie base or want to make it ahead. The details are small, but they’re what turn this from a good cheesecake into one that holds its shape and tastes balanced in every bite.
The filling set up beautifully after chilling overnight, and the strawberry crunch stayed crisp instead of getting soggy. My kids kept sneaking slices straight from the fridge.
Love the creamy strawberry center and that pink-and-gold crunch? Save this no-bake Strawberry Crunch Cheesecake for your next make-ahead dessert night.
The Part That Keeps the Filling Light Instead of Dense
The biggest mistake with no-bake cheesecake is overworking the filling after the whipped cream goes in. The cream cheese mixture should be smooth before you fold, but once the whipped cream is added, stop as soon as the color is uniform. Overmixing knocks out the air that gives the cheesecake its mousse-like texture.
Chilling matters just as much as mixing. Six hours is the minimum for clean slices, but overnight gives the crust time to firm up and the filling time to set all the way through the center. If you try to unmold too early, the sides can slump and the crunch coating won’t press on evenly.
What Each Ingredient Is Doing in the Cheesecake and the Crunch
- Golden Oreos — These do double duty here: they build the crust and form the sweet, buttery crunch coating. You can swap in vanilla sandwich cookies, but the flavor will be a little less caramelized and the coating a little less classic.
- Butter — This is the glue that holds both the crust and the coating together. Melted butter is one place where the cheap version is fine, as long as it tastes clean and not overly salted.
- Cream cheese — Use full-fat cream cheese and let it soften all the way. Cold cream cheese leaves tiny lumps that never fully disappear, even if you beat the mixture longer.
- Freeze-dried strawberry powder — This gives strong strawberry flavor without adding moisture. Fresh berries or strawberry jam won’t behave the same way in the filling because they loosen the texture.
- Heavy whipping cream — Whip it to stiff peaks before folding it in. If it’s underwhipped, the cheesecake won’t set as firmly; if it’s overwhipped and grainy, the filling can feel heavy.
- Freeze-dried strawberries for the coating — These are what make the outside vivid and crunchy instead of sticky. Crush them to a fine powder so they cling evenly to the cheesecake shell.
Building the Layers So the Cheesecake Slices Cleanly
Pressing the Crust
Mix the crushed Golden Oreos with melted butter until every crumb looks damp, then press the mixture firmly into the bottom of the springform pan. A flat-bottomed glass helps compact it without tearing the surface. Freeze it for 15 minutes so the crust sets before the filling goes on; if it’s soft, the filling can work into it and make the base muddy.
Whipping the Filling
Beat the cream cheese and powdered sugar until completely smooth before adding the vanilla and strawberry powder. The mixture should look glossy and feel thick, with no visible sugar grain. Fold in the whipped cream in two additions using a spatula, scraping from the bottom and turning the bowl as gently as you can; that keeps the filling airy instead of deflated.
Setting and Coating the Cake
Spread the filling over the chilled crust and smooth the top with an offset spatula. Refrigerate until firm enough to hold shape, then release the springform pan. Press the crunch coating onto the sides and top in small handfuls, using gentle pressure so it sticks without sinking into the filling. If the coating won’t adhere, the cheesecake needs more chill time, not more butter.
Finishing with Strawberries
Add the fresh strawberries right before serving so they stay bright and don’t leak juice onto the coating. I like to pile them on top after the cake is fully covered, because that gives the dessert the finished bakery look and keeps the slices neat. For the cleanest cut, wipe the knife between slices and use a slow sawing motion through the crunchy edge.
How to Adapt This Strawberry Crunch Cheesecake Without Losing the Texture
Dairy-Free Version
Use dairy-free cream cheese and a plant-based whipping cream that holds stiff peaks. The texture will still be creamy, but the flavor will be a little less tangy, so the strawberry powder matters even more for balance.
Gluten-Free Swap
Use gluten-free vanilla sandwich cookies in both the crust and the crunch coating. The structure stays the same, but some gluten-free cookies are softer, so press the crust a little more firmly and chill it well before filling.
Stronger Strawberry Flavor
Add an extra tablespoon of freeze-dried strawberry powder to the filling if you want a brighter berry finish. Don’t add more wet strawberry ingredients to the cheesecake base, because that’s what makes the filling loose.
Make-Ahead for a Party
Build the cheesecake a day ahead, but hold the fresh strawberries until the day you serve it. The cake actually slices better after a long chill, and adding the garnish too early can cause the top to weep.
Storage and Reheating
- Refrigerator: Store covered for up to 4 days. The coating stays crisp for the first couple of days, then softens a bit as it sits.
- Freezer: This freezes well before the fresh strawberries are added. Wrap the cheesecake tightly and freeze for up to 1 month; thaw in the refrigerator overnight for the best texture.
- Reheating: No reheating needed. Serve it cold straight from the fridge, and don’t let slices sit at room temperature too long or the filling will loosen.
Questions I Get Asked About This Strawberry Crunch Cheesecake
Strawberry Crunch Cheesecake
Ingredients
Equipment
Method
- Mix the crushed Golden Oreos and melted butter until the crumbs look evenly coated. Press the mixture into the bottom of a 9-inch springform pan to form an even layer.
- Freeze the crust for 15 minutes until firm to the touch.
- Beat the cream cheese and powdered sugar until smooth and no lumps remain. Scrape the bowl and add the vanilla extract and freeze-dried strawberry powder.
- Fold the stiffly beaten heavy whipping cream into the cream cheese mixture until airy and fully combined.
- Spread the filling over the crust and smooth the top with a spatula. Refrigerate the cheesecake for 6 hours or overnight until firm.
- Mix the crunch coating ingredients (crushed Golden Oreos, freeze-dried strawberry powder, and melted butter) until combined and crumbly. Keep it ready so it stays pressable.
- Remove the cheesecake from the springform pan. Press the crunch coating firmly all over the sides and top so it adheres evenly.
- Arrange fresh strawberries on top and serve.