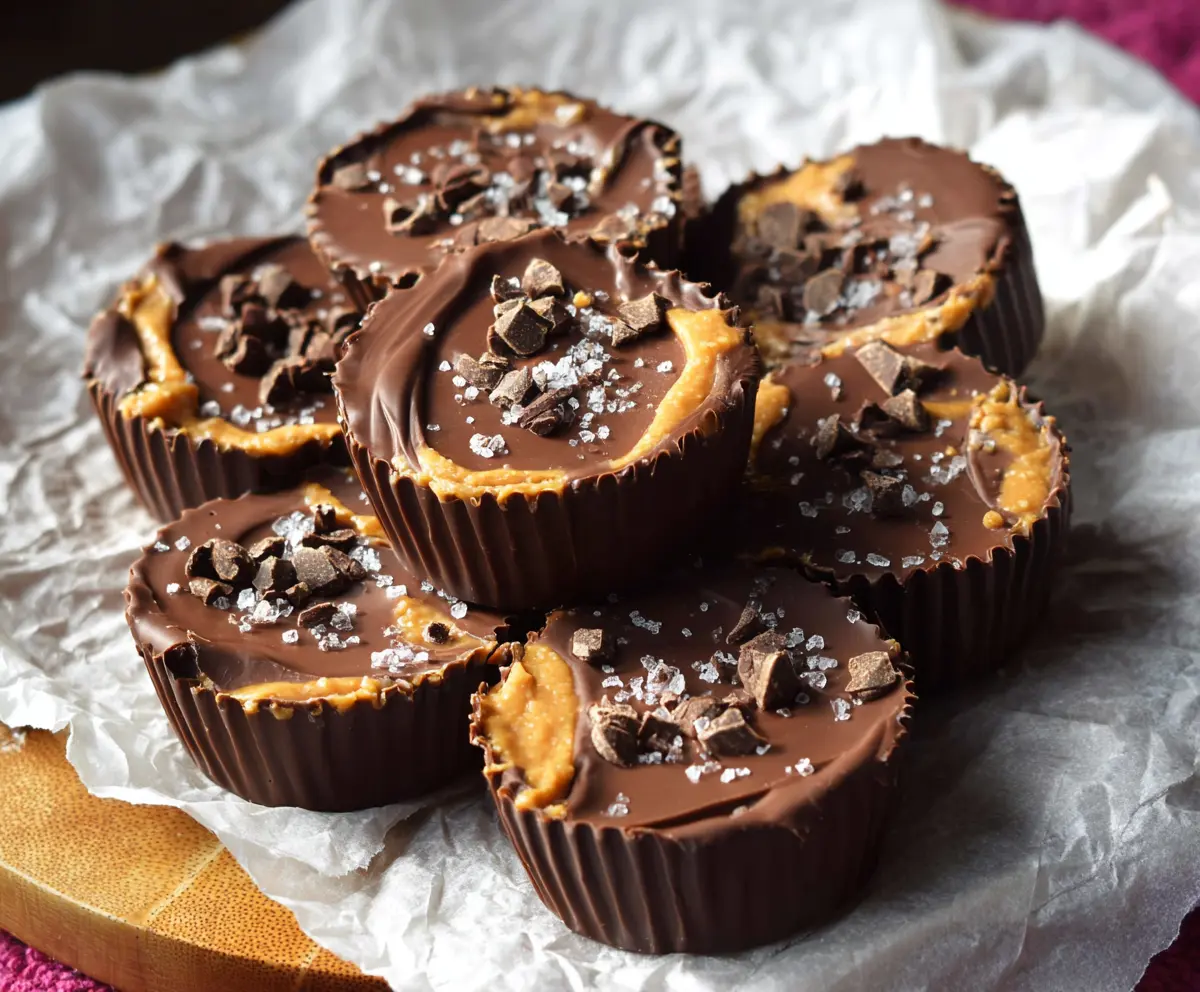
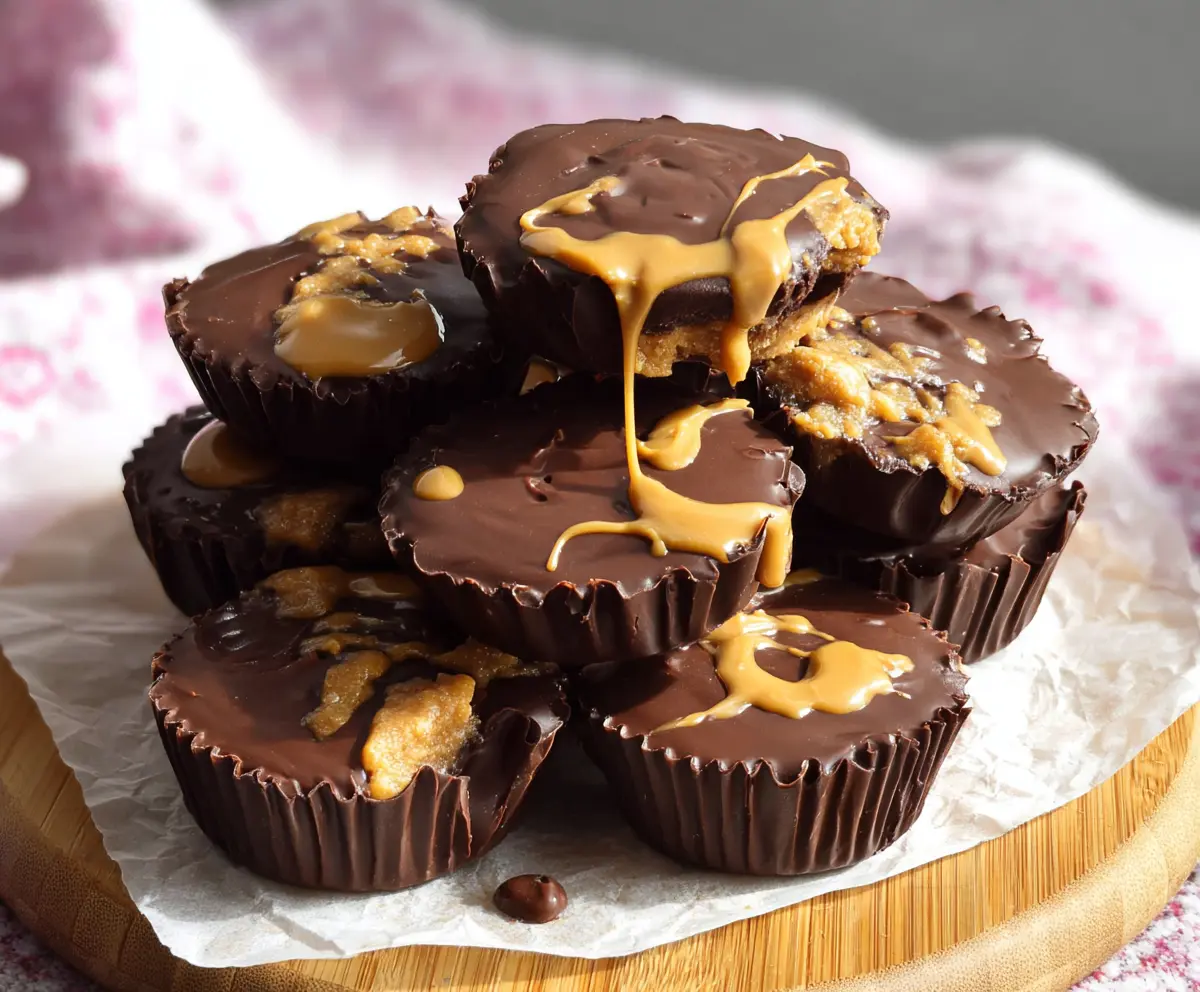
These Chocolate Peanut Butter Cups are pure sweetness! They feature a smooth peanut butter filling wrapped in rich chocolate that melts in your mouth. Yum!
I’ve got to say, making these is fun and easy! Plus, there’s nothing like biting into your homemade treat. They make great gifts too, if you can manage to share! 😄
Key Ingredients & Substitutions
Creamy Peanut Butter: Natural, no-sugar-added peanut butter gives a wonderful flavor and texture. However, if you’re looking for a nut-free option, try using almond butter or sunbutter. Both work well!
Powdered Sugar: This adds sweetness and helps with texture. If you’re looking for a healthier option, you can substitute with coconut sugar or a sugar alternative like stevia, but the flavor might slightly change.
Chocolate Chips: Semisweet or dark chocolate are favorites for their rich taste. Milk chocolate could be used for those who prefer it sweeter. For a dairy-free version, go for vegan chocolate chips.
Coconut Oil: It helps the chocolate melt smoothly and set firm. If you don’t have coconut oil, vegetable oil or shortening can serve as substitutes, although they might slightly alter the flavor.
How Do I Get My Chocolate Peanut Butter Cups to Look Perfect?
Presentation is key when making these cups! Here are some tips to get them just right:
- Use a muffin tin lined with paper cupcake liners to get neat, uniform shapes.
- When melting chocolate, take it slow! Heat in 30-second bursts and stir. This prevents scorching.
- For even layers of chocolate and peanut butter, use a tablespoon to scoop and flatten out each layer.
- Don’t forget to tap the molds gently after adding chocolate. This helps eliminate air bubbles and gives a smooth finish.
- Sprinkling flaked sea salt right after pouring the final layer of chocolate adds a nice touch, both in taste and appearance!
Chocolate Peanut Butter Cups
Ingredients You’ll Need:
- 1 cup creamy peanut butter (preferably natural, no sugar added)
- 1/4 cup powdered sugar
- 1/4 teaspoon salt (optional, balances sweetness)
- 2 cups semisweet or dark chocolate chips
- 2 teaspoons coconut oil or vegetable oil (to help chocolate melt smoothly)
- Flaked sea salt, for sprinkling (optional)
- Chopped chocolate or cacao nibs, for topping (optional)
How Much Time Will You Need?
This delicious treat will take about 15 minutes to prepare, plus another 40 minutes to chill and set in the refrigerator. In just under an hour, you’ll have amazing homemade chocolate peanut butter cups!
Step-by-Step Instructions:
1. Prepare the Molds:
Line a muffin tin or small silicone molds with paper cupcake liners. This makes it easy to pop the peanut butter cups out later!
2. Make the Peanut Butter Filling:
In a medium bowl, mix together the creamy peanut butter, powdered sugar, and salt (if using) until smooth and combined. Set this tasty filling aside for later.
3. Melt the Chocolate:
In a microwave-safe bowl, combine the chocolate chips and coconut oil. Microwave in 30-second increments, stirring in between, until the chocolate is melted and smooth. Be patient to avoid burning!
4. Create the Chocolate Base:
Spoon about 1 tablespoon of the melted chocolate into the bottom of each lined mold. Use your spoon to spread it evenly and cover the base.
5. Set the Chocolate Base:
Place the mold in the refrigerator for about 10 minutes to let the chocolate base harden well.
6. Add the Peanut Butter Layer:
Once the chocolate has set, scoop about 1 tablespoon of the peanut butter mixture onto each hardened chocolate layer. Flatten it gently with the back of a spoon.
7. Top with More Chocolate:
Cover the peanut butter layer with another tablespoon of melted chocolate. Spread it carefully to ensure the peanut butter is fully enclosed. Give the mold a gentle tap to smooth out the top and help release any air bubbles.
8. Add Toppings:
If you’d like, sprinkle a pinch of flaked sea salt and some chopped chocolate or cacao nibs on top for an extra crunch and flavor.
9. Chill to Set:
Refrigerate the peanut butter cups for at least 30 minutes, or until they are completely set and firm to the touch.
10. Enjoy Your Treats:
Once set, carefully remove the peanut butter cups from the molds and paper liners. Store them in an airtight container in the refrigerator for up to a week (if they last that long!). Enjoy your homemade chocolate peanut butter cups—rich, creamy, and simply delicious!
Can I Use Crunchy Peanut Butter Instead of Creamy?
Absolutely! Using crunchy peanut butter will add great texture to your cups. Just be aware that it may slightly affect the smoothness of the filling.
Can I Make These Peanut Butter Cups Vegan?
Yes, you can! Just choose vegan chocolate chips and ensure your powdered sugar is free from bone char processing. This way, you’ll have a delicious vegan treat!
How Should I Store Leftovers?
Store any leftovers in an airtight container in the refrigerator for up to a week. You can also freeze them for longer storage; just separate layers with parchment paper to prevent sticking!
Can I Customize the Fillings with Add-ins?
Definitely! You can mix in some mini chocolate chips, chopped nuts, or even a swirl of honey or maple syrup into the peanut butter mixture for added flavor and texture.