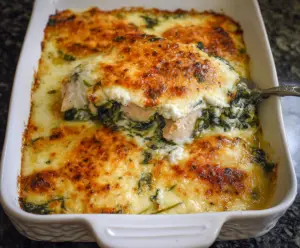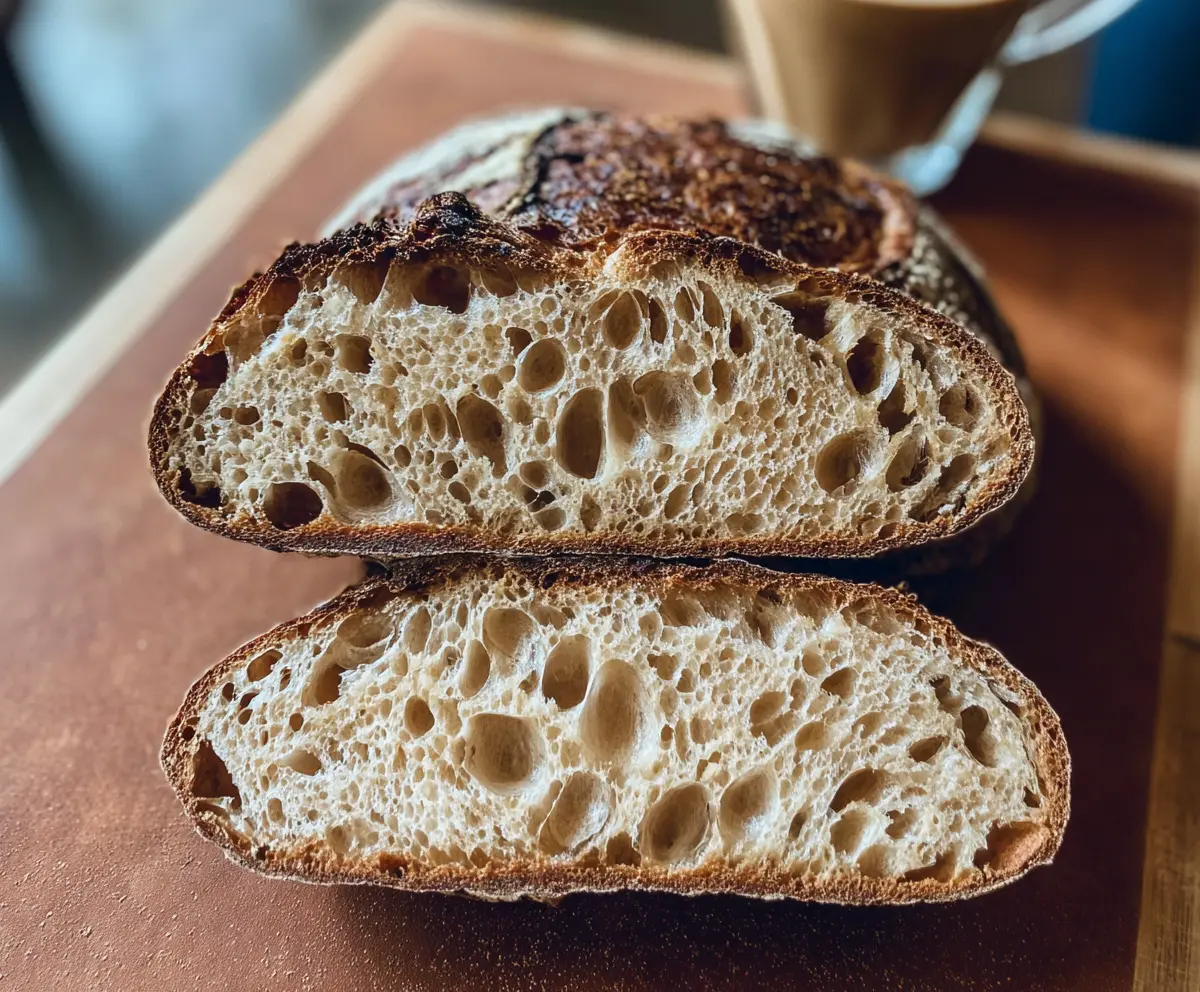
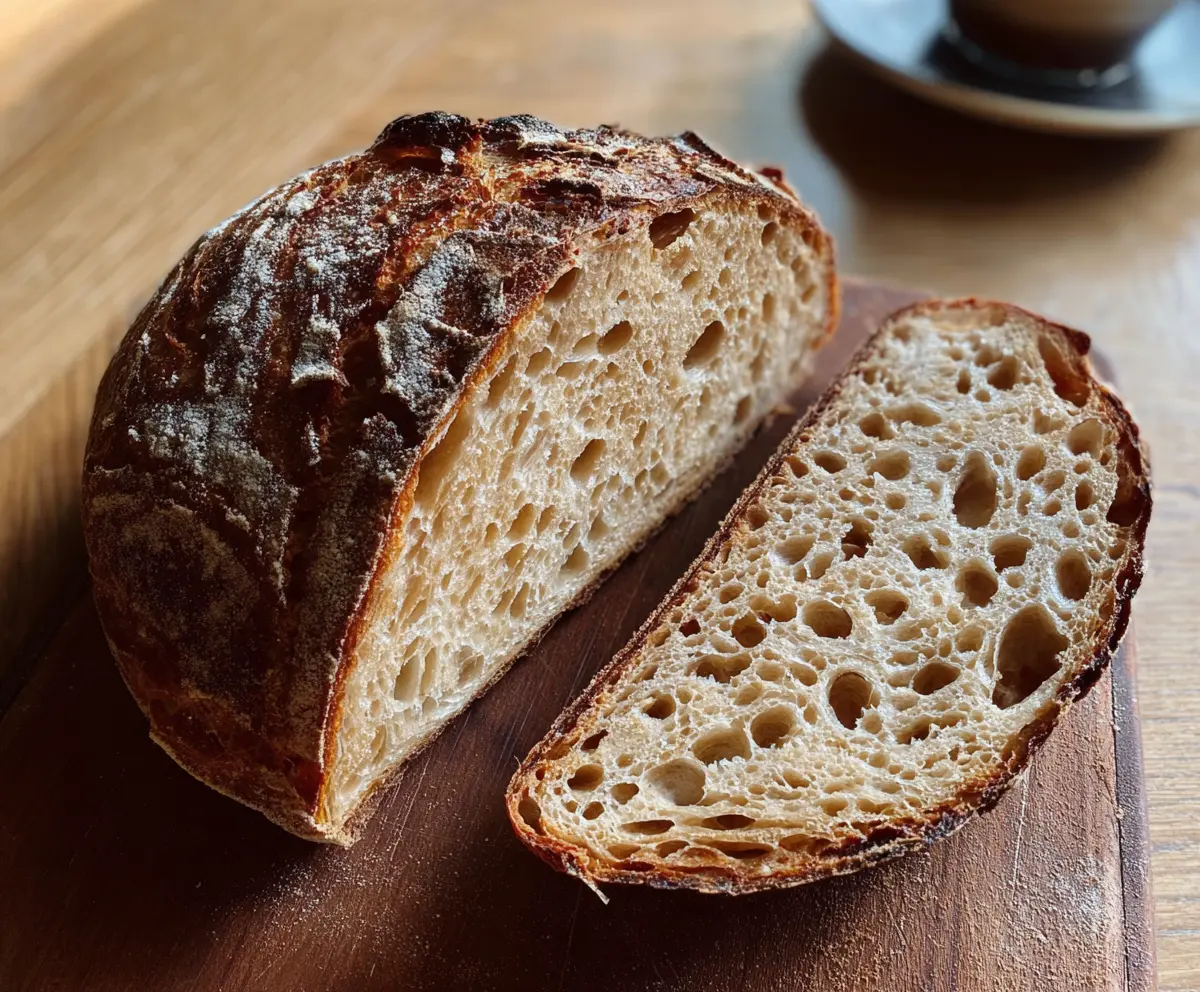
This Crust Sourdough Bread is a simple delight! Its crust is golden and crunchy, while the inside is soft and fluffy. The tangy flavor makes it perfect for sandwiches or just butter.
Honestly, nothing beats the smell of fresh bread baking in the kitchen. I love having a slice with my morning coffee—it’s a great way to start the day with something warm and tasty!
Key Ingredients & Substitutions
Bread Flour: Bread flour gives this sourdough its chewy texture and structure due to high gluten content. If you don’t have bread flour, all-purpose flour can work, but the bread may not rise as high.
Sourdough Starter: An active starter is crucial for fermentation. If you don’t have one, you can try a store-bought starter. Just remember, it needs to be fed at least a few hours before use.
Salt: Salt not only seasons the bread but also helps control fermentation. If you’re watching your sodium, you can reduce the amount slightly, but it may affect the flavor.
How Do You Knead and Develop Gluten in Sourdough?
Kneading is key to creating a great texture in your sourdough. Here’s a simple guide to follow:
- After mixing the sourdough starter and salt into your shaggy dough, use your hands to knead it gently on a floured surface.
- Be sure to keep the dough covered to prevent it from drying out between folds.
- Every 30 minutes for 2 hours, do stretch and folds by reaching under the dough, pulling it up, and folding it over itself—this strengthens the gluten structure.
This gentle kneading creates a lovely airy crumb in your final bread. Enjoy the transformation! You’ll love the fluffy texture it brings.
How to Make Crusty Sourdough Bread
Ingredients You’ll Need:
- 500g bread flour
- 350g water (room temperature)
- 100g active sourdough starter
- 10g salt
How Much Time Will You Need?
This sourdough bread takes about 30-40 minutes of active preparation time, plus around 8-12 hours for overnight proofing, and then 40-50 minutes for baking. Overall, you’re looking at a few hours of waiting time as it ferments and bakings, but trust me, it’s worth every minute!
Step-by-Step Instructions:
1. Mix the Ingredients:
In a large mixing bowl, combine the bread flour and water. Stir until you have a shaggy dough—don’t worry about it being perfect! Then, cover the bowl and let it rest for 30-40 minutes. This is called the autolyse phase, and it helps to hydrate the flour.
2. Add the Starter and Salt:
After the rest, add your active sourdough starter and salt into the shaggy dough. Mix it all together and knead gently until everything is well combined. You’re looking for a dough that feels stretchy!
3. Stretch and Fold:
For the next 2 hours, you will do stretch and folds every 30 minutes. To do this, reach under the dough, stretch it up, and fold it over itself. Cover the dough in between folds so it doesn’t dry out. This helps develop gluten, which gives your bread structure!
4. Bulk Fermentation:
After the stretch and fold part is done, let your dough sit at room temperature (about 21°C / 70°F) for 3-4 hours. It should grow about 50% in size during this time, showing it’s full of bubbles!
5. Shape the Dough:
Once bulk fermentation is done, turn the dough out onto a lightly floured surface. Shape it into a tight round boule (a ball). Place it seam side up into a floured banneton or a bowl lined with a floured kitchen towel.
6. Overnight Proofing:
Cover the dough and put it in the refrigerator to proof overnight—this is where all the flavor develops! It should sit for 8-12 hours.
7. Preheat the Oven:
The next day, preheat your oven to 250°C (480°F) with a Dutch oven or a baking stone inside. This will ensure it’s nice and hot for baking.
8. Score the Dough:
Once the oven is hot, carefully take the dough out of the refrigerator. Invert it onto a piece of parchment paper. Using a sharp blade, score the surface of the dough—this helps it expand while baking!
9. Bake:
Using the parchment paper, transfer the dough into your hot Dutch oven. Cover it and bake for 20 minutes. This creates steam and helps form a beautiful crust.
10. Finish Baking:
After 20 minutes, remove the lid. Continue baking for another 20-25 minutes until the crust turns a lovely deep golden brown and feels crisp.
11. Cool It Down:
Once baked, take the bread out and let it cool on a wire rack completely before slicing. This allows the crumb structure to set properly! Patience is key here.
Enjoy your crusty sourdough bread warm with a cup of coffee! The bread’s open crumb and deep crust pair wonderfully with the rich, bitter notes of coffee. Happy baking!
Can I Use All-Purpose Flour Instead of Bread Flour?
Yes, you can use all-purpose flour, but the texture may be slightly different. Bread flour has a higher protein content which helps create a chewier crust. If you use all-purpose, your bread might not rise as high but will still taste great!
What If My Dough Isn’t Rising?
If your dough isn’t rising well, check that your sourdough starter is active and bubbly before mixing. It should be fed and at its peak when used. Also, ensure the room temperature is warm enough for fermentation—ideally around 21°C (70°F).
How Do I Store Leftover Bread?
Store any leftover bread in a paper bag at room temperature for up to 3 days. For longer storage, wrap it tightly in plastic wrap and freeze for up to a month. Slice it before freezing to make it easy to toast later!
Can I Make This Bread Without a Dutch Oven?
Yes! If you don’t have a Dutch oven, you can bake the bread on a baking stone or sheet. Just place a pan with water in the oven to create steam for a similar effect. This helps develop that crispy crust!