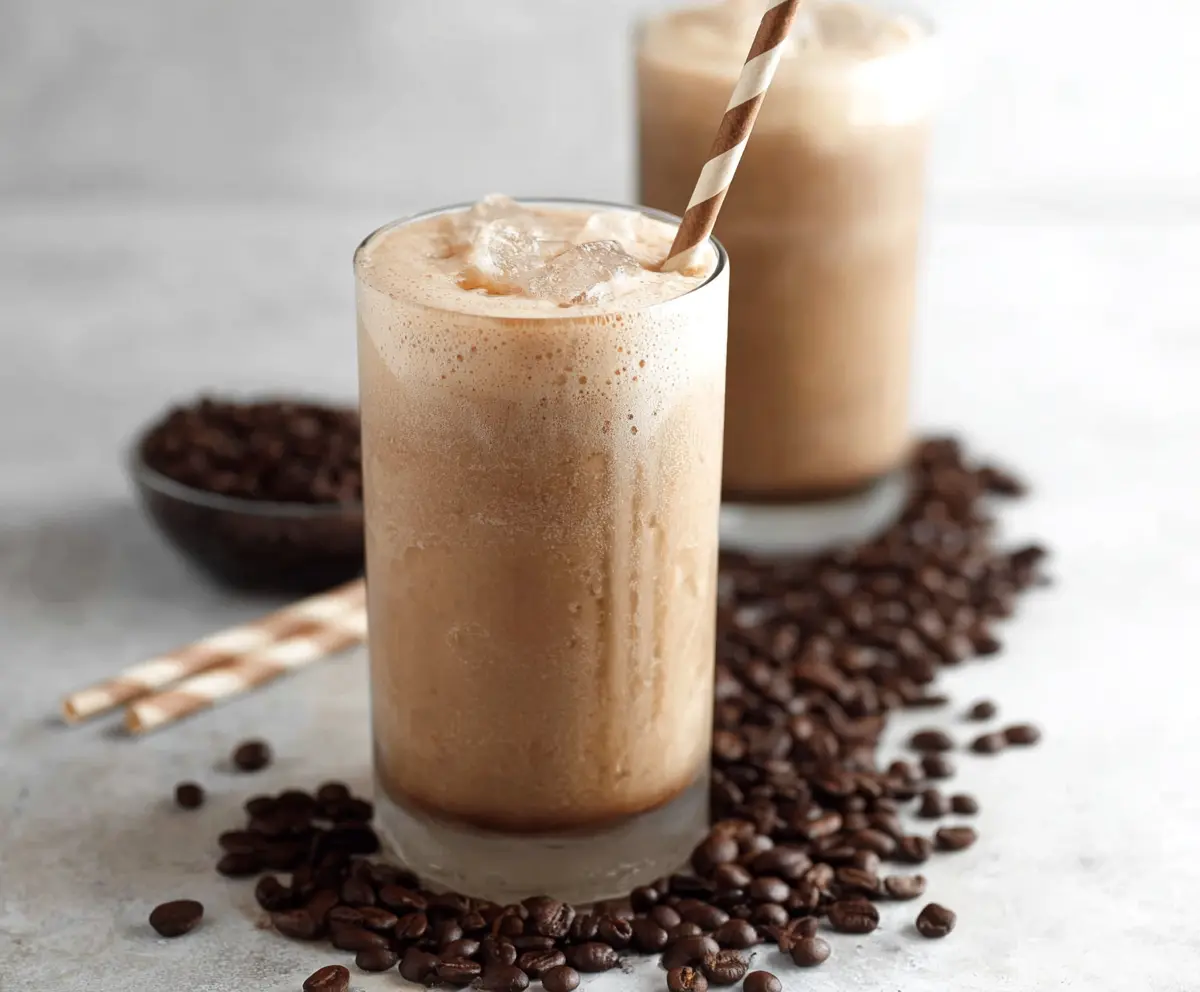
This Iced Coffee Protein Shake is a cool and tasty way to kickstart your day! With iced coffee, milk, and protein powder, it’s refreshing and oh-so-filling.
Honestly, I could drink this every morning! It’s like having coffee and breakfast in one fun cup. Perfect for when you’re on the go or need a boost!
Key Ingredients & Substitutions
Coffee: Strong brewed coffee is key here! You can use cold brew for a smoother taste, or instant coffee if you’re short on time. If you’re caffeine-sensitive, try decaf coffee.
Milk: I love using almond milk for a nutty flavor, but any dairy or plant-based milk works well. Oat milk adds a creaminess, while soy milk is a great protein option.
Protein Powder: Choose chocolate for a rich flavor or vanilla for a lighter taste. If you prefer, there are plant-based protein options available too, like pea or hemp protein.
Sweetener: Adjust the sweetness to your taste. Instead of honey, maple syrup gives a lovely, warm flavor. Stevia or agave syrup can be good low-calorie alternatives.
How Do I Get the Shake Super Frothy?
Getting that frothy texture is super easy! The trick is to blend it well. Here’s how:
- Make sure your coffee is cold or at room temperature to avoid melting the ice too quickly.
- Use plenty of ice; this not only chills the shake but also helps in creating a nice froth.
- Blend on high speed and don’t just give it a quick whirl. Aim for about 30 seconds to get that perfect creamy consistency.
- You can also add a little bit of milk or cream to help if you want even more fluffiness!
How to Make an Iced Coffee Protein Shake
Ingredients You’ll Need:
- 1 cup strong brewed coffee, cooled
- 1/2 cup milk (dairy or plant-based)
- 1 scoop chocolate or vanilla protein powder
- 1/2 cup ice cubes
- 1 tbsp sweetener (optional: honey, maple syrup, or sugar)
- 1/2 tsp vanilla extract (optional)
How Much Time Will You Need?
Preparing this delicious Iced Coffee Protein Shake takes about 5 minutes, plus whatever time you need to brew and cool your coffee. It’s quick and simple—perfect for busy mornings or whenever you need a tasty pick-me-up!
Step-by-Step Instructions:
1. Brew the Coffee:
Start by brewing a cup of strong coffee—this will give your shake that rich coffee flavor everyone loves. Let it cool down to room temperature, or pop it in the fridge to chill while you gather your other ingredients.
2. Combine the Ingredients:
Once your coffee is cool, grab a blender and add the cooled coffee, your choice of milk, the protein powder, ice cubes, sweetener (if you’d like), and vanilla extract (if you’re using it). This is where all the magic begins!
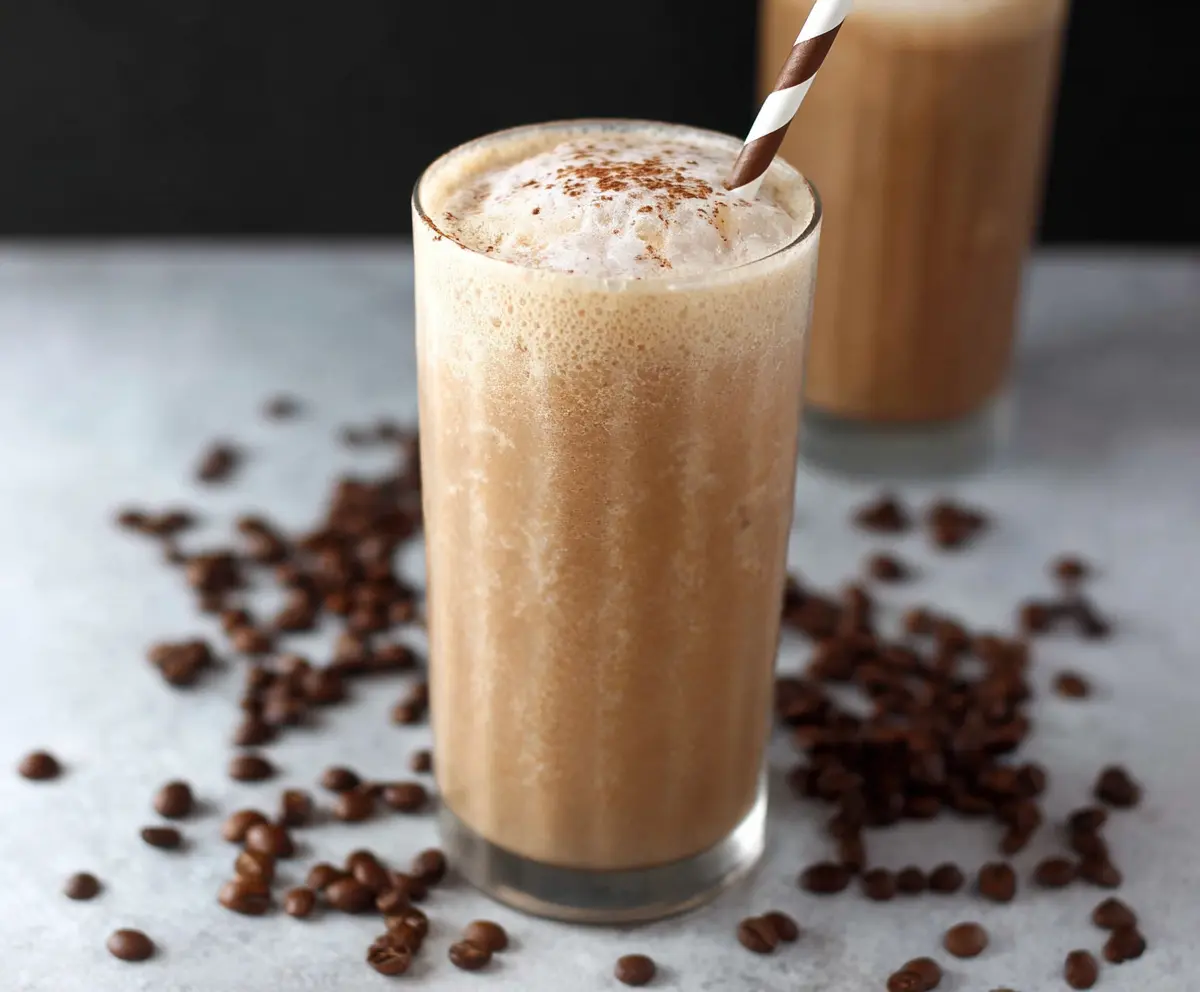
3. Blend It Up:
Blend on high for about 30 seconds. You want it to be nice and smooth, with lots of froth. If the shake is too thick, feel free to add a little more milk to help it blend better.
4. Serve and Enjoy:
Pour your delicious shake into a glass filled with a few extra ice cubes. This keeps it cold and refreshing! Serve it right away with a straw for a delightful treat.
Now, sit back, sip, and enjoy your energizing iced coffee protein shake! It’s the perfect way to start your day or keep your energy up anytime you need it.
Can I Use Instant Coffee Instead of Brewed Coffee?
Absolutely! Instant coffee works great for this recipe. Just mix 1-2 teaspoons of instant coffee with about a cup of hot water, then let it cool before blending. This saves time and gives you that coffee flavor you crave.
Can I Make This Shake Ahead of Time?
Yes, you can! Make the shake and store it in the fridge for up to 24 hours. Just give it a quick stir or shake before enjoying to reintroduce the frothiness, as it may settle a bit in the fridge.
How Can I Adjust the Sweetness?
Sweetness is personal! Start with the suggested amount of sweetener and adjust to your taste. For a healthier option, consider using a natural sweetener like stevia or erythritol to keep the calories low.
Can I Add Other Ingredients?
Definitely! Feel free to mix in other ingredients like a tablespoon of nut butter for added creaminess and protein, or a banana for natural sweetness and thickness. Just keep an eye on the consistency and adjust the milk accordingly!