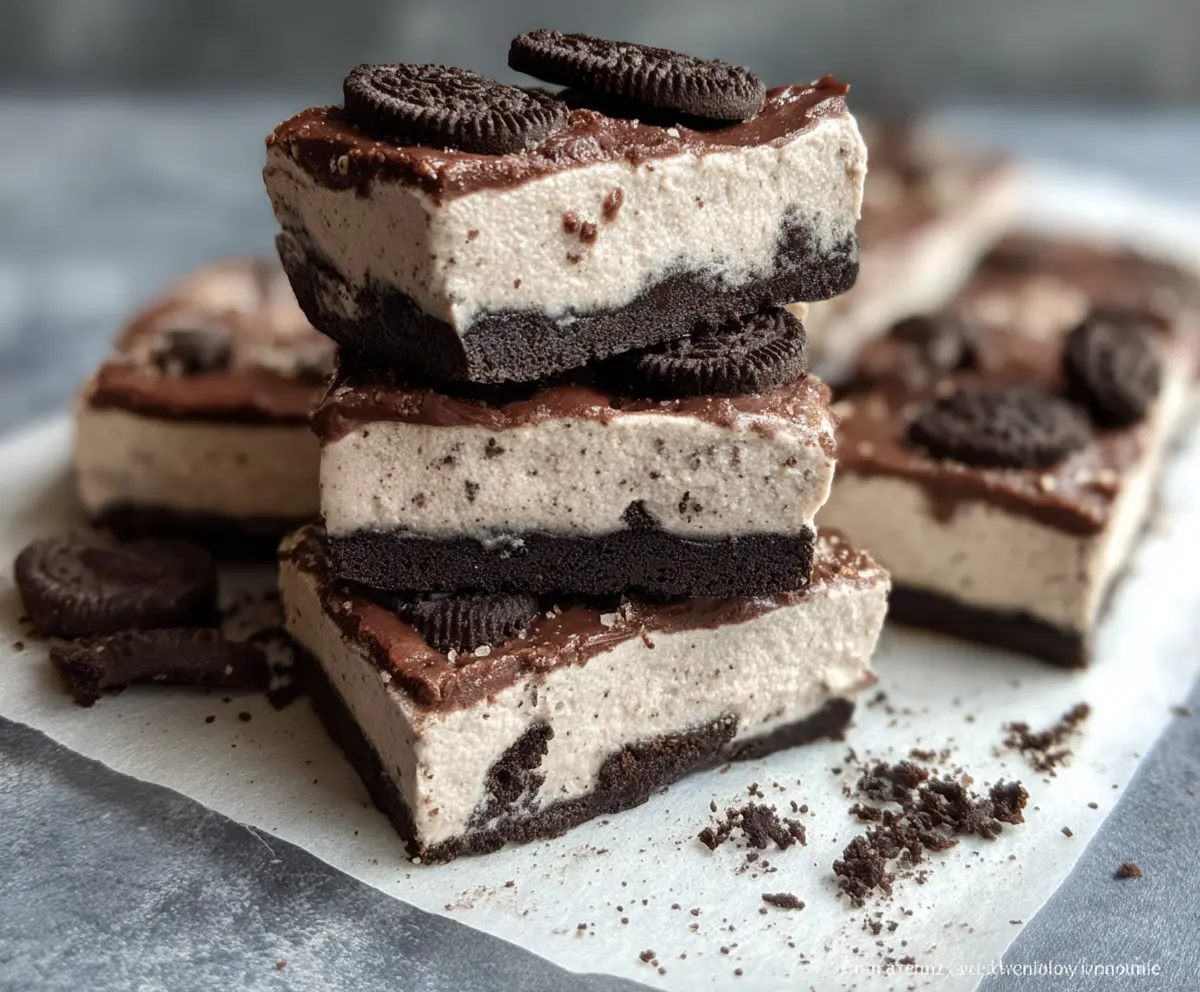
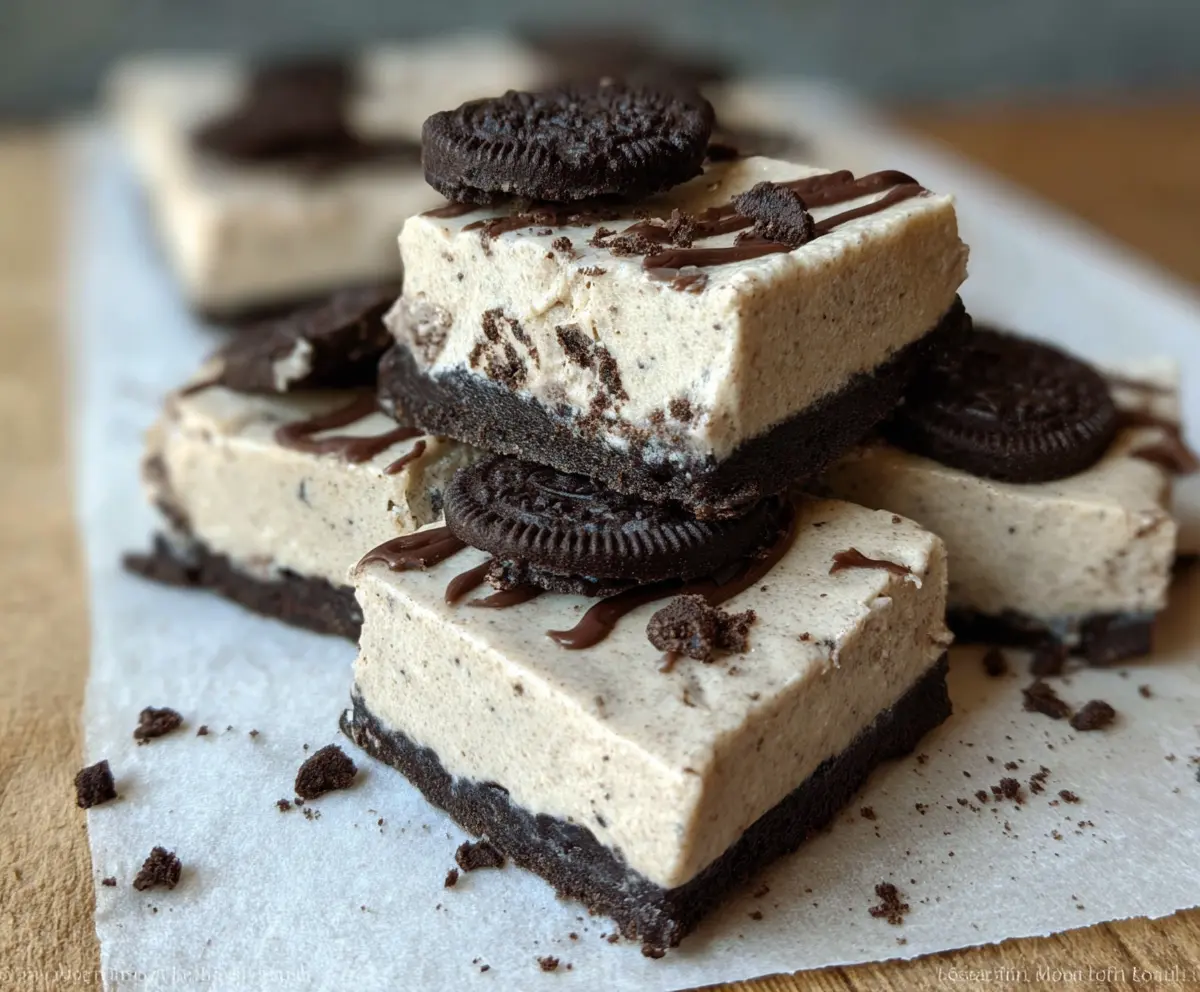
If you love Oreos, get ready for a tasty treat! These No Bake Oreo Protein Bars combine crunchy cookie goodness with creamy protein, making them perfect for a quick snack.
Who needs baking when you can mix everything and chill? I whip these up in no time and stash them in the fridge. Snack time never tasted so good and guilt-free! 😋
Key Ingredients & Substitutions
Oreo Cookies: These are the star of the show! You can use any kind of Oreo, but if you’re after a twist, try the seasonal flavors or even gluten-free Oreos for a different taste.
Protein Powder: I love using vanilla protein powder because it blends well with the flavors. If you can’t find that, cookies and cream flavor works great too! Just check the sweetness level of your powder if you’re using honey or maple syrup.
Cream Cheese: Softened cream cheese provides the rich, creamy texture that’s hard to beat. For a lighter option, you could try Greek cream cheese or a vegan cream cheese if you’re looking to avoid dairy.
Greek Yogurt: This adds creaminess and extra protein. You can substitute with any yogurt you prefer, just know that the flavor may vary a bit. Unsweetened coconut yogurt is a good dairy-free option!
Coconut Oil: It’s optional but helps the chocolate topping stay smooth and glossy. If you don’t have it, regular vegetable oil is a good alternative.
How Can I Make the Layers Perfectly Smooth?
Creating those smooth layers in your protein bars is all about technique. Here are some tips to keep in mind:
- When mixing the cream cheese and yogurt, make sure both are at room temperature. It will make blending easier and give a smooth finish.
- Press the Oreo-protein mixture firmly into the pan to avoid air gaps, which ensures a nice even layer.
- For a perfectly smooth chocolate topping, melt the chocolate slowly and stir until glossy. Pour it over the bars while it’s still warm to spread easily.
Take your time with each layer, and you’ll see a big difference in texture!
No Bake Oreo Protein Bars
Ingredients You’ll Need:
For the Base:
- 20 Oreo cookies, crushed (reserve some whole for topping)
- 1 cup vanilla or cookies and cream protein powder
- 1 cup cream cheese, softened
- 1/2 cup Greek yogurt or sour cream
- 1/4 cup honey or maple syrup
- 1 tsp vanilla extract
For the Topping:
- 1/2 cup dark chocolate chips or melting chocolate
- 1 tbsp coconut oil (optional, for chocolate topping)
How Much Time Will You Need?
This delicious treat comes together quickly! You’ll need about 15 minutes for prep, and then it will need about 3-4 hours to chill in the fridge. Total time: approximately 4 hours and 15 minutes, including the chill time!
Step-by-Step Instructions:
1. Prepare the Pan:
Start by lining an 8×8 inch pan with parchment paper. This will help you lift the bars out easily after they are set. A little overlap on the edges is fine, and it makes removal a breeze!
2. Crush the Oreos:
In a bowl, crush 20 Oreos into small pieces. You want a mix of crumbs and larger chunks for texture. Set aside a few whole Oreos to place on top before serving!
3. Mix the Base Ingredients:
In a large bowl, combine the softened cream cheese, Greek yogurt, honey (or maple syrup), vanilla extract, and the protein powder. Use an electric mixer to beat this mixture until it’s super smooth and creamy—this is the delicious base for your bars!
4. Add the Oreos:
Gently fold in the crushed Oreos into the creamy mixture until they’re well distributed. You want those tasty cookie bites throughout every layer!
5. Press the Mixture Into the Pan:
With clean hands or a spatula, press the Oreo-protein mixture firmly into the bottom of your prepared pan. Make sure it’s packed down evenly so it sets nicely.
6. Melt the Chocolate:
In a microwave-safe bowl, combine the chocolate chips and coconut oil (if using). Melt them together in 30-second intervals in the microwave, stirring after each interval until the chocolate is completely smooth.
7. Pour the Chocolate Topping:
Once melted, pour the smooth chocolate mixture over the pressed Oreo layer. Use a spatula to spread it evenly across the top.
8. Add the Finishing Touch:
Take the reserved whole Oreos and place them on top of the chocolate layer for a fun and tasty garnish. It also looks super cute!
9. Chill the Bars:
Cover the pan with plastic wrap or foil, and refrigerate for at least 3-4 hours or until completely firm. Waiting is the hardest part!
10. Slice and Serve:
Once set, use the parchment paper to lift the bars out of the pan. Cut them into squares or rectangles. Serve chilled and enjoy your delicious, creamy, no-bake Oreo protein bars!
These bars are perfect for a snack or dessert any time of day. Enjoy! 🎉
Can I Use a Different Type of Protein Powder?
Absolutely! While vanilla and cookies and cream protein powders are best for this recipe, you can use any flavor you prefer. Just make sure it’s a powder that mixes well, and consider adjusting the sweetness level accordingly.
How Do I Store These Protein Bars?
Store the bars in an airtight container in the refrigerator for up to 5 days. If you want to keep them longer, you can freeze them for up to a month. Just wrap them individually in plastic wrap before freezing for easy snacking later!
Can I Make These Vegan?
Yes, you can! Use dairy-free cream cheese and yogurt alternatives, and substitute honey with maple syrup or agave. Make sure to use dairy-free chocolate chips for the topping as well.
What If I Don’t Have Coconut Oil?
No worries! Coconut oil is optional for the chocolate topping; you can omit it entirely. If you want to keep that shiny finish, a small amount of vegetable oil will also work as a substitute in the chocolate.