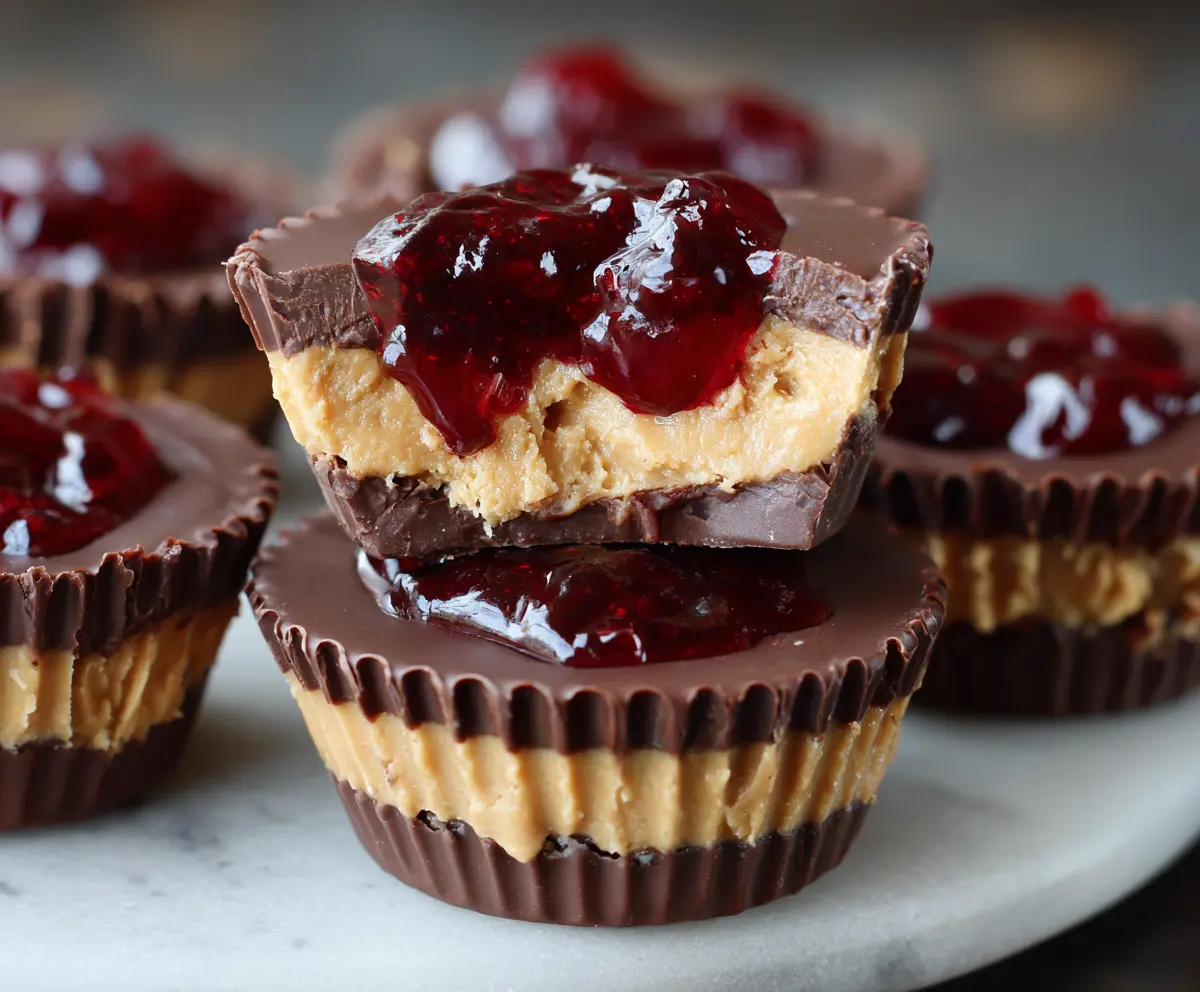
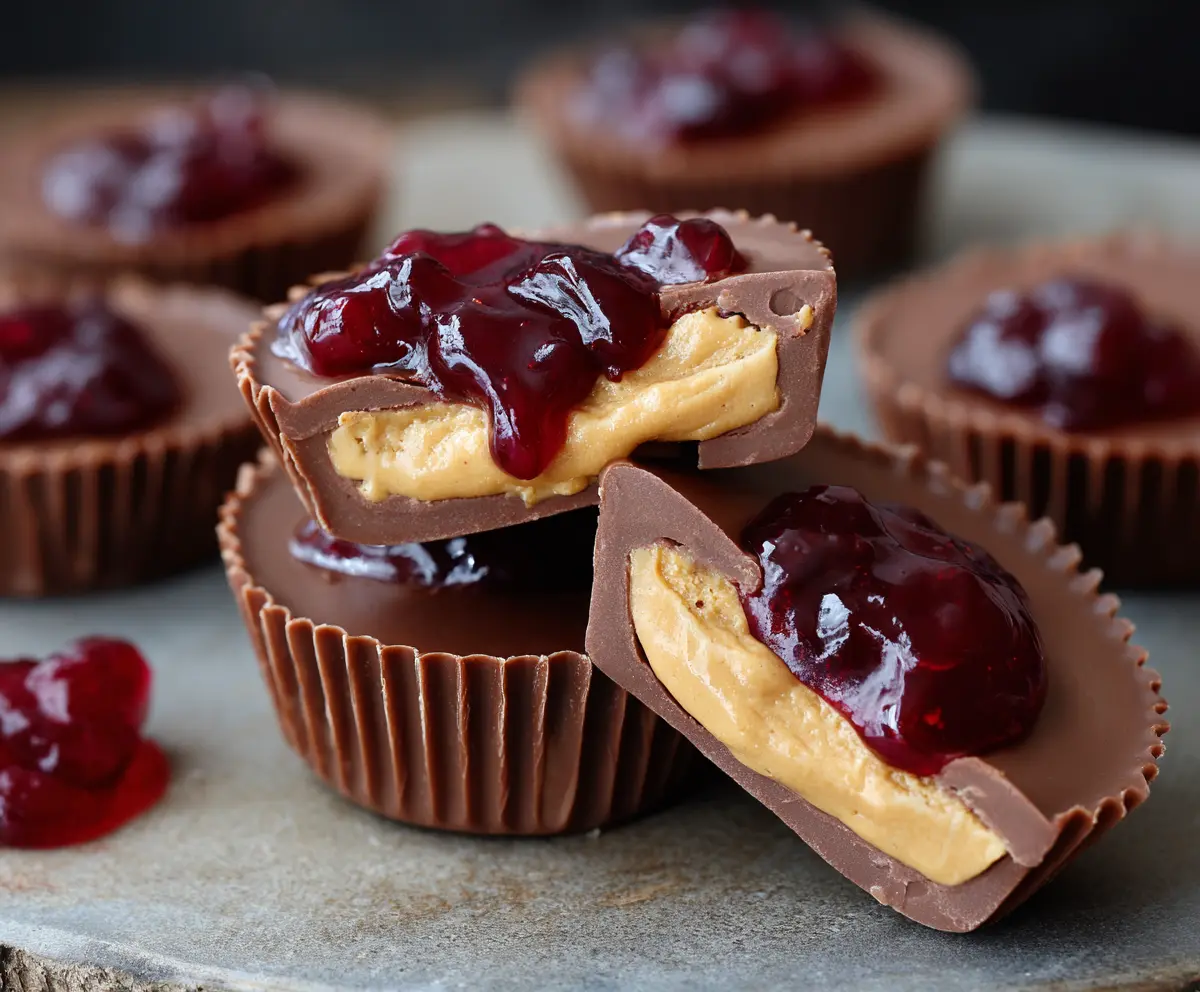
Peanut Butter and Jelly Cups are bite-sized treats that mix creamy peanut butter with sweet jelly, all wrapped in a crunchy chocolate shell. They’re like a fun twist on a classic sandwich!
These little cups are perfect for snack time or dessert. Trust me, once you pop one in your mouth, it’s hard to stop! They’re super easy to make too, just mix, layer, and chill. Yum!
Key Ingredients & Substitutions
Peanut Butter: Smooth peanut butter works best for a creamy filling. If you prefer chunky, go ahead! You can also use almond or sunflower butter if you have nut allergies.
Butter: Unsalted butter adds creaminess. If you need a dairy-free option, try using coconut oil or a nut-based margarine.
Powdered Sugar: This gives sweetness and helps bind the filling. For a healthier option, you can substitute honey or agave syrup, just adjust the quantity and consistency.
Chocolate Chips: Semi-sweet chocolate is classic, but you can use dark or milk chocolate based on your taste. For a dairy-free version, choose dairy-free chocolate chips.
Jelly or Jam: Any flavor you love works great! Raspberry and strawberry are popular choices, but you can also try peach or grape for something different.
How Do You Melt Chocolate Without Burning It?
Melting chocolate can be tricky, but here are some easy steps to do it right:
- Use a microwave-safe bowl. Start with 20-second intervals on medium power. This helps prevent overheating.
- After each interval, stir the chocolate well. Chocolate holds onto heat, so stirring helps it melt evenly.
- When it’s about 75% melted, stop heating and stir until it’s fully smooth. This will keep it from burning!
Always be patient – it’s better to melt slowly than to have burnt chocolate!
How to Make Peanut Butter And Jelly Cups
Ingredients You’ll Need:
For the Filling:
- 1 cup smooth peanut butter
- 1/4 cup unsalted butter, softened
- 1/4 cup powdered sugar
- 1/2 teaspoon vanilla extract
For the Chocolate Shell:
- 1 cup semi-sweet chocolate chips
- 1 tablespoon coconut oil or vegetable oil
For the Topping:
- 1/4 cup jelly or jam (strawberry, raspberry, or your choice)
Time Needed:
This recipe takes about 15 minutes of active preparation time, plus an additional 20 minutes of chilling time in total. Perfect for a quick yet delightful treat!
Step-by-Step Instructions:
1. Prepare the Muffin Tin:
Begin by lining a mini muffin tin with paper liners or using silicone mini muffin molds. This will make it easy to remove the cups later.
2. Melt the Chocolate:
In a microwave-safe bowl, add the chocolate chips and coconut oil. Melt them together in the microwave using 20-second intervals, stirring after each session until the mixture is smooth. Be careful not to overheat!
3. Create the Chocolate Shell:
Once melted, spoon about 1 teaspoon of the chocolate into the bottom of each muffin liner. Use the back of a spoon to spread it a little up the sides to form a nice shell. It doesn’t have to be perfect!
4. Chill the Chocolate Shell:
Place the muffin tin in the refrigerator for about 10 minutes. This allows the chocolate to set and harden.
5. Mix the Peanut Butter Filling:
In a medium bowl, mix together the peanut butter, softened butter, powdered sugar, and vanilla extract until everything is smooth and creamy. This is going to be the delicious filling!
6. Fill the Chocolate Shells:
Spoon about 1 to 1.5 teaspoons of the peanut butter mixture into each chocolate shell. Press gently to make sure they fill well without overflowing.
7. Firm the Peanut Butter Layer:
Chill the muffin tin in the refrigerator for another 5 minutes. This helps to firm up the peanut butter layer before adding more chocolate on top.
8. Add the Chocolate Top:
Carefully spoon another teaspoon of melted chocolate over the peanut butter filling, smoothing the tops so they look nice.
9. Final Chill:
Return the muffin tin to the refrigerator for 10 more minutes until the top layer hardens.
10. Top with Jelly:
Finally, top each cup with a small dollop (about 1/2 teaspoon) of jelly or jam for that classic peanut butter and jelly flavor.
11. Serve and Enjoy:
Keep the Peanut Butter and Jelly Cups refrigerated until you’re ready to serve them. Enjoy these chilled treats that blend creamy, crunchy, and sweet all in one delightful bite!
Can I Use Natural Peanut Butter Instead of Smooth Peanut Butter?
Yes, you can use natural peanut butter, but keep in mind that it may be a bit oilier and could affect the consistency. Stir it well to combine before using, and you might want to reduce the butter slightly for a firmer filling.
How Should I Store Leftovers?
Store the Peanut Butter and Jelly Cups in an airtight container in the refrigerator. They will stay fresh for up to one week. Just keep in mind that they taste best when chilled!
Can I Make These Cups Dairy-Free?
Absolutely! You can substitute the unsalted butter with a dairy-free margarine or additional coconut oil. For the chocolate, use dairy-free chocolate chips to make this treat completely dairy-free!
What If I Don’t Have Mini Muffin Tins?
No worries! You can use a regular muffin tin, but be prepared for larger cups. Just adjust the filling amounts accordingly, and remember the chilling time might increase slightly for larger cups.