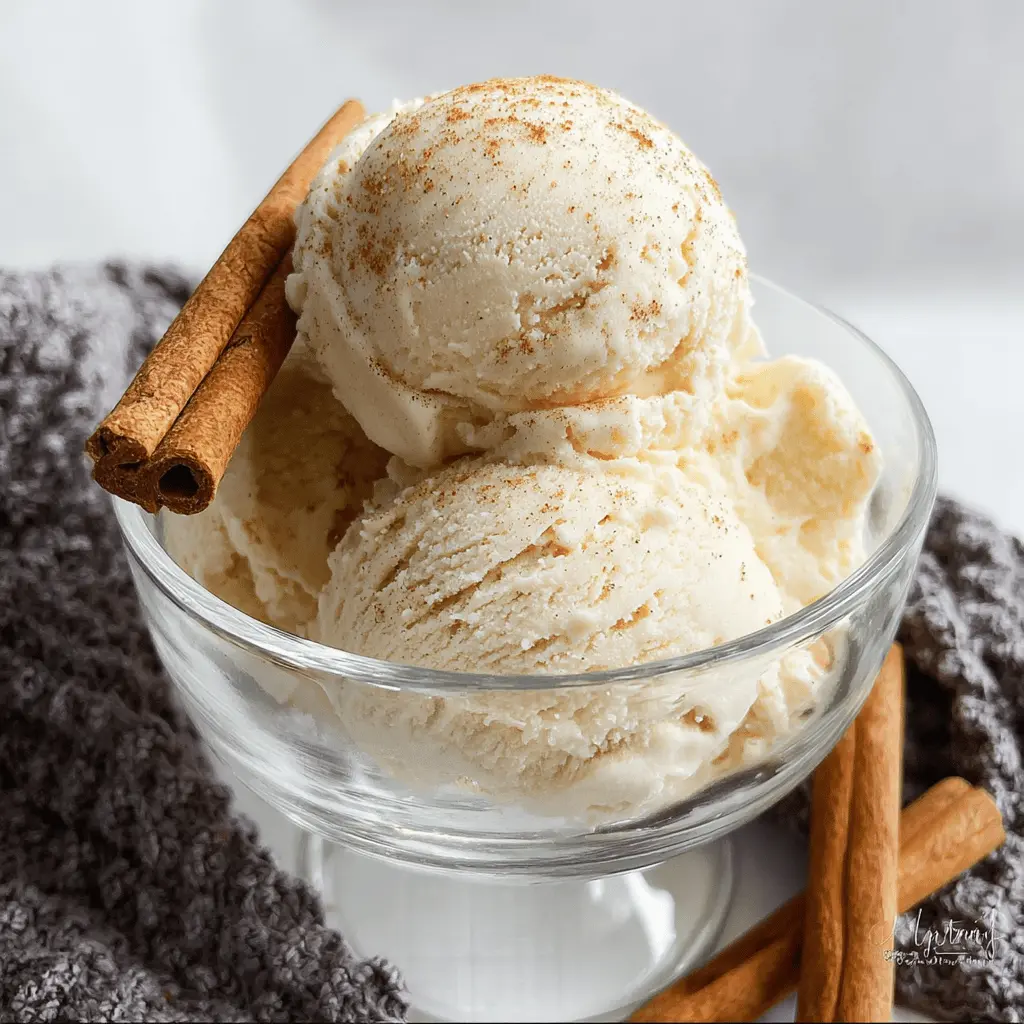
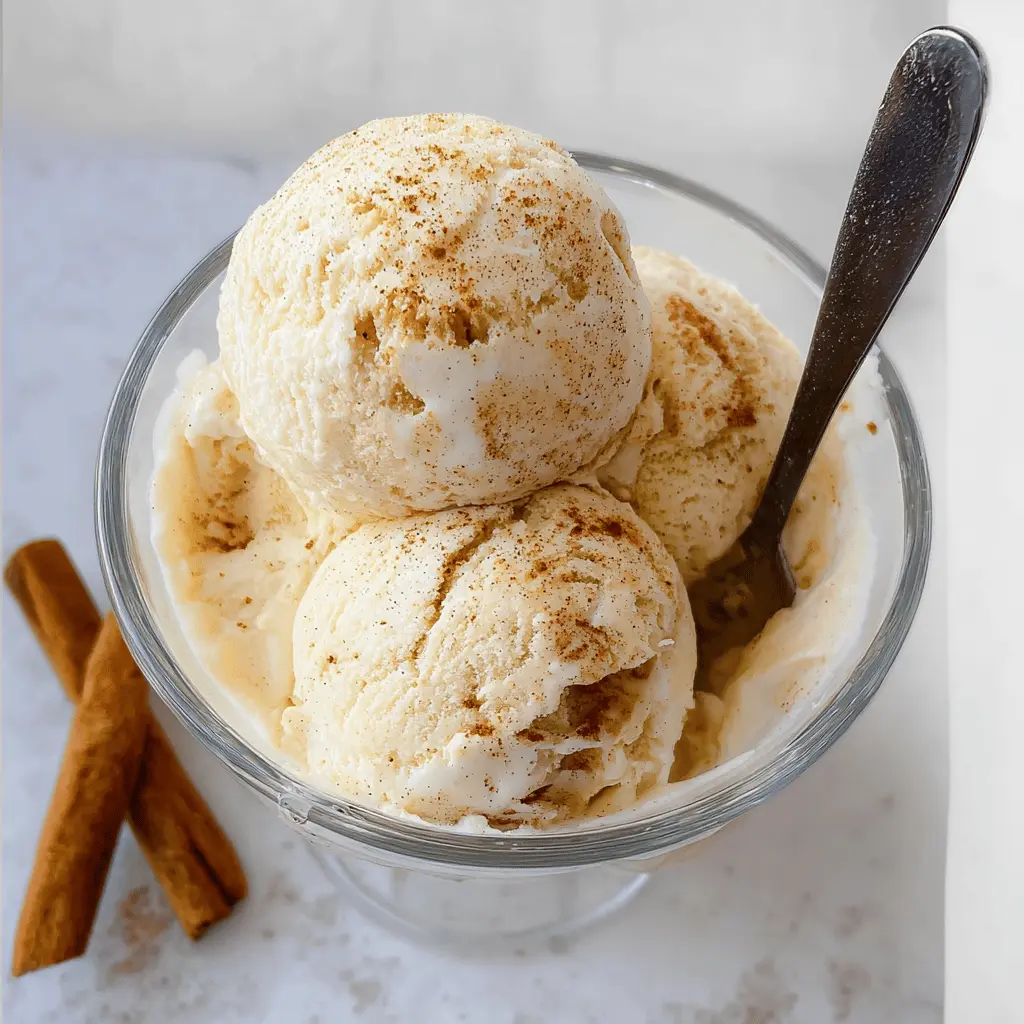
This creamy homemade eggnog ice cream is perfect for the holiday season! With rich flavors of nutmeg and vanilla, it brings the festive spirit to your dessert table.
Making this ice cream is a fun activity! I love to whip it up while listening to holiday music. Serve it with a sprinkle of nutmeg on top—it’s a cozy treat you’ll enjoy all winter long!
Key Ingredients & Substitutions
Heavy Cream: This is key for the creamy texture. If you’re looking for a lighter version, you can substitute half-and-half, but the ice cream won’t be as rich.
Eggs: The egg yolks create a custard base that’s smooth. If you’d prefer to skip the eggs, try using a store-bought eggnog that includes cream; just reduce the added sugar if needed.
Eggnog: Use store-bought or homemade. If you’re avoiding dairy, look for non-dairy eggnog options available in stores.
Nuts: The nutmeg adds the classic eggnog flavor. If you don’t have nutmeg, try using cinnamon or allspice. Just be cautious as these are stronger than nutmeg.
Bourbon or Rum: This adds a festive kick. For a non-alcoholic version, just leave it out or substitute with vanilla extract for the flavor.
How Can I Make Sure My Custard is Perfectly Thick?
Getting the custard thick is crucial for great ice cream. Here’s how to do it right:
- Use medium-low heat to avoid boiling and curdling the eggs.
- Stir continuously with a wooden spoon or spatula, scraping the bottom to prevent sticking.
- Watch for the custard to coat the back of the spoon. If you run your finger through it, it should leave a line.
Keeping an eye on the temperature is also key; if you have a thermometer, aim for 170-175°F to ensure it thickens properly.
How to Make Creamy Homemade Eggnog Ice Cream
Ingredients You’ll Need:
- 2 cups heavy cream
- 1 cup whole milk
- 4 large egg yolks
- 2/3 cup granulated sugar
- 1/2 cup eggnog (store-bought or homemade)
- 1 teaspoon pure vanilla extract
- 1/2 teaspoon ground nutmeg, plus extra for garnish
- Pinch of salt
- Optional: 1 tablespoon bourbon or rum (for adult version)
How Much Time Will You Need?
This recipe will take about 15 minutes of active preparation time, plus at least 4 hours of chilling time and 4 hours to freeze the ice cream. If you can, let it chill overnight for the best flavor and texture. So, plan for a cozy afternoon of ice cream making!
Step-by-Step Instructions:
1. Heat the Cream Mixture:
In a medium saucepan, combine the heavy cream, whole milk, and half of the ground nutmeg. Slowly heat the mixture over medium heat until it is hot but not boiling. This should take about 5 minutes. Keep an eye on it and stir occasionally.
2. Whisk the Egg Yolks and Sugar:
While the milk and cream are warming, grab a medium bowl and use a whisk to beat together the egg yolks and granulated sugar until they become pale and thick. This creates a beautiful base for your ice cream.
3. Temper the Eggs:
Once your cream mixture is hot, carefully pour about half a cup of it into the egg yolk mixture while whisking constantly. This step is important because it warms the eggs slowly, preventing them from scrambling. Just keep whisking!
4. Combine the Mixtures:
Now, add the tempered egg yolk mixture back into the saucepan with the rest of the hot cream mixture. This brings everything together beautifully.
5. Cook the Custard:
Continue to cook over medium-low heat, stirring constantly with a wooden spoon or spatula. You’re looking for the custard to thicken enough to coat the back of the spoon. This should take about 5-7 minutes, but do not let it boil. A temperature range of 170-175°F (77-80°C) is perfect!
6. Stir in Flavorings:
Once thickened, remove the saucepan from heat. Stir in the eggnog, vanilla extract, salt, and if you’re using it, the bourbon or rum. This is where the flavor magic happens!
7. Straining the Custard:
To ensure a smooth texture, pour the custard through a fine-mesh sieve into a clean bowl. This will catch any little bits of cooked egg. Say goodbye to any lumps!
8. Cool and Chill:
Let the custard cool to room temperature. Once it’s cool, cover it and pop it into the refrigerator for at least 4 hours, or even overnight, so it’s very cold before churning.
9. Churn the Ice Cream:
Take your chilled custard and pour it into an ice cream maker. Churn according to the manufacturer’s instructions until the mixture reaches a soft-serve consistency.
10. Freeze to Firm Up:
Transfer the ice cream to a freezer-safe container. Spread it out evenly and cover it. Freeze for at least 4 hours until firm. Trust me; it’s worth the wait!
11. Serve and Enjoy:
When you’re ready to serve, scoop the ice cream into bowls or cones. Add a sprinkle of the remaining ground nutmeg on top, and if you like, garnish with cinnamon sticks. Enjoy your homemade creamy eggnog ice cream with family and friends!
This festive treat is perfect for holiday gatherings or as a cozy dessert at home. Enjoy every creamy bite!
Frequently Asked Questions (FAQ)
Can I Substitute the Heavy Cream with a Lower-Fat Option?
While heavy cream gives the ice cream its rich and creamy texture, you can substitute half of it with half-and-half for a slightly lighter version. Just keep in mind that the final texture may be less creamy.
How Long Can I Store Leftover Eggnog Ice Cream?
You can store any leftover eggnog ice cream in an airtight container in the freezer for up to 2 weeks. To maintain the best texture, make sure it’s well-sealed and avoid frequent temperature changes by not removing it from the freezer too often.
What if My Custard Doesn’t Thicken Properly?
If your custard isn’t thickening, ensure you’re cooking it over low to medium-low heat while stirring continuously. If it still doesn’t thicken, you can try cooking it a bit longer, or you may need to start over, as getting this step right is crucial for creamy ice cream!
Can I Use Store-Bought Eggnog Instead of Homemade?
Absolutely! Store-bought eggnog is a convenient option and ensures you get the holiday flavor without the extra effort. Just be sure to choose a high-quality brand for the best taste!