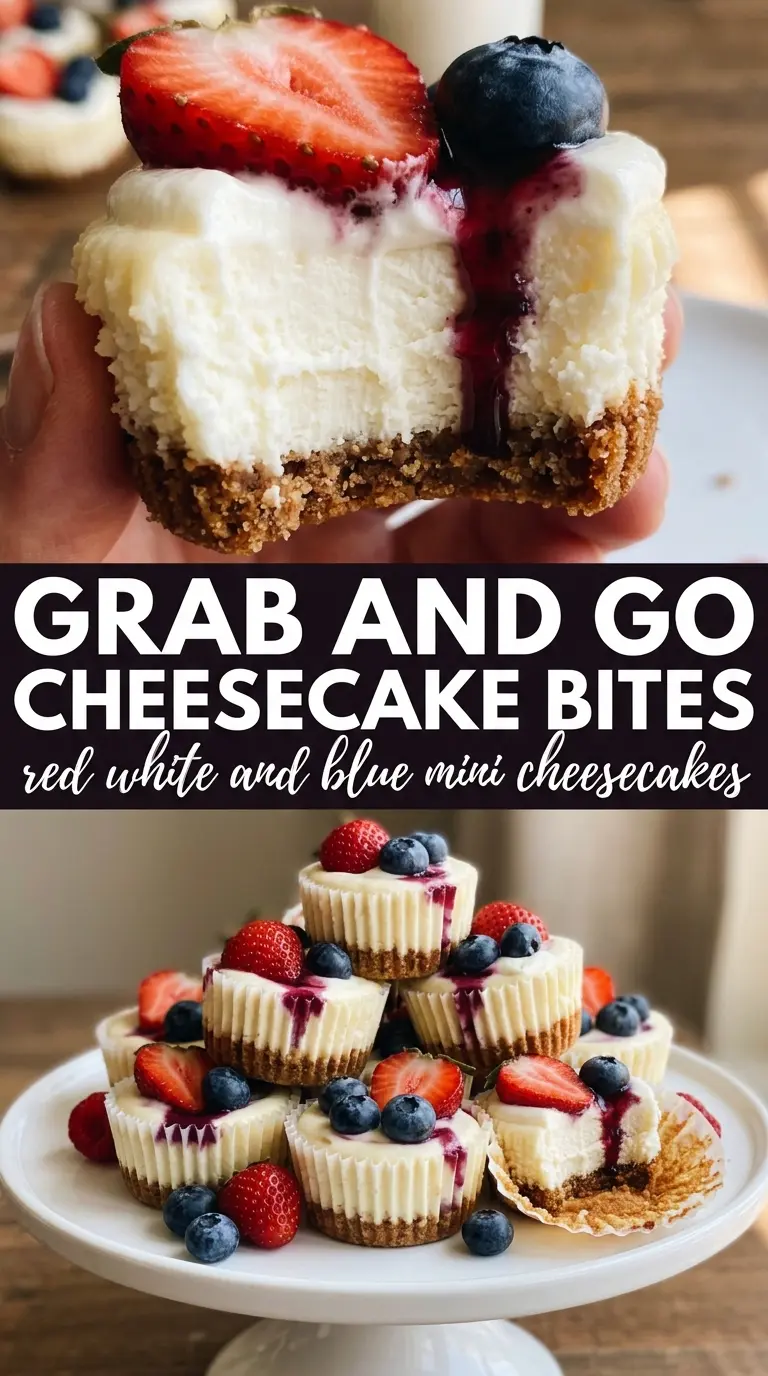
These red, white and blue mini cheesecakes bake up with a smooth, creamy center, a cookie crust that stays crisp underneath, and a chilled finish that makes them easy to serve one at a time. Each little cheesecake feels polished without being fussy, which is exactly why I keep coming back to this style for parties where desserts need to look special but still hold their shape on a plate.
The trick is in the mixing and the bake. Cream cheese that’s properly softened blends into a silky base without lumps, and the eggs go in one at a time so the batter stays light instead of turning dense. Bake only until the centers still have the tiniest wobble; if you wait for them to look fully set in the oven, they’ll end up dry after chilling. The strawberries and blueberries go on after the cheesecakes are cold, so the fruit stays fresh and the whipped cream doesn’t slide off.
Below you’ll find the exact cue I use to tell when these are done, plus a few smart swaps and make-ahead notes for when you need a dessert that travels well and still looks festive.
The centers set up exactly right and the cookie bottoms stayed crisp even after chilling overnight. I topped them with strawberries and blueberries right before serving, and they looked like something from a bakery case.
Love how these red, white and blue mini cheesecakes set up with that creamy center? Save them to Pinterest for your next patriotic dessert table.
The Reason These Mini Cheesecakes Set Up Cleanly Instead of Cracking
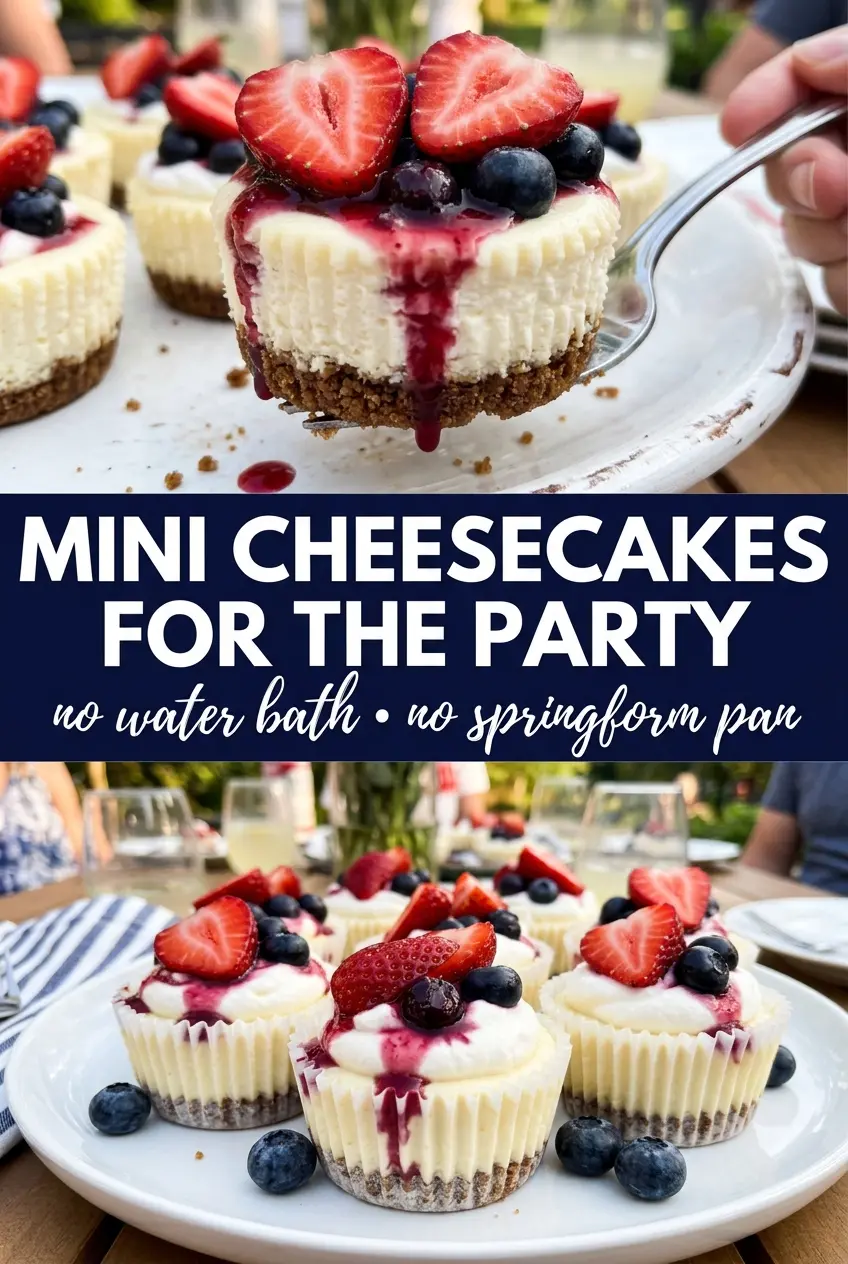
Mini cheesecakes crack for the same reasons full-size ones do: too much air in the batter, overbaking, or a sudden temperature change. This version avoids all three. The batter gets mixed just until smooth, which keeps it dense and creamy instead of fluffy, and the short bake time means the centers finish setting from residual heat after they come out of the oven.
The muffin tin changes the game here. Smaller cheesecakes cook more evenly, so you don’t need a water bath, and the paper liners make it easy to lift each one out without gouging the crust. If the tops puff a little in the oven, that’s fine; they should settle as they cool and chill. What you’re watching for is a center that still jiggles slightly when the pan is nudged, not a cheesecake that looks dry all the way through.
What Each Ingredient Is Actually Doing in These Mini Cheesecakes
- Golden Oreo or Oreo cookies — One cookie in the bottom of each liner gives you a fast, sturdy crust without having to crush and mix anything. Golden Oreos lean sweeter and more vanilla-forward, which fits the whipped cream and fruit topping especially well. Regular Oreos work too, but they add a darker chocolate note that changes the look and flavor.
- Cream cheese — This is the base of the filling, so quality matters more here than anywhere else. Full-fat blocks give the smoothest texture; tub-style cream cheese can make the batter softer and less stable. It needs to be softened all the way through so it beats smooth without little lumps hiding in the batter.
- Sour cream — Just a quarter cup makes the filling taste cleaner and a little tangier, which balances the sugar and keeps the cheesecakes from tasting flat. If you don’t have it, plain full-fat Greek yogurt is the closest swap, though the filling will be slightly less rich.
- Eggs — Eggs set the filling. Add them one at a time and mix just until each one disappears; that keeps the batter from getting too much air, which is how tiny cheesecakes puff and crack instead of staying smooth.
- Fresh berries and whipped cream — These are for freshness and contrast, not just decoration. Add them after chilling so the berries stay bright and the cream keeps its shape. Frozen berries aren’t the right choice here because they bleed and soften the tops.
How to Bake the Centers Just Until They Barely Move
Setting Up the Pan
Line the muffin tin with cupcake liners and put one cookie in the bottom of each cup before you mix the batter. That keeps the crust layer neat and even, and it also saves you from pressing crumbs individually. Use a standard 12-cup tin; if the liners are flimsy, the cheesecakes can spread a little at the sides, so choose sturdy ones if you have them.
Mixing the Filling Without Whipping in Air
Beat the cream cheese and sugar until the mixture turns smooth and satiny, then add the eggs one at a time. Stop as soon as the batter looks uniform. If you keep beating after the eggs go in, you trap air, and that air expands in the oven and collapses as the cheesecakes cool, leaving tiny cracks on top.
Watching for the Right Bake
Spoon the batter into the cups until they’re about three-quarters full, then bake at 325°F until the edges look set and the centers still wobble just a little when you tap the pan. They should not look wet, but they also shouldn’t look firm all the way through. Pull them at that stage, because the carryover heat does the last bit of work while they cool.
Cooling Before the Chill
Let the pan sit on the counter for 30 minutes before moving the cheesecakes to the refrigerator. That short rest helps them settle without pulling away from the liners too fast. Once they’re chilled for at least 2 hours, the texture firms up enough to handle the toppings cleanly, and the flavor turns more balanced and cheesecake-like instead of warm and eggy.
How to Adapt These Mini Cheesecakes for Different Crowds
Gluten-Free Crust Swap
Use a gluten-free sandwich cookie in place of the Oreo or Golden Oreo. You still get the same easy one-cookie base, and the filling doesn’t need any changes. The only thing to watch is the cookie size; if the cookies are larger or thinner than standard Oreos, press them lightly so they sit flat in the liner.
Dairy-Free Version
Use a dairy-free cream cheese that comes in block form and a plant-based sour cream substitute. The texture will be a little softer and the tang less pronounced, but the mini format still helps them set well. Skip the whipped cream topping or use a non-dairy version right before serving so it doesn’t deflate.
Chocolate Crust Variation
Use regular Oreos instead of Golden Oreos for a deeper chocolate base. That version tastes a little richer and looks more dramatic under the red and blue berries, but the crust reads less classic vanilla-cheesecake and more cookies-and-cream. It’s the easiest change if you want a less sweet contrast.
Storage and Reheating
- Refrigerator: Store covered for up to 4 days. The crust stays nicest in the first 2 days, but the filling holds well after that.
- Freezer: Freeze the cheesecakes without the fruit and whipped cream for up to 1 month. Wrap each one tightly and thaw overnight in the refrigerator before decorating.
- Reheating: Don’t reheat these. Cheesecake is meant to stay chilled, and warming it softens the filling and makes the crust soggy.
Answers to the Questions Worth Asking
Red, White and Blue Mini Cheesecakes
Ingredients
Equipment
Method
- Preheat the oven to 325°F and line a 12-cup muffin tin with cupcake liners, keeping the tin ready for filling.
- Place one Oreo cookie flat in the bottom of each liner so the crust forms a solid base.
- Beat the cream cheese and granulated sugar until smooth, scraping the sides as needed for a creamy texture.
- Add the eggs one at a time, mixing well after each to fully incorporate before moving on.
- Beat in the vanilla extract and sour cream until the batter looks uniform and glossy.
- Divide the batter evenly among the 12 cups, filling about 3/4 full so the cheesecakes rise with room to set.
- Bake at 325°F for 18–20 minutes, until the centers are just barely set with a soft jiggle; they will firm as they cool.
- Cool in the pan for 30 minutes to help them finish setting before chilling.
- Refrigerate for at least 2 hours so the mini cheesecakes are fully chilled and sliceable.
- Before serving, top each cheesecake with a swirl of whipped cream for a smooth, decorative finish.
- Add a strawberry slice to each mini cheesecake so the topping looks red and fresh at the center.
- Top with a few blueberries, forming a blue layer over the cream and creating the red-white-blue look.
- Finish each cheesecake with a pinch of red and blue sprinkles for a colorful crown.