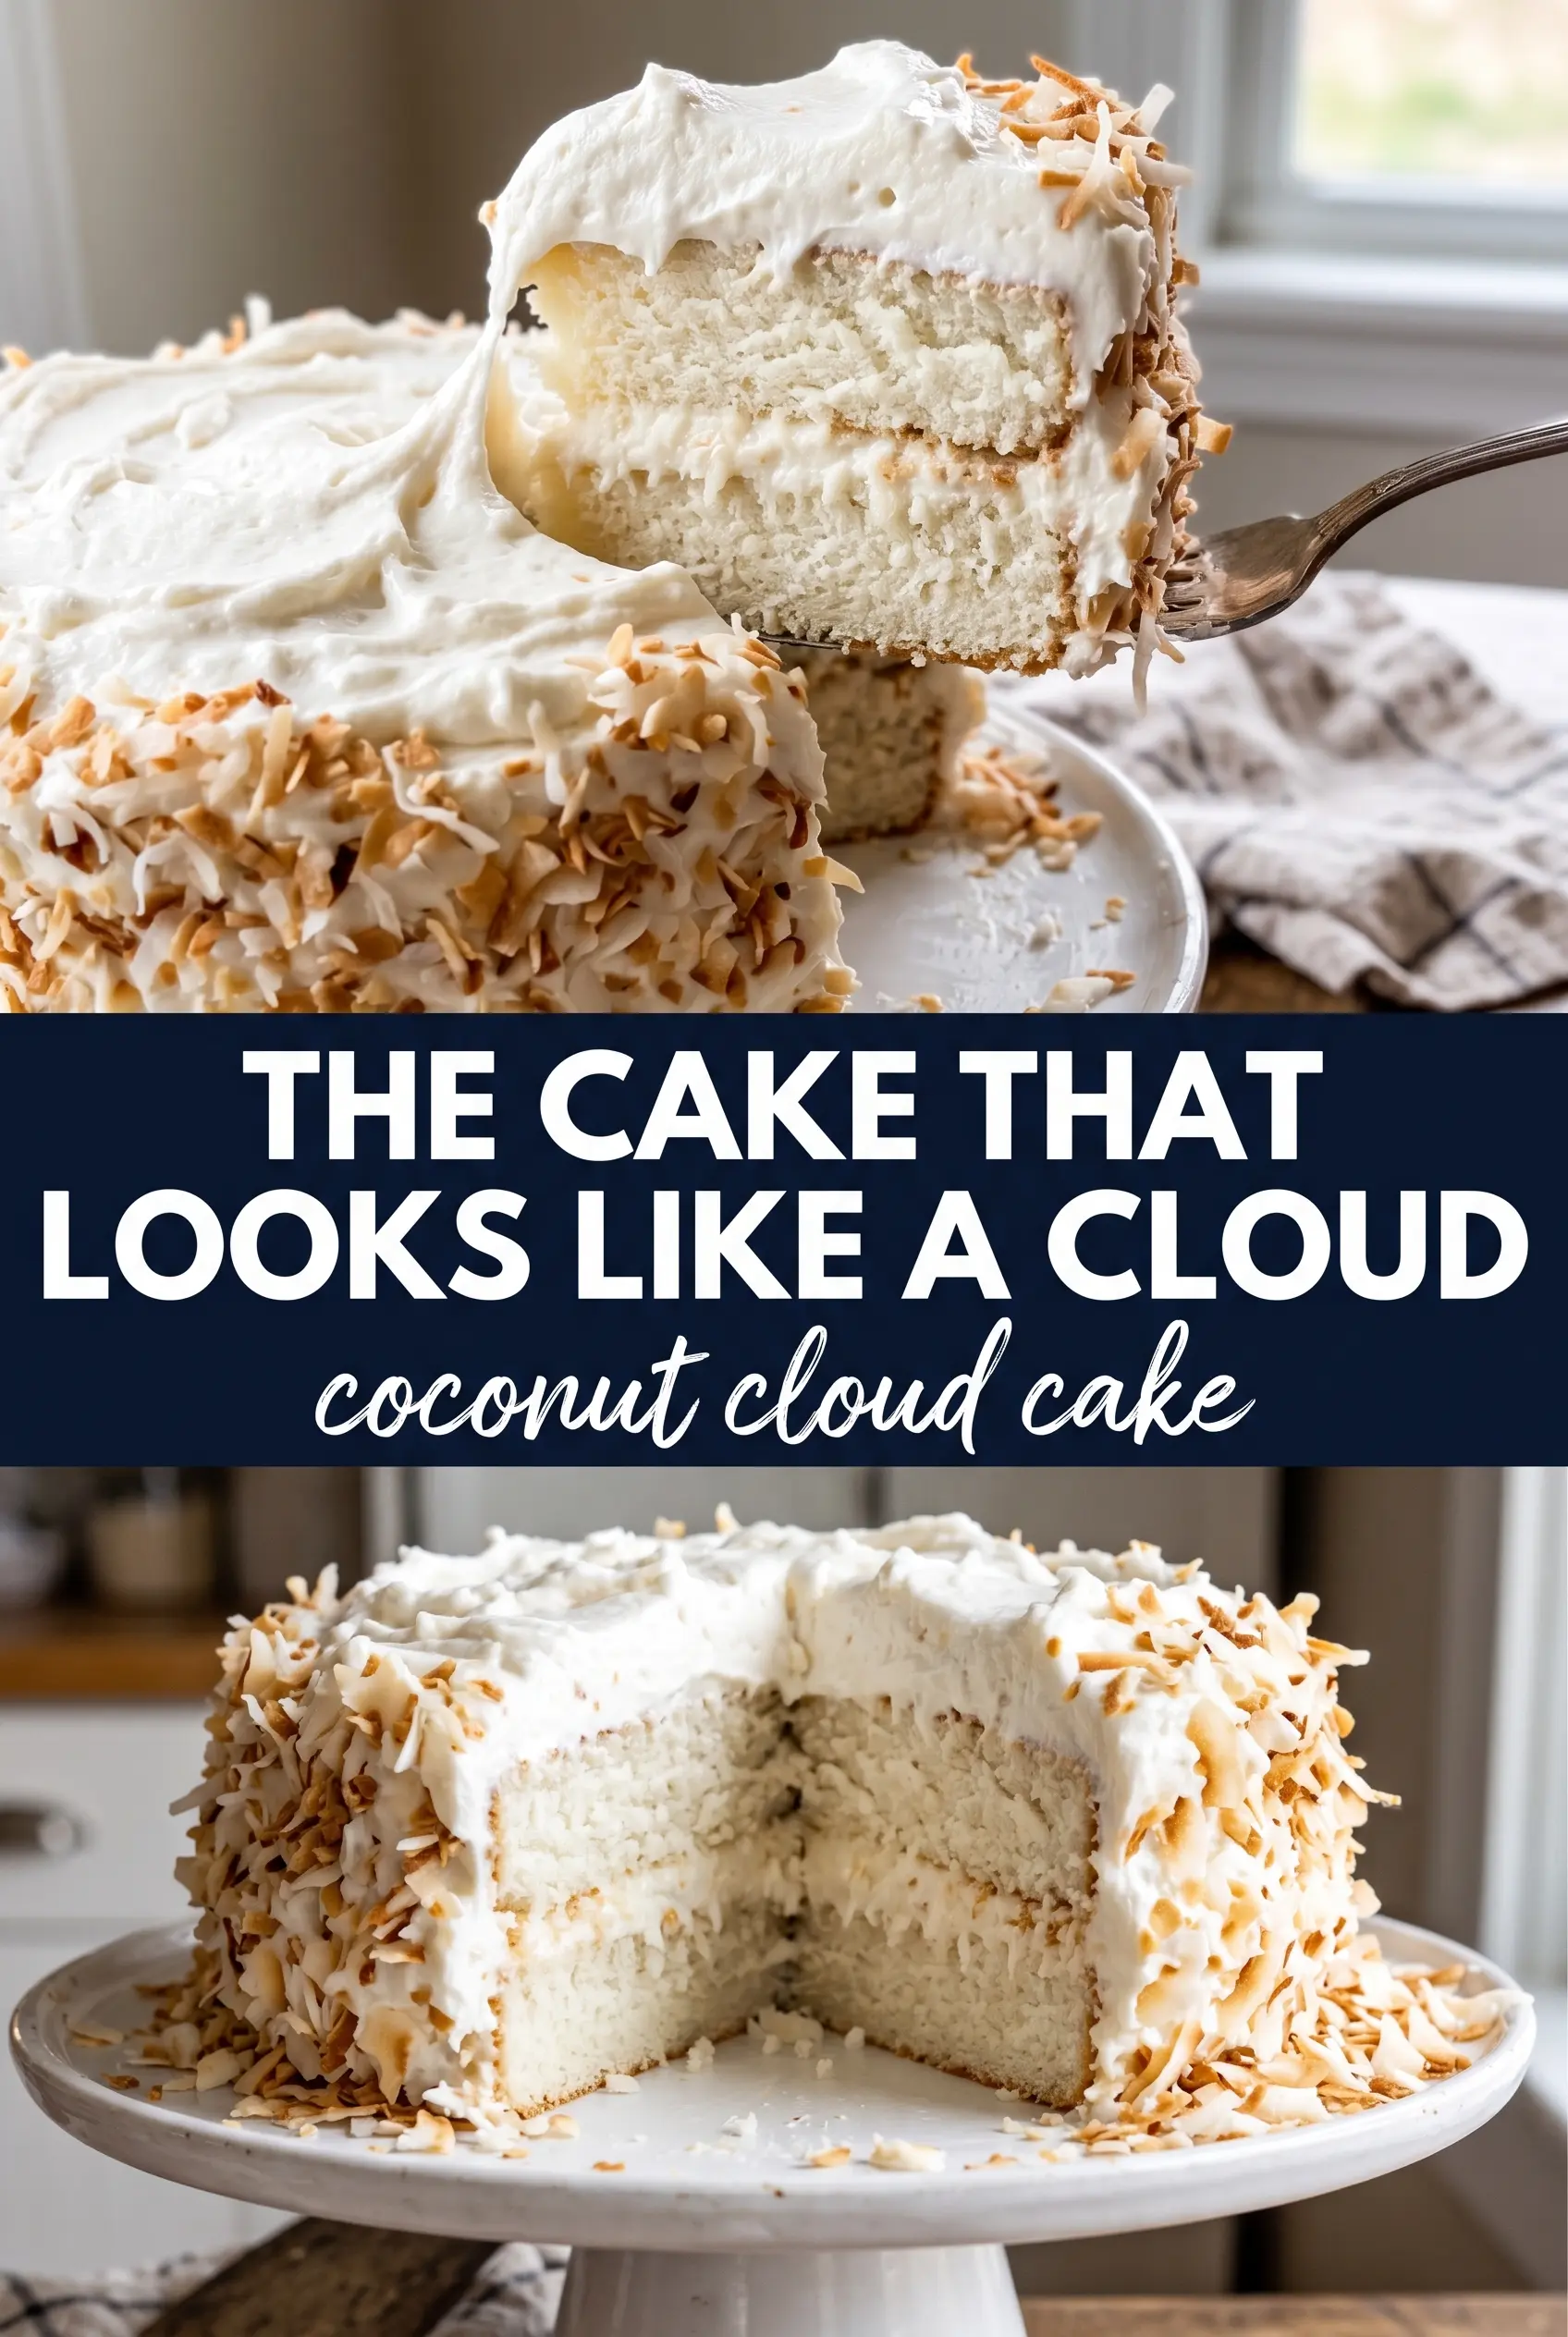
Coconut Cloud Cake earns its name the first time you slice into it. The crumb stays light and tender, the frosting lands rich but not heavy, and the toasted coconut coating gives every bite a little crunch before it melts into that soft cream cheese layer. It looks dramatic on the table, but the real appeal is how cleanly the flavors and textures balance each other.
The trick is keeping the cake batter airy without drying it out. Softened butter beaten with sugar traps the air that gives the layers lift, while coconut milk and a handful of shredded coconut keep the crumb moist and recognizable as coconut, not just sweet vanilla cake with coconut on top. The frosting is built from cream cheese and butter, which gives enough structure to hold the toasted coconut outside without sliding around.
Below, I’ve included the one step that matters most when you want those toasted flakes to cling evenly, plus a few small swaps that help if you’re baking for a different pan size or need a dairy-free direction.
The frosting set up beautifully and the toasted coconut stayed on the sides instead of falling off everywhere. I baked it the day before, and the layers were still soft and moist the next morning.
Love that tall, toasted finish on Coconut Cloud Cake? Save this one for the next time you want a fluffy layer cake with a creamy frosting and a full coconut coating.
The Reason This Cake Stays Light Instead of Heavy
The difference between a cake that eats like a cloud and one that sinks into a dense brick comes down to how much air you build into the batter before the flour goes in. Once flour is added, mixing has to stay brief. Overbeating at that point tightens the crumb and knocks out the lift you worked for at the start.
The coconut milk matters here because it brings moisture without thinning the batter the way plain milk can. The shredded coconut folded in at the end adds little pockets of texture, but it only works if the batter is already properly aerated. If the cake tastes fine but feels compact, the issue is usually under-creamed butter and sugar or overmixed flour.
- Butter and sugar — Beat these until the mixture looks pale and fluffy. That step is what traps air for the cake’s structure.
- Coconut milk — Use full-fat canned coconut milk if you can. Carton coconut milk is thinner and can make the batter less rich.
- Shredded coconut — Fold it in gently. It adds texture without weighing the cake down if you stop mixing as soon as it disappears into the batter.
- Coconut extract — This is what makes the coconut flavor read clearly without needing to overload the batter with coconut, which can turn the crumb dry.
What the Cake, Frosting, and Toasted Coconut Each Need From You
- All-purpose flour — This gives the cake enough structure to hold up under a thick frosting and a full coconut coating. Cake flour will make it a little softer, but it can also make the layers more fragile when you stack and frost them.
- Cream cheese — Don’t swap this for whipped topping or thin buttercream if you want the same look and tang. Cream cheese frosting is what keeps the cake from tasting overly sweet and helps the coconut stick.
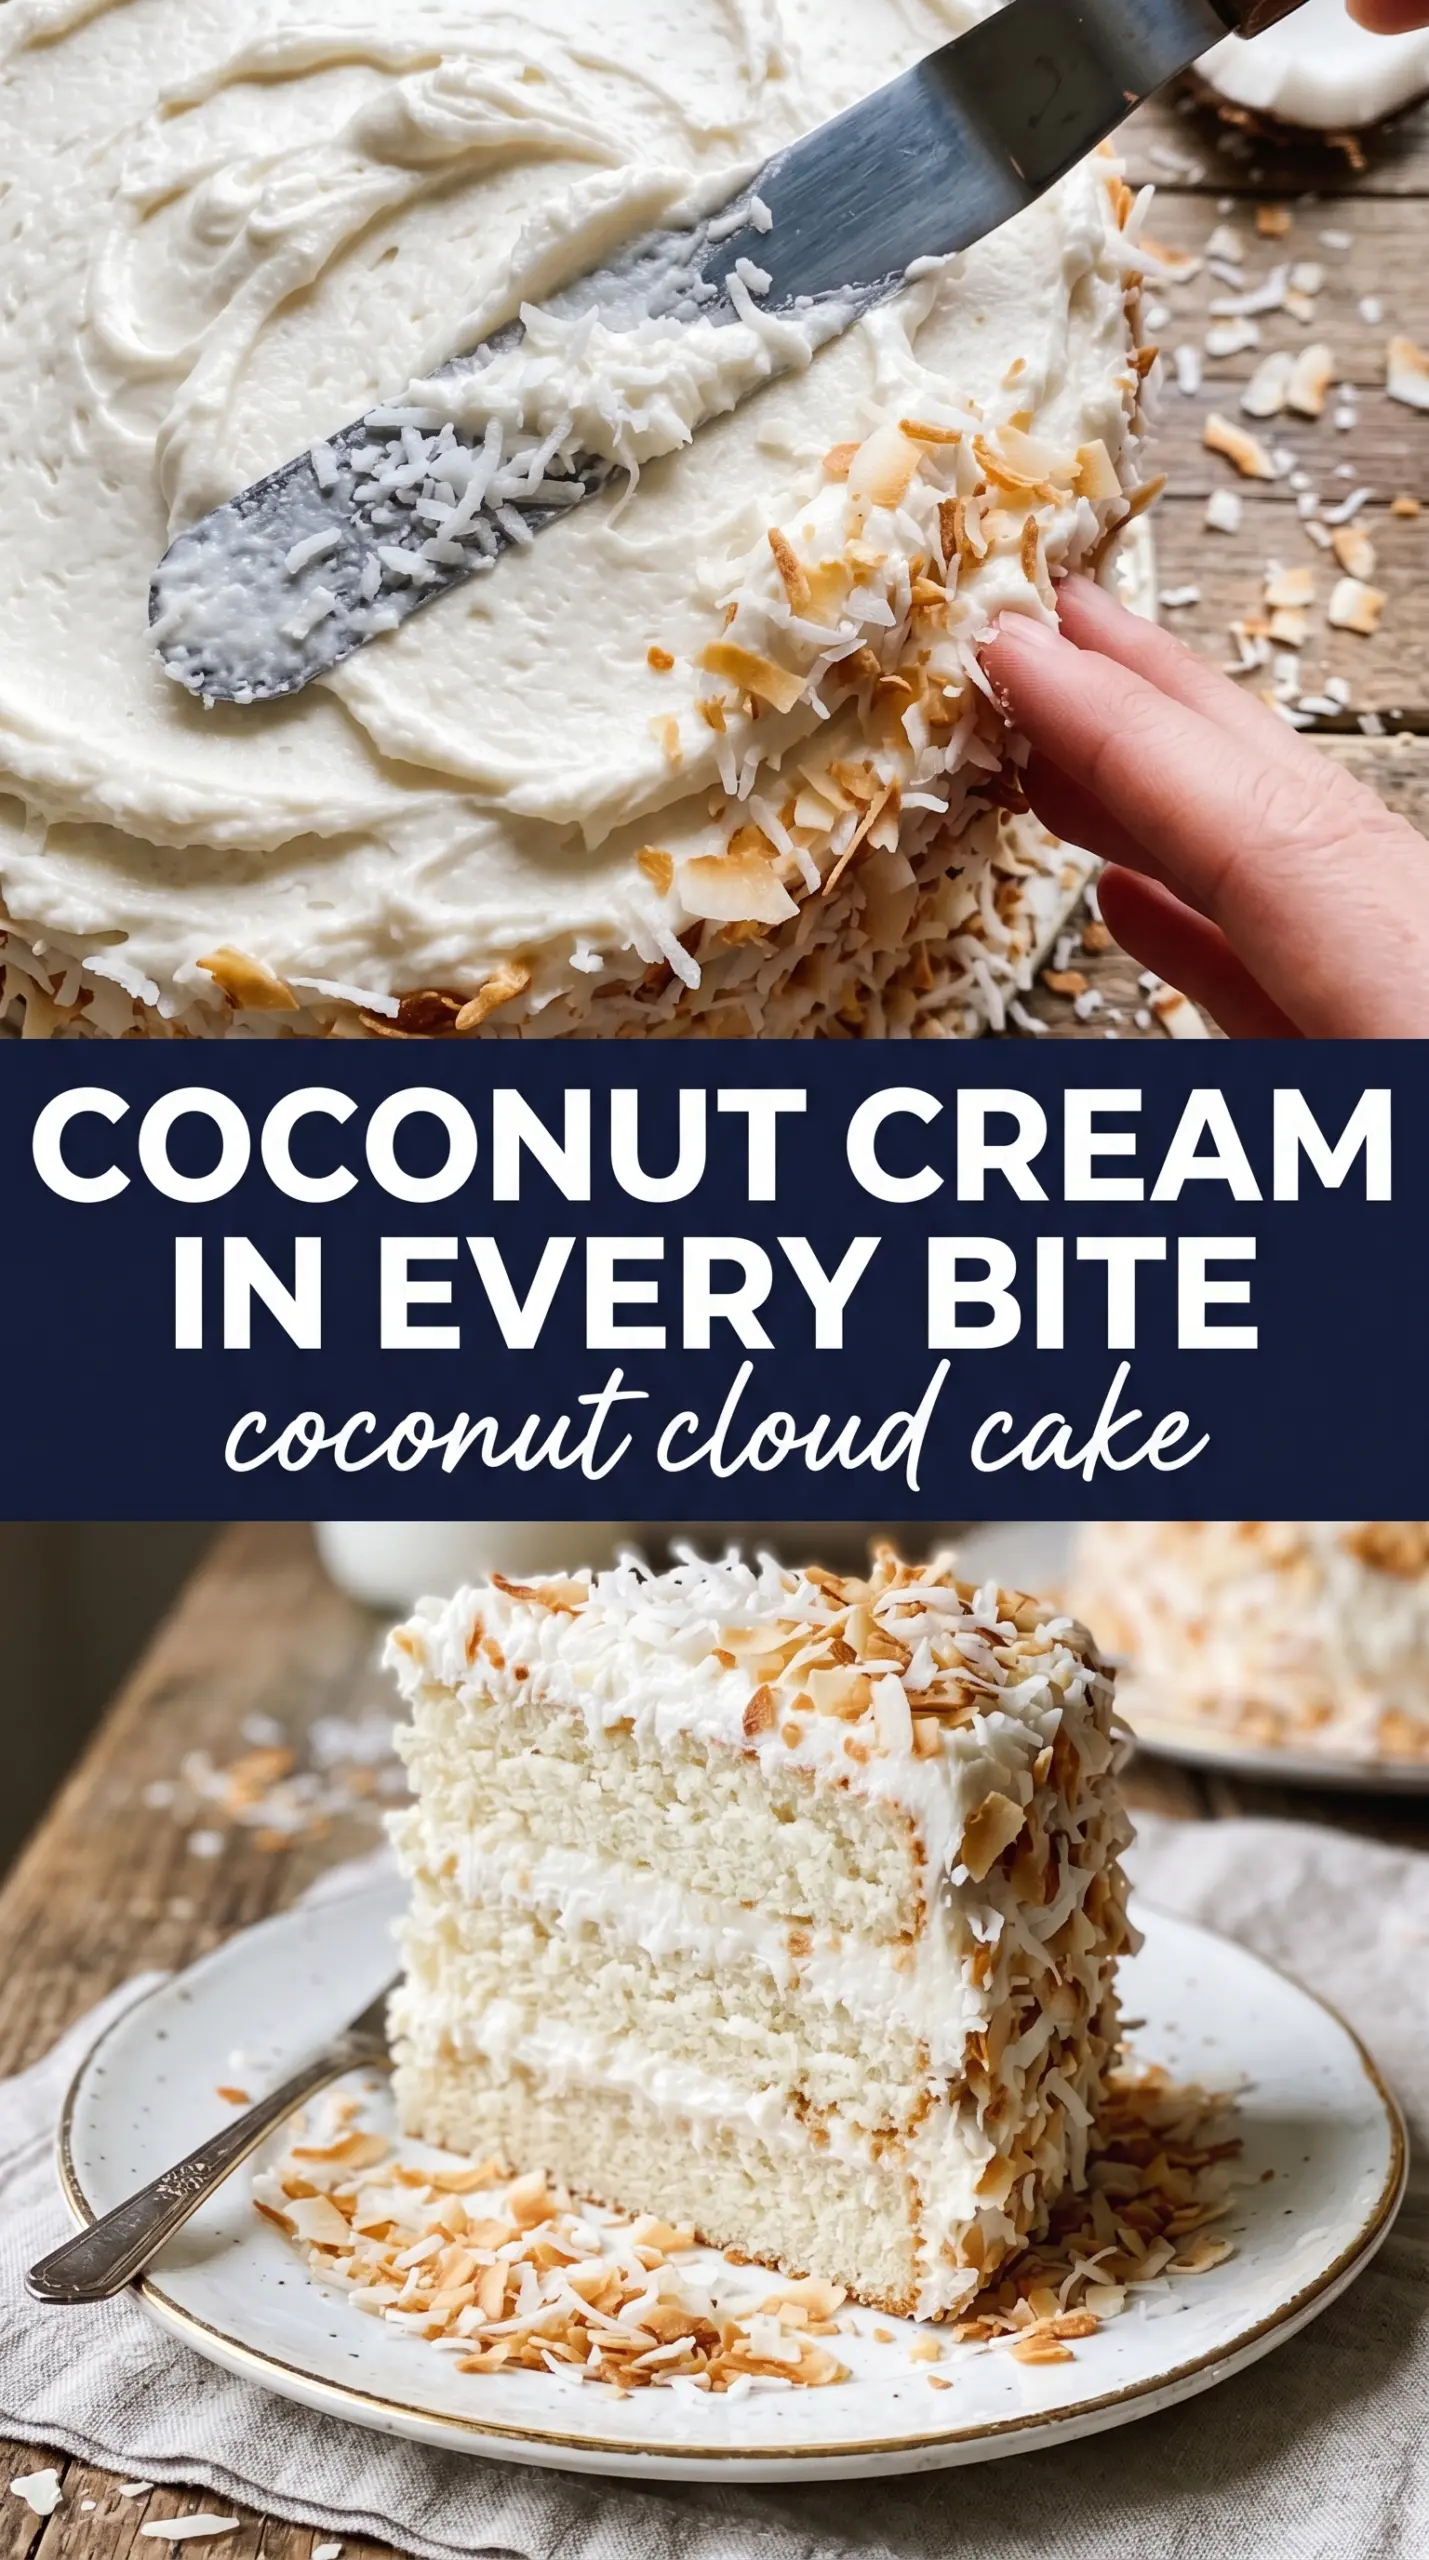
- Toasted shredded coconut — Toast it until the edges turn golden and fragrant, then cool it before coating the cake. Warm coconut will soften the frosting and slide off instead of clinging.
- Butter — Softened butter matters in both the cake and frosting. If it’s too cold, it won’t cream properly; if it’s melted, the layers lose lift and the frosting turns greasy.
Building the Layers Without Losing the Air
Mixing the Base
Start by beating the butter and sugar until the mixture looks lighter in color and fluffy enough to hold soft ridges. That stage is doing the heavy lifting for the cake’s texture. Add the eggs one at a time so the batter stays smooth instead of curdled, and scrape the bowl after each addition. If the mixture looks broken, keep going at medium speed; it usually comes back together once the flour and coconut milk go in.
Adding the Dry and Wet Ingredients
Alternate the flour mixture and coconut milk in additions, ending with flour. That keeps the batter from tightening up too fast and helps it stay smooth. Stop mixing as soon as the last streaks of flour disappear. If you keep beating here, the cake can bake up tough instead of soft and springy.
Baking and Cooling
Divide the batter evenly so the layers bake at the same rate, then pull them from the oven when the centers spring back and a toothpick comes out clean or with a few moist crumbs. Let the cakes cool completely before frosting. If they’re even a little warm, the cream cheese frosting softens, the layers slide, and the coconut coating won’t stay put.
Frosting and Coating
Beat the cream cheese and butter until smooth before adding the powdered sugar. The frosting should be thick enough to spread in swirls without running. Once the cake is fully frosted, press the toasted coconut flakes firmly onto the sides and top with your hand. Don’t sprinkle them lightly; pressing is what gives that full, even coating and keeps the flakes from falling off when you slice it.
How to Adapt This Cake for Different Kitchens and Different Needs
Dairy-Free Version
Use a plant-based butter and a dairy-free cream cheese that can hold its shape when beaten. The cake itself adapts well because the coconut milk already carries a lot of the richness. The frosting will taste a little less tangy, so the coconut extract and toasted coconut become even more important for keeping the flavor clear.
Cupcake Version
This batter bakes well as cupcakes, but start checking a few minutes early because the coconut can make the tops color faster. Fill liners about two-thirds full and frost only after they’re completely cool. You’ll get the same fluffy crumb, just with a little more browned edge and a shorter bake time.
Sheet Cake Shortcut
Bake the batter in a 9×13-inch pan if you want a simpler dessert with less decorating. The cake will be a bit thinner, so shorten the baking time and spread the frosting all the way to the edges. You lose the tall layer-cake drama, but the coconut flavor still comes through beautifully.
Storage and Reheating
- Refrigerator: Store covered for up to 4 days. The cake stays moist, and the frosting firms up a little, which actually helps the layers slice cleanly.
- Freezer: Freeze unfrosted layers tightly wrapped for up to 2 months, or freeze frosted slices if you wrap them well. The coconut coating softens a bit after thawing, but the cake itself holds up.
- Reheating: This cake isn’t meant to be reheated. Let refrigerated slices sit at room temperature for 20 to 30 minutes before serving so the frosting softens and the crumb tastes tender again.
Answers to the Questions Worth Asking
Coconut Cloud Cake
Ingredients
Equipment
Method
- Preheat the oven to 350°F and grease three 8-inch or two 9-inch round cake pans; line with parchment for easy release.
- Beat the softened butter and granulated sugar until very fluffy, using steady mixing to fully aerate.
- Add the eggs one at a time, mixing well after each addition until the batter looks smooth and thick.
- Mix in the vanilla extract and coconut extract until evenly incorporated.
- Alternately add the flour mixture and the coconut milk, starting and ending with the flour, and mix just until the batter is combined.
- Fold in the sweetened shredded coconut until evenly distributed with no dry pockets.
- Divide the batter evenly between pans and bake for 25-30 minutes, until a toothpick inserted in the center comes out clean.
- Cool the cakes completely on a rack so the layers don’t sweat and weaken the frosting later.
- Beat the softened cream cheese and butter until smooth and lump-free.
- Add the powdered sugar and coconut extract, then beat until the frosting is fluffy and spreadable.
- Fill and frost the cake generously with coconut cream cheese frosting, smoothing the top and sides as you go.
- Immediately press toasted coconut flakes firmly all over the outside and top of the cake until fully coated, so the coconut adheres to the frosting.