Oreo crust, peanut butter cream, chocolate pudding, and a whipped topping finish make this no-bake peanut butter chocolate lasagna the kind of dessert that disappears fast at a potluck and still feels easy enough for a weeknight craving. The layers stay distinct when you chill it long enough, so every bite gives you a little crunch, a soft peanut butter middle, and that cold chocolate pudding layer underneath.
The texture depends on a few small choices that matter. The crust has to be pressed firmly so it slices cleanly later, and the pudding needs to be mixed with cold milk until it thickens before it goes anywhere near the pan. The peanut butter layer works because cream cheese and powdered sugar tame the peanut butter enough to make it fluffy instead of dense.
Below, I’ll show you the one chilling step you don’t want to shortcut, what to do if your pudding seems loose, and a few simple swaps if you need to work with what’s already in the pantry.
Pin this no-bake peanut butter chocolate lasagna for the days when you want clean layers, a cold chocolate finish, and zero oven time.
The Chill Time Is What Gives You Those Clean Layers
The biggest mistake with a dessert like this is cutting into it before the filling has had time to firm up. The crust might look set after 15 minutes in the fridge, but the peanut butter layer and pudding need a much longer chill to slice cleanly. Four hours is the minimum, and overnight is even better if you want sharp edges and neat layers.
Instant pudding is the right choice here because it thickens quickly without needing heat, which keeps the whole recipe in no-bake territory. If the pudding still looks loose after whisking, keep going for the full two minutes before you judge it. It should look glossy and noticeably thicker before you spread it over the peanut butter layer.
What Each Layer Is Doing in This Dessert Lasagna
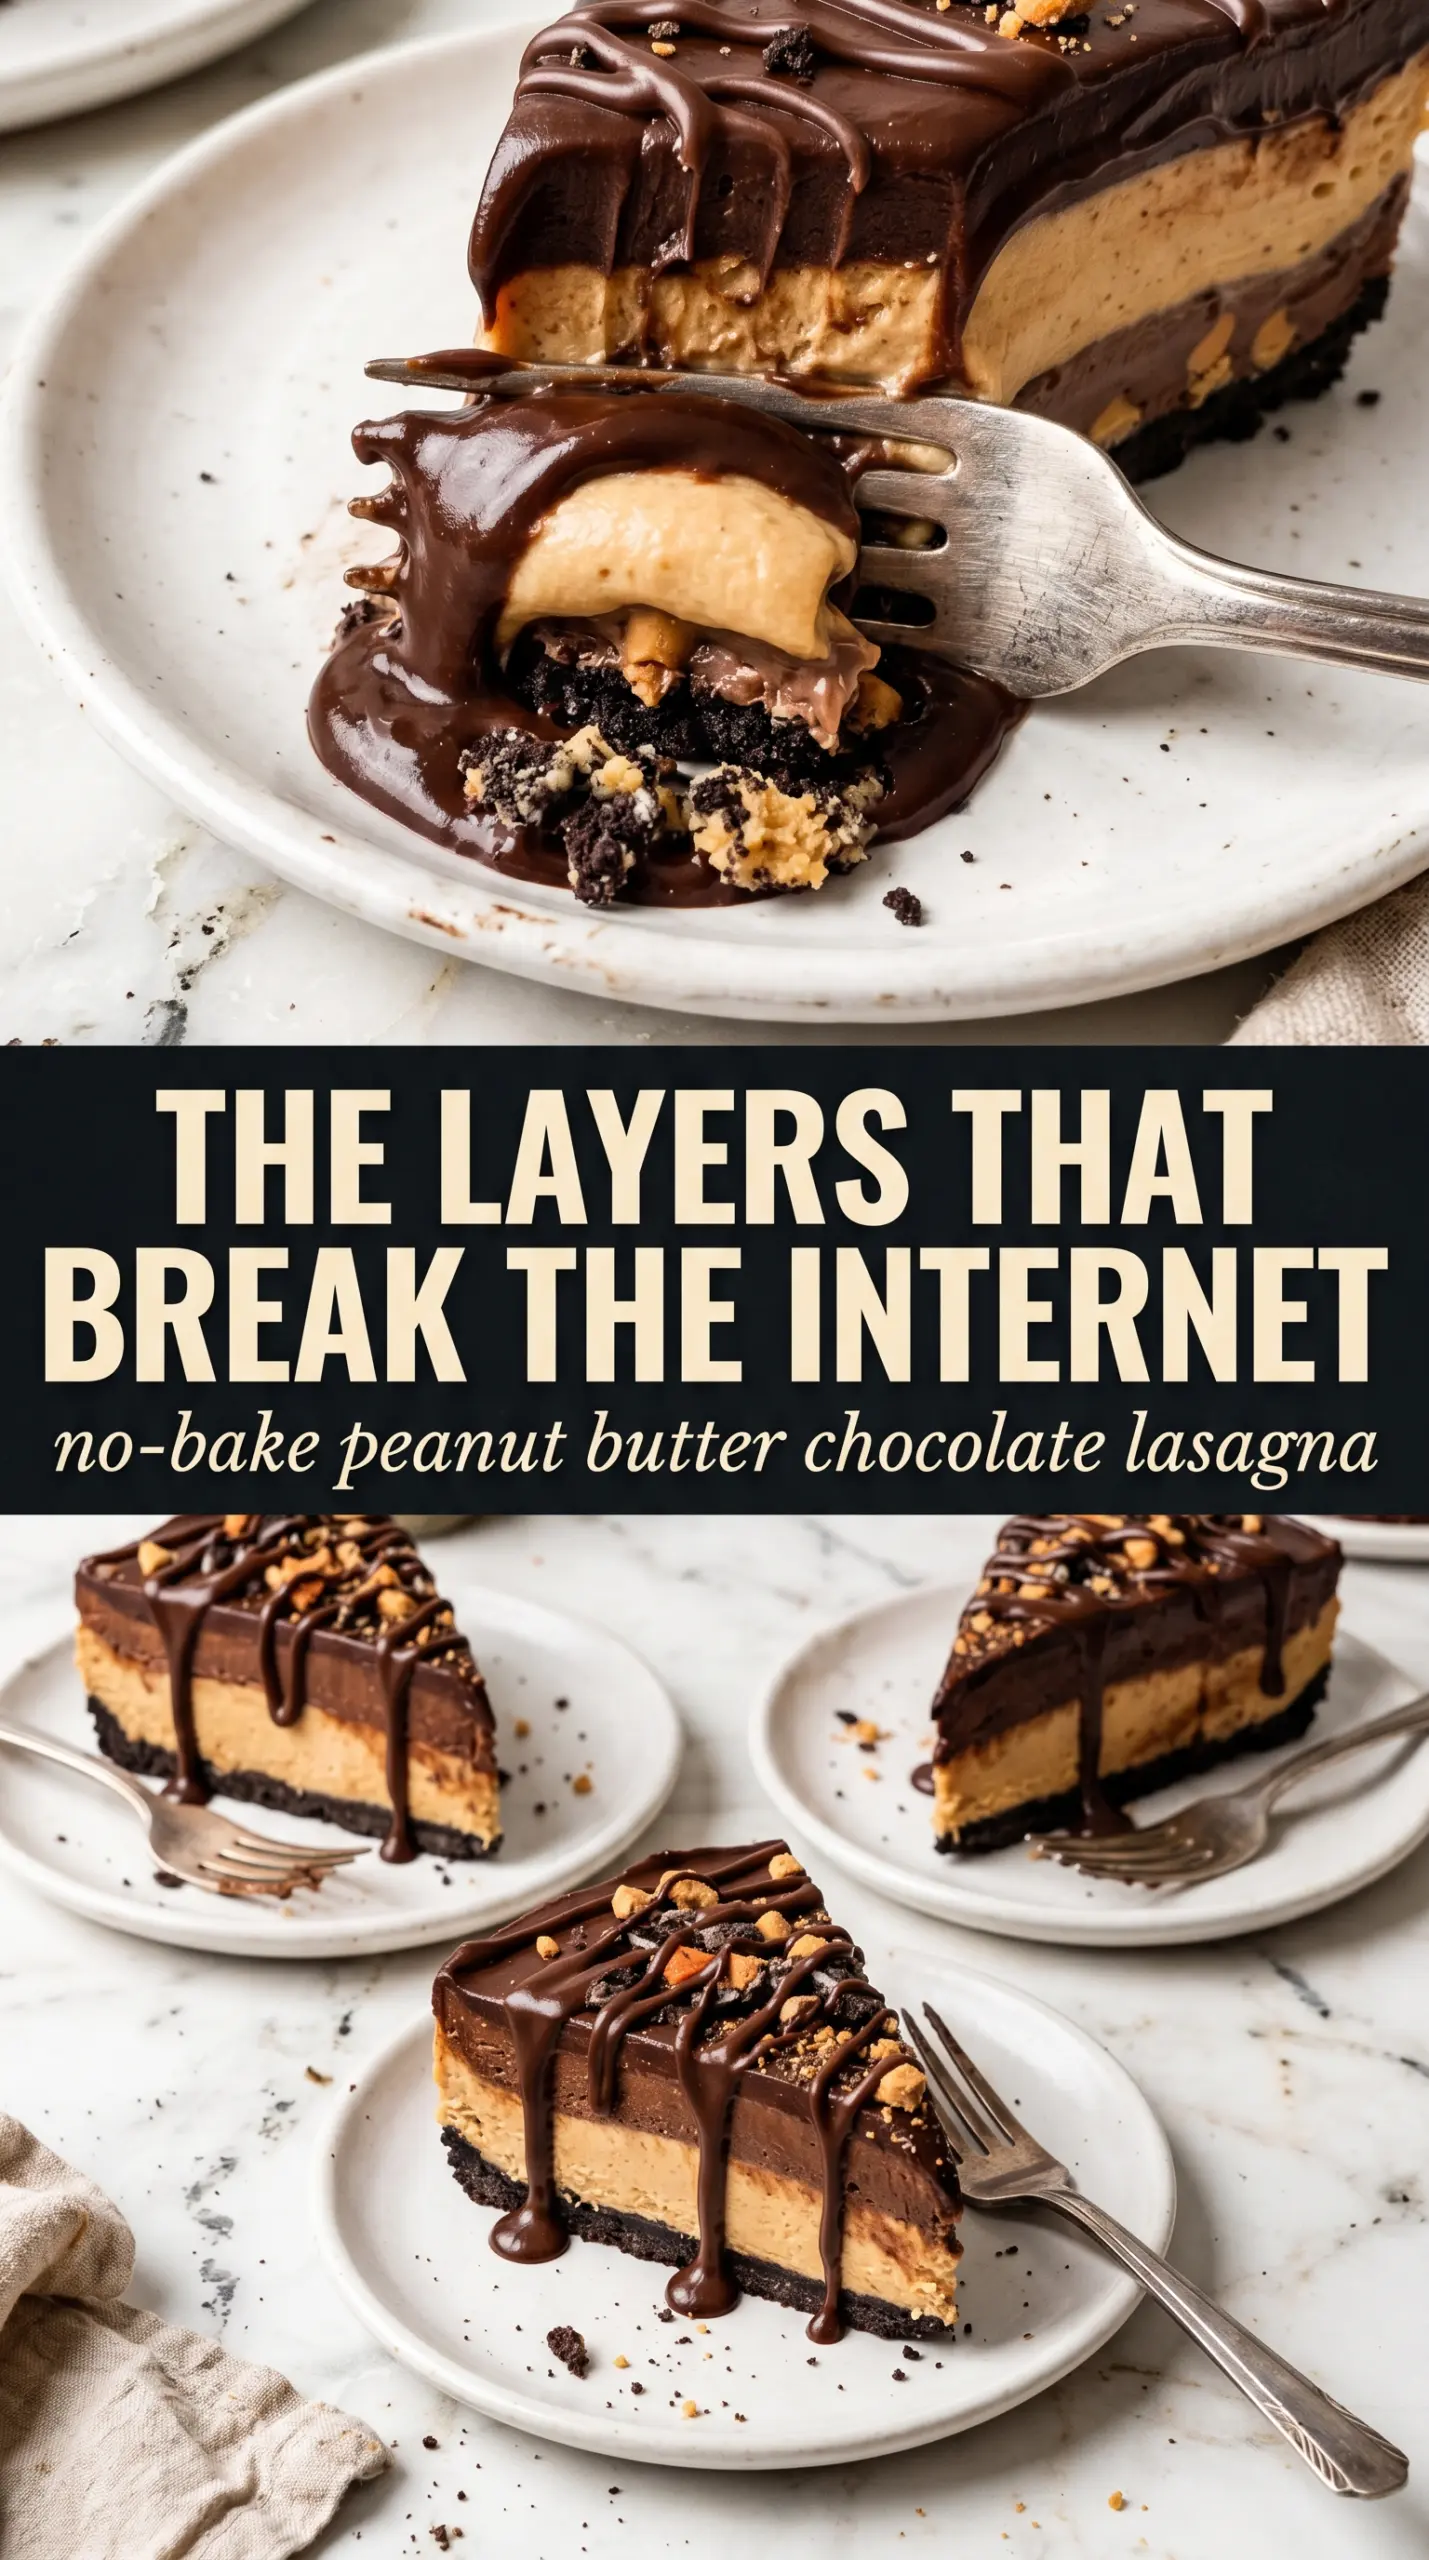
- Oreo cookies — These build the crust and give the dessert its dark, chocolatey base. Finely crushed cookies work best because bigger chunks make the bottom layer crumble when you slice it.
- Butter — Melted butter binds the crumbs together. Use the full amount so the crust compacts into a layer that holds its shape, but don’t add extra or it turns greasy instead of firm.
- Cream cheese — This gives the peanut butter layer structure and a slight tang that keeps it from tasting one-note. It needs to be fully softened, or you’ll end up with little lumps that won’t smooth out.
- Creamy peanut butter — Creamy peanut butter blends into the filling cleanly. Natural peanut butter can work in a pinch, but stir it very well first and expect a looser filling.
- Whipped topping — Folded in gently, it lightens the peanut butter layer and gives the top a softer, mousse-like feel. That texture is part of what makes the dessert feel layered instead of heavy.
- Instant chocolate pudding mix — This is what gives you the chocolate layer that slices cleanly without baking. Cook-and-serve pudding won’t give the same quick set or the same texture in a dessert like this.
How to Layer It Without Smearing the Fillings
Pressing the Crust Until It Holds
Mix the crushed Oreos with the melted butter until every crumb looks damp, then press the mixture into the dish with real pressure. A flat-bottomed measuring cup works well here because it packs the crumbs down evenly into the corners. If the crust feels loose, it will fall apart when you serve it, so take an extra minute to compact it before chilling.
Making the Peanut Butter Layer Smooth
Beat the cream cheese, peanut butter, powdered sugar, and vanilla until the mixture looks fully smooth and a little fluffy. Scrape the bowl at least once so no streaks of cream cheese hide at the bottom. Fold in the whipped topping with a spatula instead of beating it in, or you’ll knock out the air and the layer will turn dense.
Whisking the Pudding to the Right Thickness
Pour the cold milk into the pudding mix and whisk steadily for two full minutes. It should thicken enough that the whisk leaves trails and the pudding starts to mound instead of flowing like sauce. If you spread it too early, it can seep into the peanut butter layer and blur the layers instead of sitting neatly on top.
Finishing With the Soft Top Layer
Spread the final whipped topping layer all the way to the edges so the pudding stays sealed in beneath it. Sprinkle on the chopped peanut butter cups and chocolate shavings right before serving or after the full chill, since they stay prettier that way. Drizzle the peanut butter last, because warm or loose drizzle on an unchilled dessert can slide off the top instead of sitting in ribbons.
How to Adapt It When You Need a Different Pantry Plan
Make it gluten-free with gluten-free chocolate sandwich cookies
Swap the Oreos for a certified gluten-free chocolate sandwich cookie and keep everything else the same. The crust will still pack and slice well, though some gluten-free cookies crumble a little more finely, which actually helps the base set tightly.
Use real whipped cream instead of whipped topping
You can replace the whipped topping with softly whipped heavy cream, but the dessert will be a little less stable and should be served cold straight from the fridge. Fold it in gently and keep the layers well chilled so the top doesn’t slump.
Make it extra chocolate-forward
Add a thin sprinkle of mini chocolate chips between the pudding and the top whipped layer, or use chocolate shavings more generously at the finish. The dessert gets a firmer bite and a little more crunch, which balances the softer peanut butter filling.
Storage and Reheating
- Refrigerator: Keep covered for up to 4 days. The crust softens a little as it sits, but the layers still slice well.
- Freezer: It freezes, but the texture changes. Wrap tightly and freeze in slices for up to 1 month, then thaw in the refrigerator; the whipped layers may lose some of their airy texture.
- Reheating: No reheating needed. Serve it cold, straight from the fridge, because warming it will melt the pudding and collapse the clean layers you worked to build.
Questions I Get Asked About This Recipe
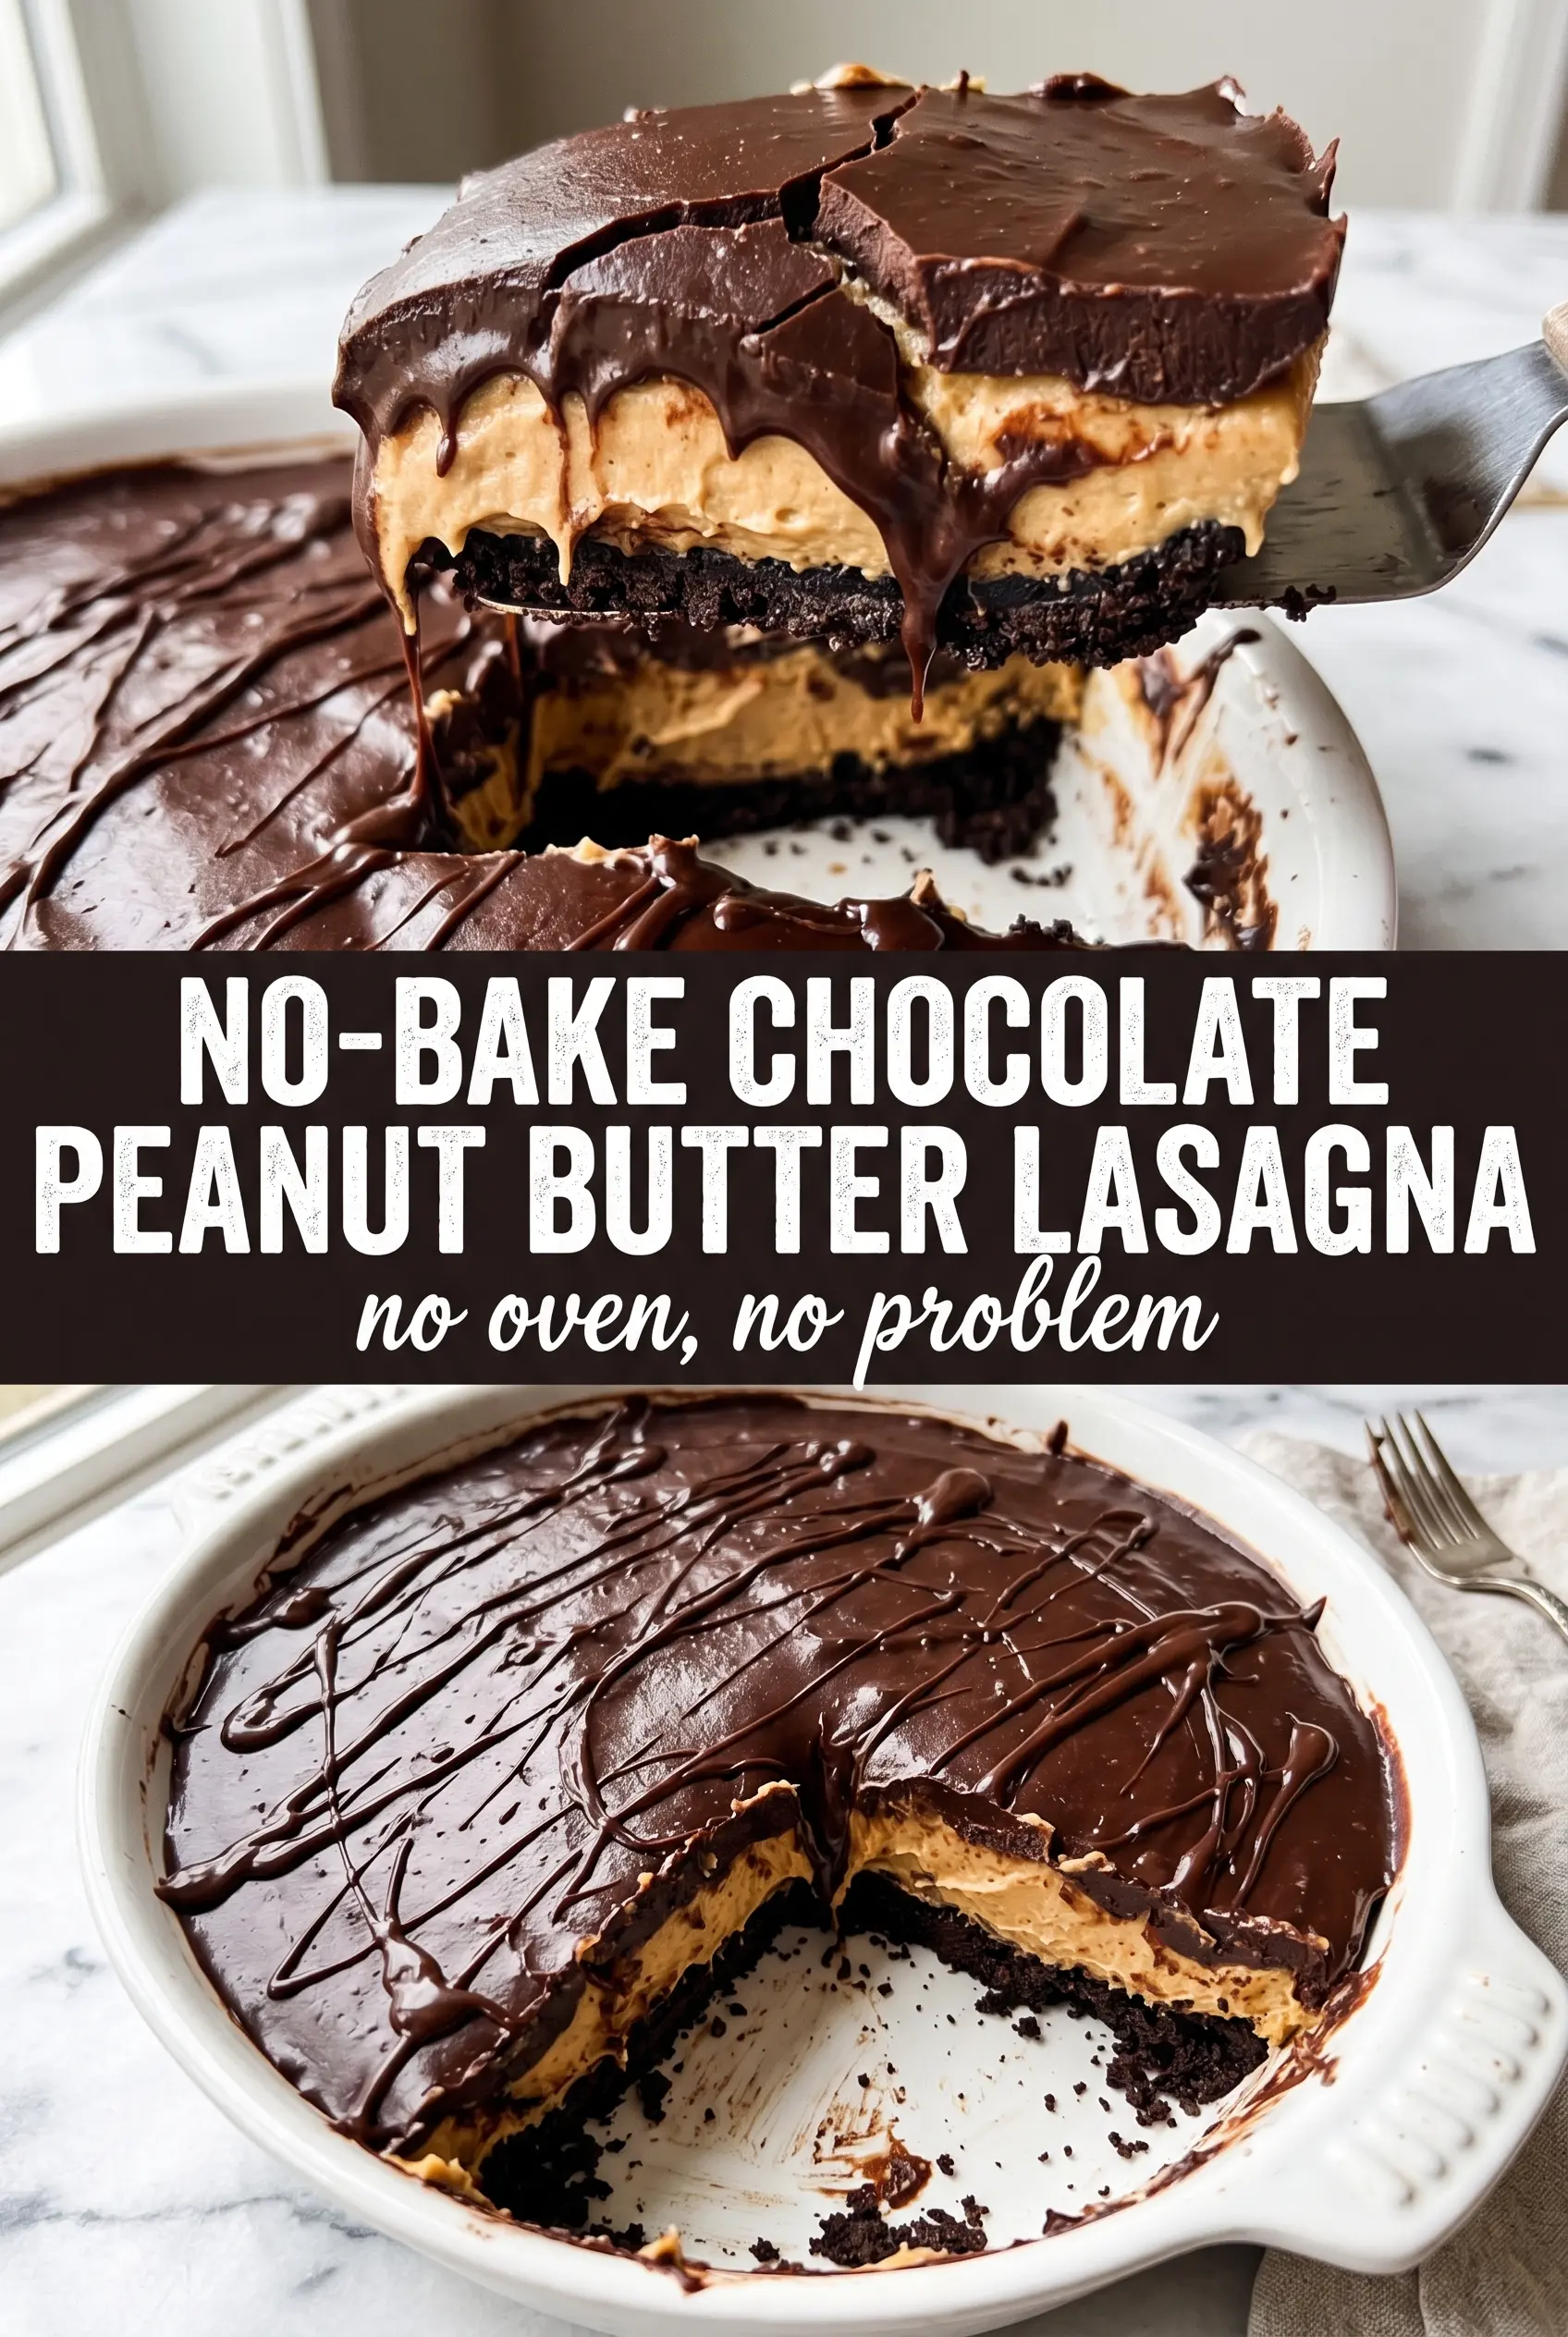
No-Bake Peanut Butter Chocolate Lasagna
Ingredients
Equipment
Method
- Mix the crushed Oreo cookies and melted butter until fully combined, then press firmly into the bottom of a 9x13 dish so the layer is even. Refrigerate for 15 minutes to firm up the crust.
- Beat the softened cream cheese, creamy peanut butter, powdered sugar, and vanilla extract until smooth and fluffy. Fold in 1 cup of whipped topping, then spread evenly over the chilled Oreo crust.
- Whisk the instant chocolate pudding mix with cold whole milk for 2 minutes until thickened and smooth. Spread the pudding evenly over the peanut butter layer.
- Spread the remaining 2 cups of whipped topping over the chocolate pudding layer, smoothing the surface. Scatter the chopped Reeses Peanut Butter Cups and chocolate shavings on top, then drizzle with peanut butter.
- Refrigerate for at least 4 hours or overnight until fully set, so the layers hold their shape for slicing. Slice into squares and serve cold.