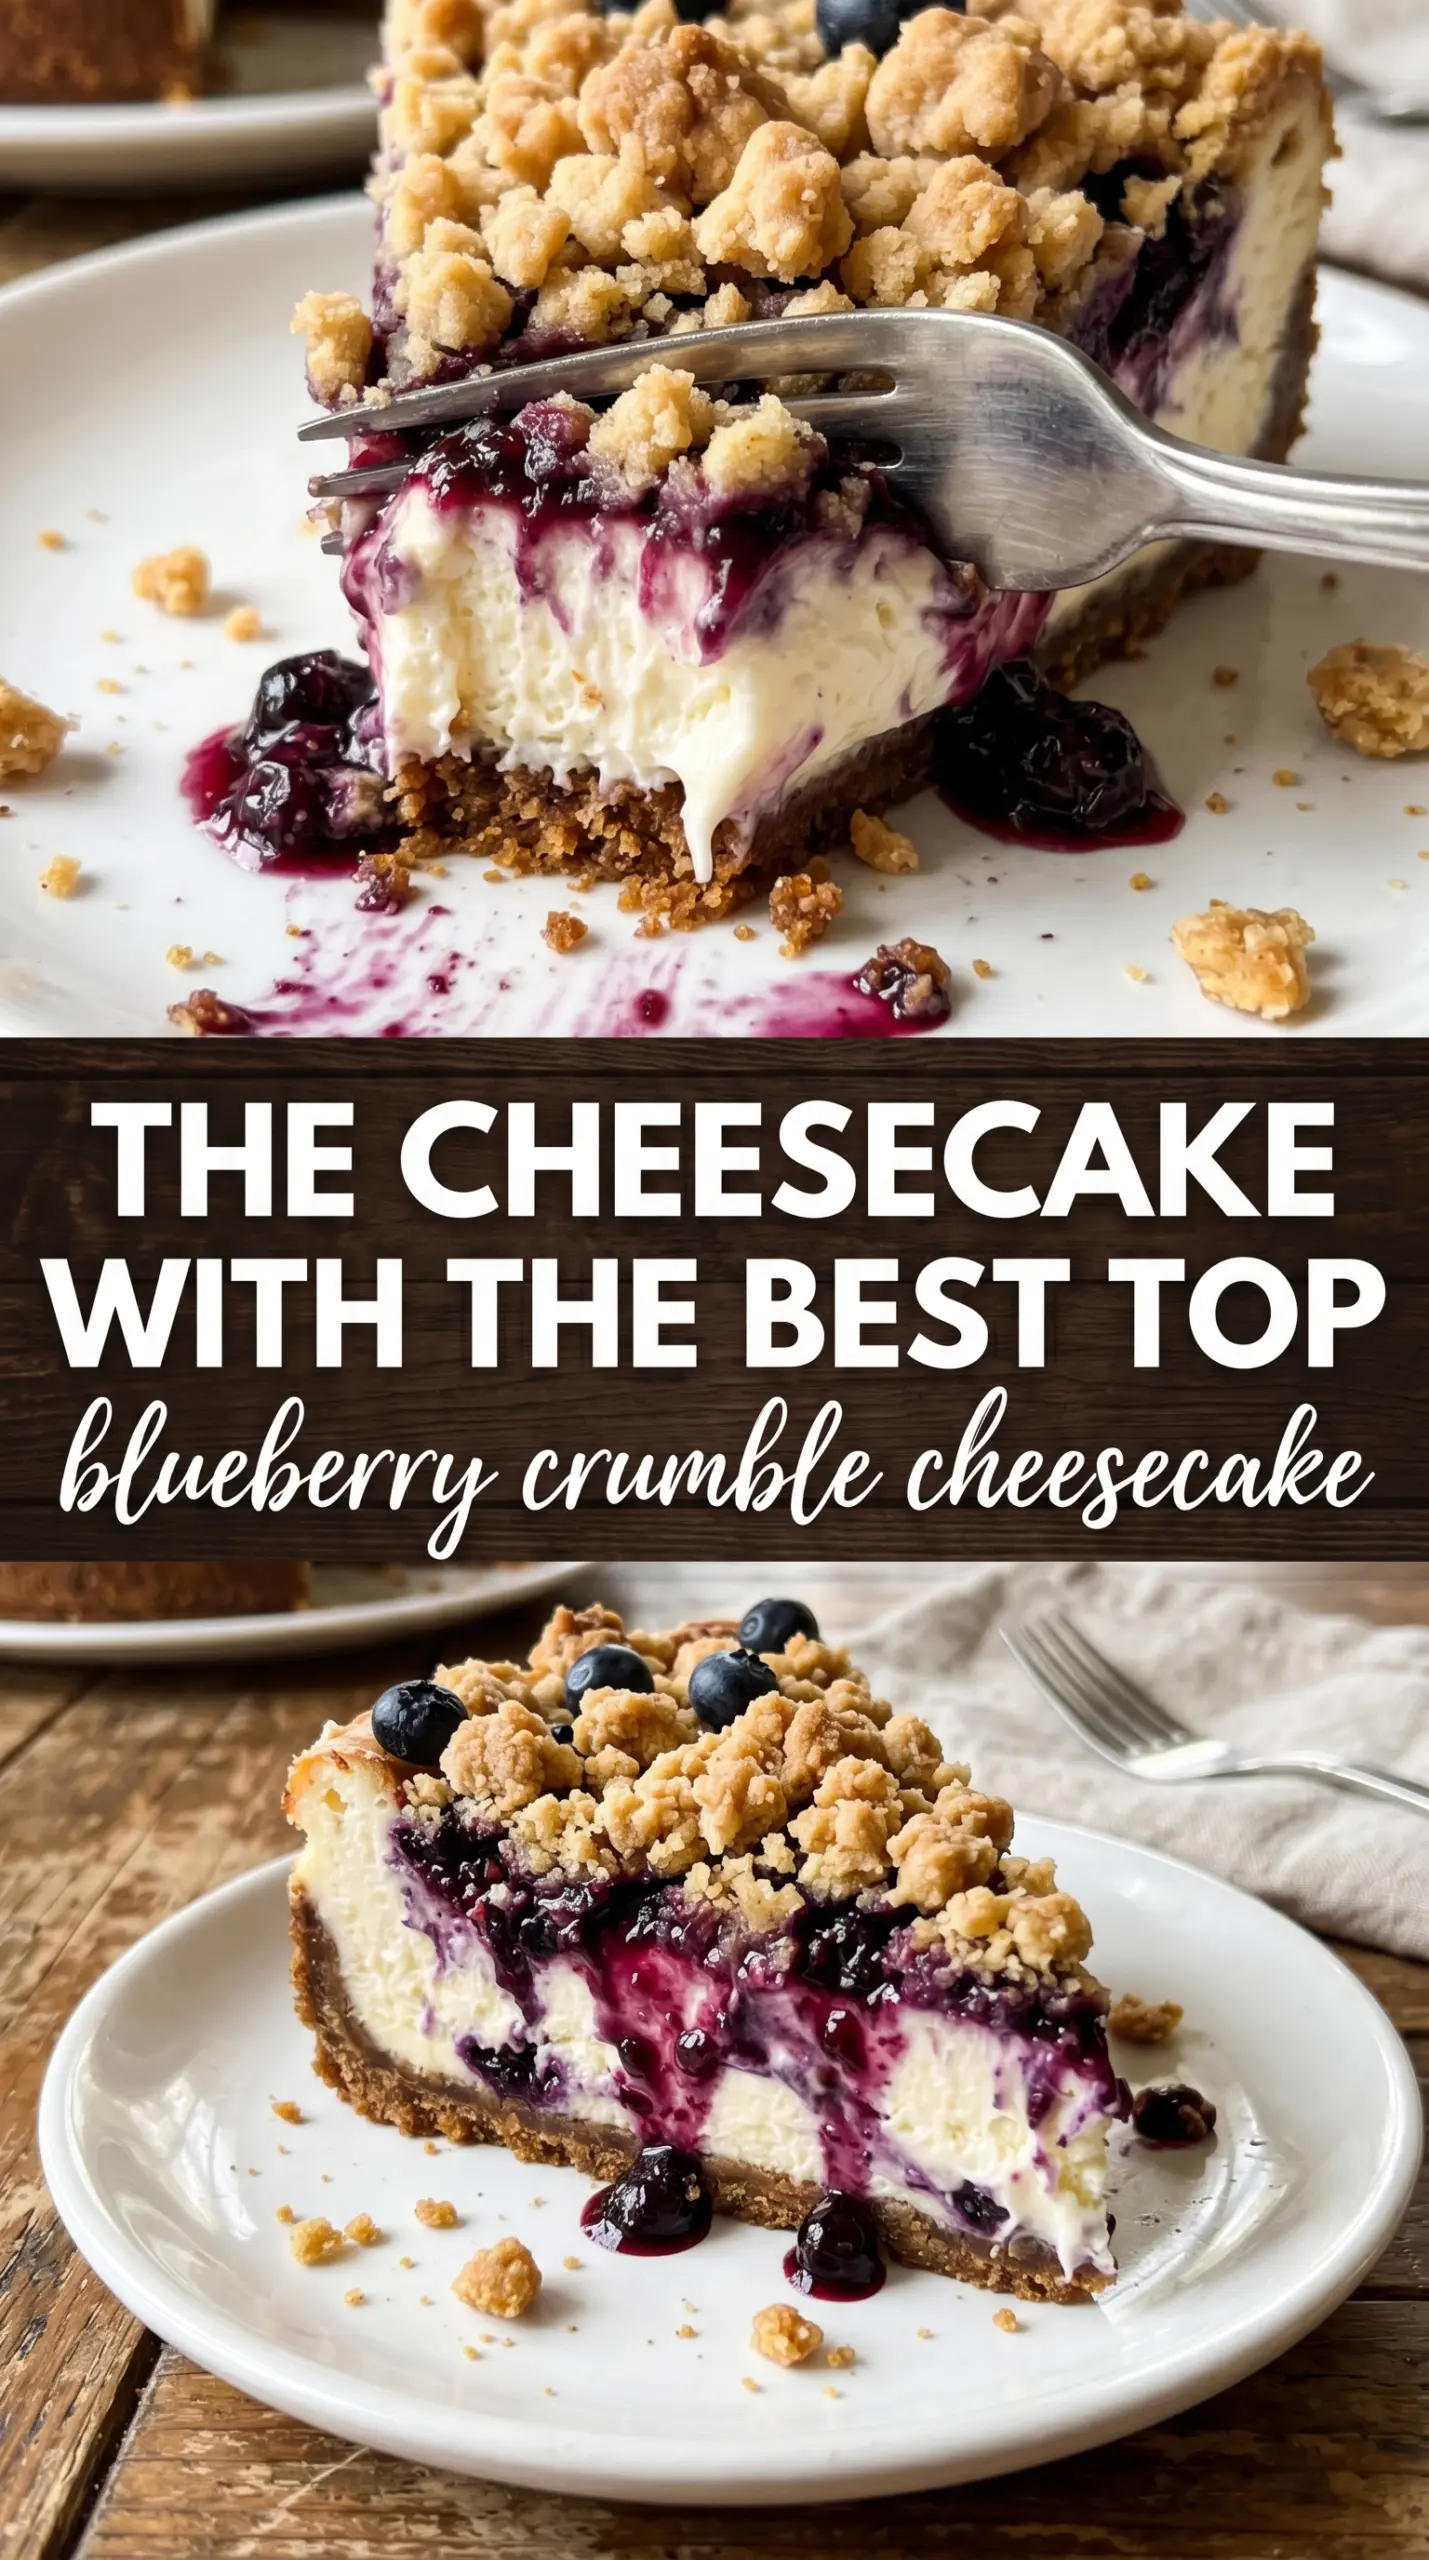
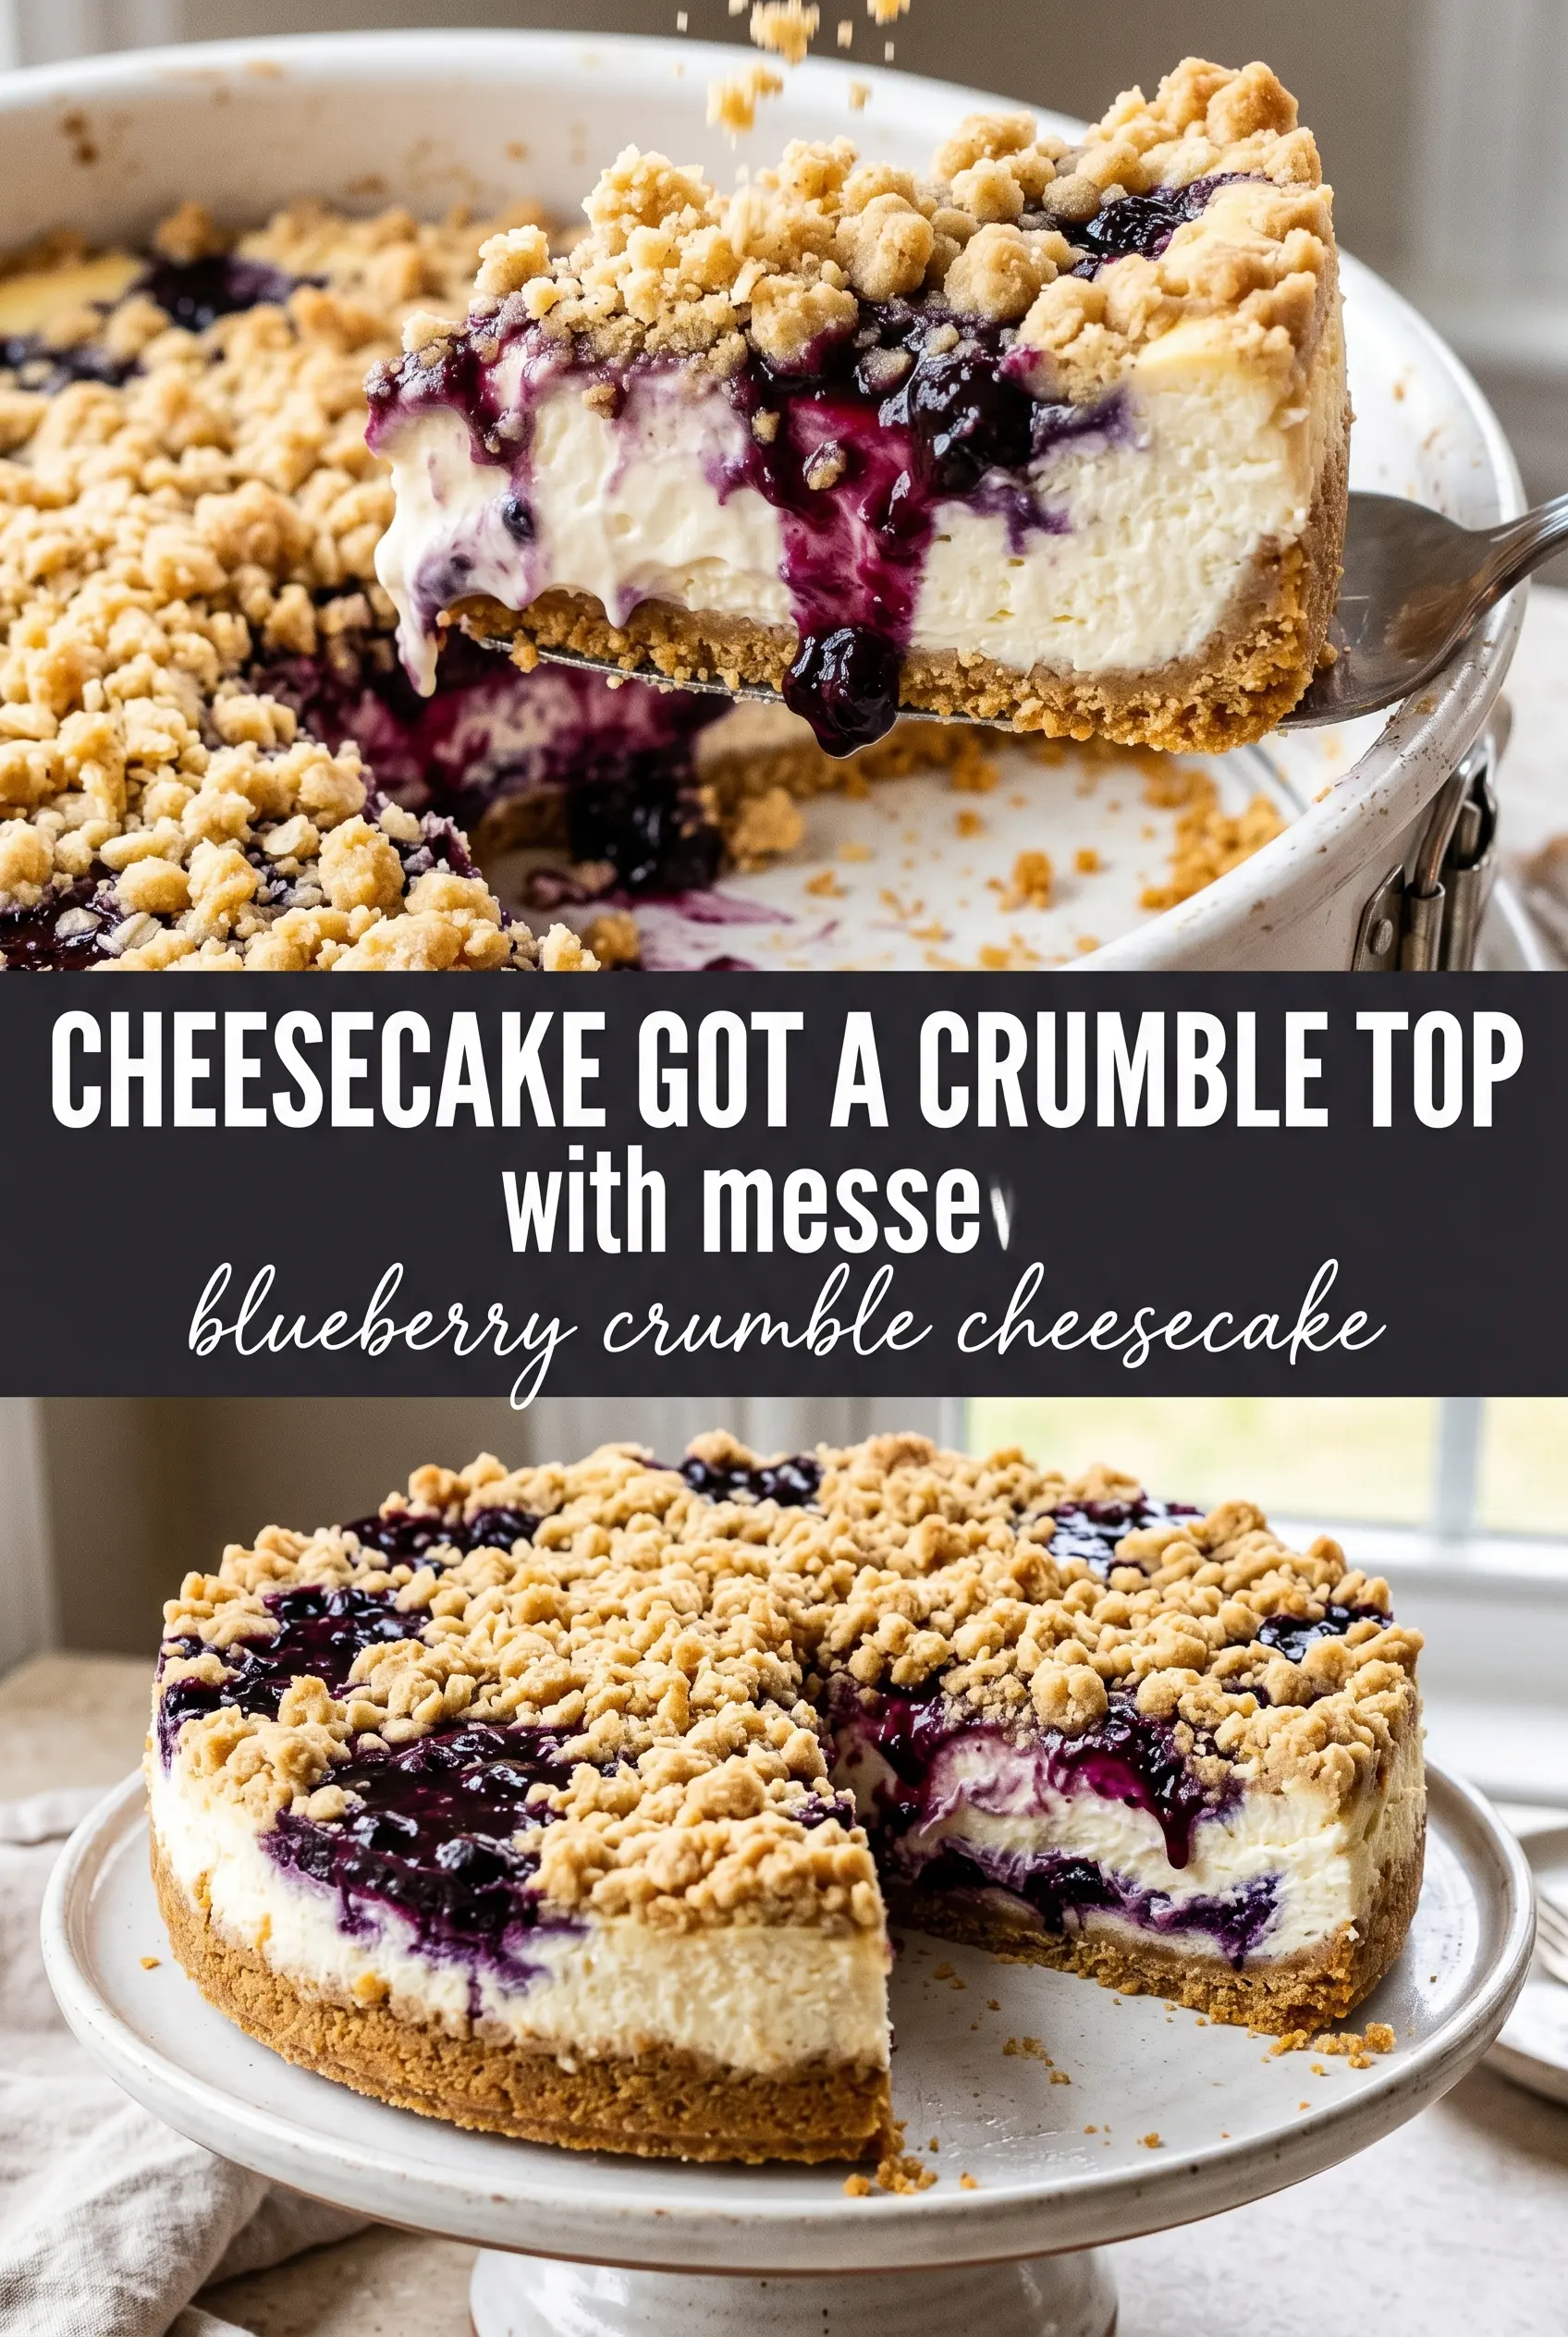
Blueberry crumble cheesecake lands in that sweet spot between a classic baked cheesecake and a fruit crisp, with a creamy center, a jammy berry layer, and a buttery oat topping that cracks when you slice through it. It looks bakery-special, but the structure is straightforward once you understand where each layer is doing its job.
The crust gets a short bake first so it stays crisp under the filling instead of turning soft from the cheesecake batter. The filling leans on sour cream for a dense, tangy set, while the blueberries are thickened just enough with cornstarch to keep them from running into the cheesecake. The crumble goes on last, and cold butter is the difference between loose crumbs and those crunchy golden clusters that make each bite feel complete.
Below you’ll find the small details that keep the cheesecake from cracking, the berry layer from slipping, and the crumble from baking into a sandy blanket instead of a true topping. A few timing notes go a long way here.
The blueberry layer stayed put and the crumble baked up crisp instead of soggy. I chilled it overnight and the slices came out clean with those pretty blueberry streaks showing through.
Save this blueberry crumble cheesecake for the slice that needs a creamy center, jammy berries, and a buttery oat topping that stays crisp.
The Part That Keeps the Cheesecake From Weeping
A baked cheesecake like this fails in two places most often: the filling gets overmixed and airy, or the fruit topping turns loose and runs into the batter. The goal is a dense, smooth custard that sets without puffing, plus a blueberry layer that thickens before it ever hits the oven.
The water bath matters because it keeps the heat gentle and even. That slow bake gives the eggs time to set without curdling, which is what keeps the center creamy instead of grainy. The other detail that matters is cooling the cheesecake gradually in the turned-off oven. A sudden blast of cool air is one of the fastest ways to get a wide crack down the middle.
- Cream cheese — Full-fat blocks give the filling its body. Tub-style cream cheese softens differently and can make the texture loose, so use blocks and let them sit out until they yield easily to the mixer.
- Sour cream — This adds tang and a softer, silkier set. Plain Greek yogurt can stand in if that’s what you have, but the filling will taste a little sharper and set a touch firmer.
- Cornstarch — This is what keeps the blueberries from turning into sauce. Flour won’t thicken the same way here and can taste pasty, so stick with cornstarch and let the berries simmer just long enough to look glossy and lightly thickened.
What Each Layer Is Doing Before It Goes Into the Pan
The crust should taste like a sturdy, buttery base, not a sweet afterthought. Press it firmly into the pan with the bottom of a measuring cup so it packs evenly and doesn’t crumble when you slice. The short bake before the filling goes in helps the crumbs set into something that can hold the weight of the cheesecake.
The blueberries need just enough sugar and heat to start releasing juice, then the cornstarch takes over and turns that juice into a thick layer that sits on top instead of disappearing into the batter. The crumble depends on cold butter cut into the oats and flour until the mixture forms clumps. If it looks like damp sand, keep working it lightly with your fingertips until you get those bigger pieces that bake into crunchier bits.
- Graham cracker crumbs — These bring the classic cheesecake base flavor and a tight, even texture. You can swap in digestive biscuits or vanilla wafer crumbs, but the result will be sweeter or more cookie-like.
- Rolled oats — Quick oats can work in a pinch, but rolled oats hold their shape better and give the topping a better chew and crunch.
- Fresh blueberries — Fresh berries give the cleanest jammy layer. Frozen berries can work, but don’t thaw them first or they’ll flood the pan before the cornstarch can thicken them.
Building the Cheesecake So the Layers Stay Separate
Pressing and Pre-Baking the Crust
Mix the crumbs, sugar, and melted butter until every crumb looks evenly damp, then press it into the springform pan in an even layer. Bake it just long enough to smell toasted and look slightly darker at the edges. If you skip this bake, the crust can soften under the filling and lose that clean, cookie-like bite.
Mixing the Filling Without Whipping in Air
Beat the cream cheese and sugar until smooth before adding the eggs one at a time. Stop mixing as soon as the batter looks uniform, because extra air expands in the oven and often leads to cracking as the cheesecake cools. Stir in the sour cream, vanilla, and lemon zest on low speed so the batter stays dense and glossy.
Cooking the Blueberries and Setting the Crumble
Toss the blueberries with sugar, cornstarch, and lemon juice until the berries look lightly coated, then spoon them over the batter. The mixture should look loose at first; the oven will finish the thickening. For the crumble, rub the cold butter into the oats, flour, and brown sugar just until clumps form, then scatter it over the berry layer without packing it down.
Knowing When the Center Is Done
Bake the cheesecake in a water bath until the edges are set and the center still has a small wobble, about the size of a coin. That jiggle means the custard is cooked through but not overbaked. If the middle looks firm in the oven, it will almost certainly be dry once chilled.
Make It Gluten-Free With the Right Crust Swap
Use gluten-free graham crackers for the crust and certified gluten-free oats for the crumble. The texture stays close to the original, but the topping may bake a little more fragile, so let it cool fully before slicing.
Swap the Berries for Raspberries or Mixed Berries
Raspberries add more tartness and break down faster, so reduce the stovetop stirring and keep the cornstarch layer thin. Mixed berries work well too, but the finished topping will be a little looser and more rustic-looking.
Make the Crumble Without Oats
If you want a smoother crumb topping, replace the oats with an equal amount of flour. You lose the hearty, crisp texture, but the topping becomes more like a streusel and still browns beautifully.
Storage and Reheating
- Refrigerator: Keep covered for up to 5 days. The crumble softens slightly on day two, but the cheesecake itself stays creamy.
- Freezer: Freeze slices tightly wrapped for up to 1 month. The topping loses a little crunch after thawing, but the filling freezes well.
- Reheating: Serve chilled or let slices sit at room temperature for 15 to 20 minutes. Don’t use the microwave if you want clean slices, because it softens the crust and makes the blueberry layer run.
Answers to the Questions Worth Asking
Blueberry Crumble Cheesecake
Ingredients
Equipment
Method
- Preheat oven to 325°F, then press graham cracker crumbs mixture firmly into a 9-inch springform pan. Bake for 8 minutes, then cool completely.
- Press the crust into an even layer to help it set cleanly for slicing. Cool until no longer warm before adding the filling.
- Beat cream cheese and granulated sugar until smooth, then add eggs one at a time and mix just until combined. Mix in sour cream, vanilla extract, and lemon zest, then pour over the cooled crust.
- Combine fresh blueberries, sugar, cornstarch, and lemon juice, then spoon the mixture over the cheesecake batter in an even layer. Scatter extra blueberry jam into any gaps for visible fruit beneath the crumble.
- Mix rolled oats, all-purpose flour, brown sugar, and cold cubed butter with fingertips until clumpy. Scatter the clumpy crumble over the blueberry layer so it covers most of the surface.
- Place the springform pan in a water bath on a sheet pan and bake at 325°F for 55-65 minutes until the center barely jiggles. Cool in the oven with the door cracked for 1 hour to prevent cracks.
- Refrigerate the cheesecake for at least 4 hours until fully set and firm. Unmold and serve with the crumble topping intact.