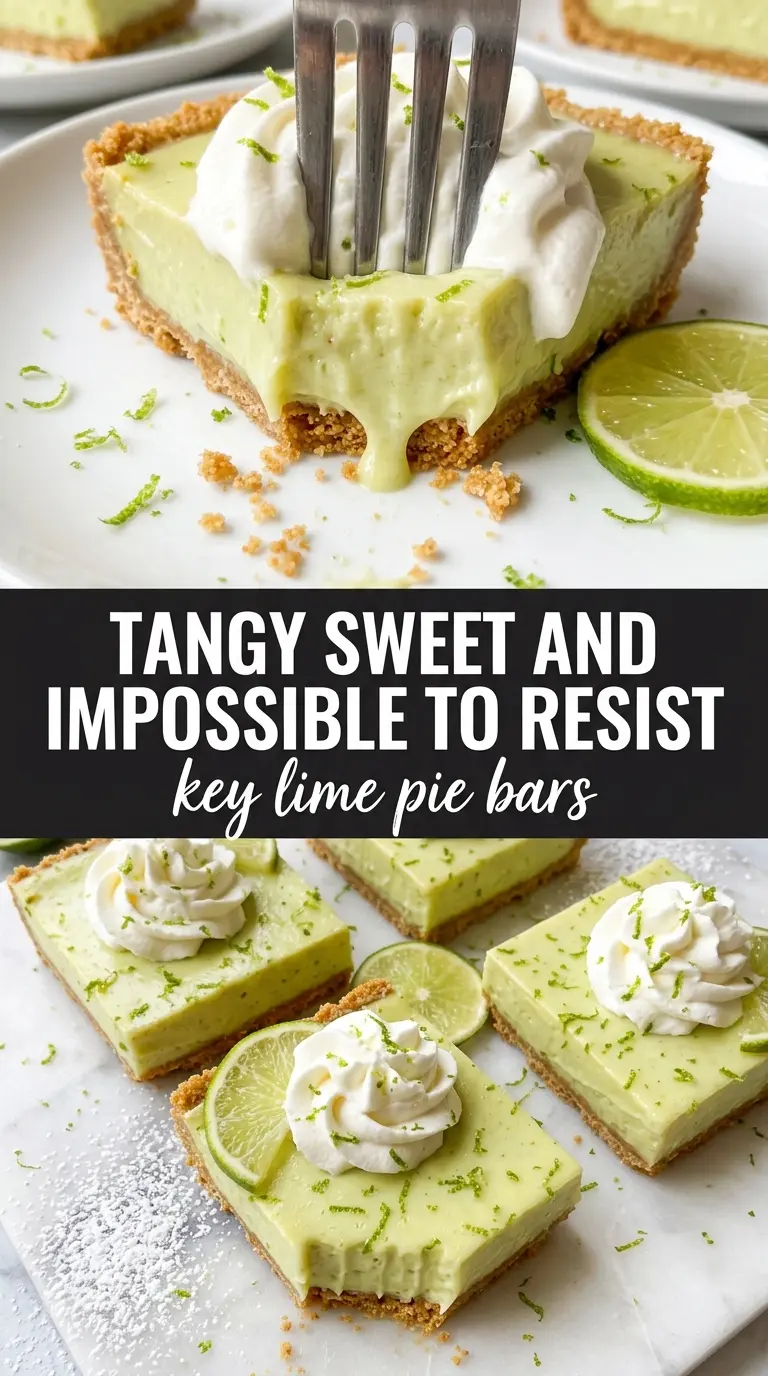
These key lime pie bars set up with the kind of clean, creamy slice that makes people reach for a second square before they’ve finished the first. The filling lands somewhere between a classic key lime pie and a lemon bar: tart enough to wake up the palate, sweet enough to stay balanced, and smooth all the way through. The graham cracker crust gives each bite that buttery, toasty snap that keeps the bars from tasting one-note.
What makes this version work is the contrast between a firmly packed crust and a filling that’s baked just until the center gives a slight jiggle. Sweetened condensed milk does the heavy lifting for texture and sweetness, while the egg yolks help the bars set into something sliceable instead of loose and pudding-like. Fresh lime juice brings the sharpness you need, and the zest adds the citrus aroma that keeps the filling from tasting flat.
Below, I’m walking through the little details that matter most: how to keep the crust from crumbling, when the filling is done, and how to cut bars that look as neat as they taste.
The filling baked up silky and set beautifully after chilling, and the crust stayed firm enough to lift clean squares without crumbling apart. I used the extra lime zest on top and it made every bite taste brighter.
Save these key lime pie bars for when you want a tart citrus dessert with a thick graham crust and a clean, chilled slice.
The Chill Time Matters More Than the Bake
The most common mistake with bars like these is cutting them too early. The filling may look set when it comes out of the oven, but it firms up into that smooth, dense slice only after it chills long enough for the condensed milk and egg yolks to finish doing their job. Rush that part and you’ll get soft edges, a sticky center, and bars that slump when you lift them.
The other place people go wrong is with the crust. A graham crust needs to be pressed down firmly enough that it bakes into a solid base, but not so hard that it turns dense and hard to bite through. The sweet spot is an even layer with a compact feel, especially at the corners where the filling tends to pull away first if the crust is loose.
- Fresh lime juice — This gives the filling its sharp, clean citrus bite. Bottled juice works in a pinch, but the flavor is flatter, and you’ll miss the brightness that keeps the bars from tasting heavy.
- Lime zest — Don’t skip this. The juice brings the tang, but the zest brings the aroma, which is what makes each bite smell and taste fresh instead of just sweet and sour.
- Sweetened condensed milk — This is what gives the filling its smooth, custardy body without needing a separate thickener. There isn’t a true substitute that behaves the same way, so this is one ingredient to keep as written.
- Egg yolks — They help the filling set into neat bars with a velvety texture. Whole eggs won’t give you quite the same richness or the same tender slice.
- Graham cracker crumbs — Use store-bought crumbs if that’s easiest, but crush them fine. Large chunks make the crust crumble when you cut and serve the bars.
- Green food coloring — Optional, and only for color. The bars will still taste right without it, but a tiny drop gives that classic key lime look if you want the filling to read pale green.
What Each Ingredient Is Actually Doing in This Recipe
- Primary ingredient (the star) — Quality matters most. Choose the best you can find.
- Cooking medium (oil, butter, or broth) — This carries flavors and prevents dryness.
- Seasonings (salt, pepper, spices, herbs) — Layer flavors so nothing overpowers. Build depth gradually.
- Aromatics (garlic, onion, herbs) — Cook with fat to bloom flavors. Become the foundation.
- Supporting ingredients — Complement the main ingredient without overpowering it.
- Sauce or liquid (if applicable) — Brings flavors together. Balance richness with acid.
- Acid (lemon, vinegar, wine, or other) — Brightens and prevents flat-tasting results.
- Final finish (garnish, glaze, or sauce) — Prevents one-dimensional taste and adds visual appeal.
Building the Filling Without Scrambling It
Pressing and Prebaking the Crust
Mix the graham crumbs, sugar, and melted butter until the mixture looks like damp sand and holds together when squeezed. Press it evenly into a parchment-lined 9×13 pan, working into the corners so the crust thickness stays consistent. Bake it just until set and lightly fragrant; if it goes too far, it turns dry and fights the creamy filling instead of supporting it. Let it cool slightly before the filling goes in so it doesn’t melt into the crust.
Whisking the Filling Smooth
Whisk the egg yolks, condensed milk, lime juice, lime zest, and food coloring until the mixture looks glossy and uniform. The acid from the lime juice starts thickening the filling right away, so don’t leave it sitting around once it’s mixed. If you see tiny curds or streaks, keep whisking gently until smooth before it hits the crust. Pour it over the warm base and spread it into an even layer so the bars bake at the same rate from edge to edge.
Baking to the Right Jiggle
Bake until the filling is just set and the center still has a slight wobble when you nudge the pan. That tiny jiggle is what you want; the bars finish setting as they cool, and overbaking is what gives you a rubbery surface and a less creamy bite. Pull the pan as soon as the edges look firm and the center no longer sloshes. Then cool it completely before moving it to the fridge, because warm bars trap steam and turn soft underneath.
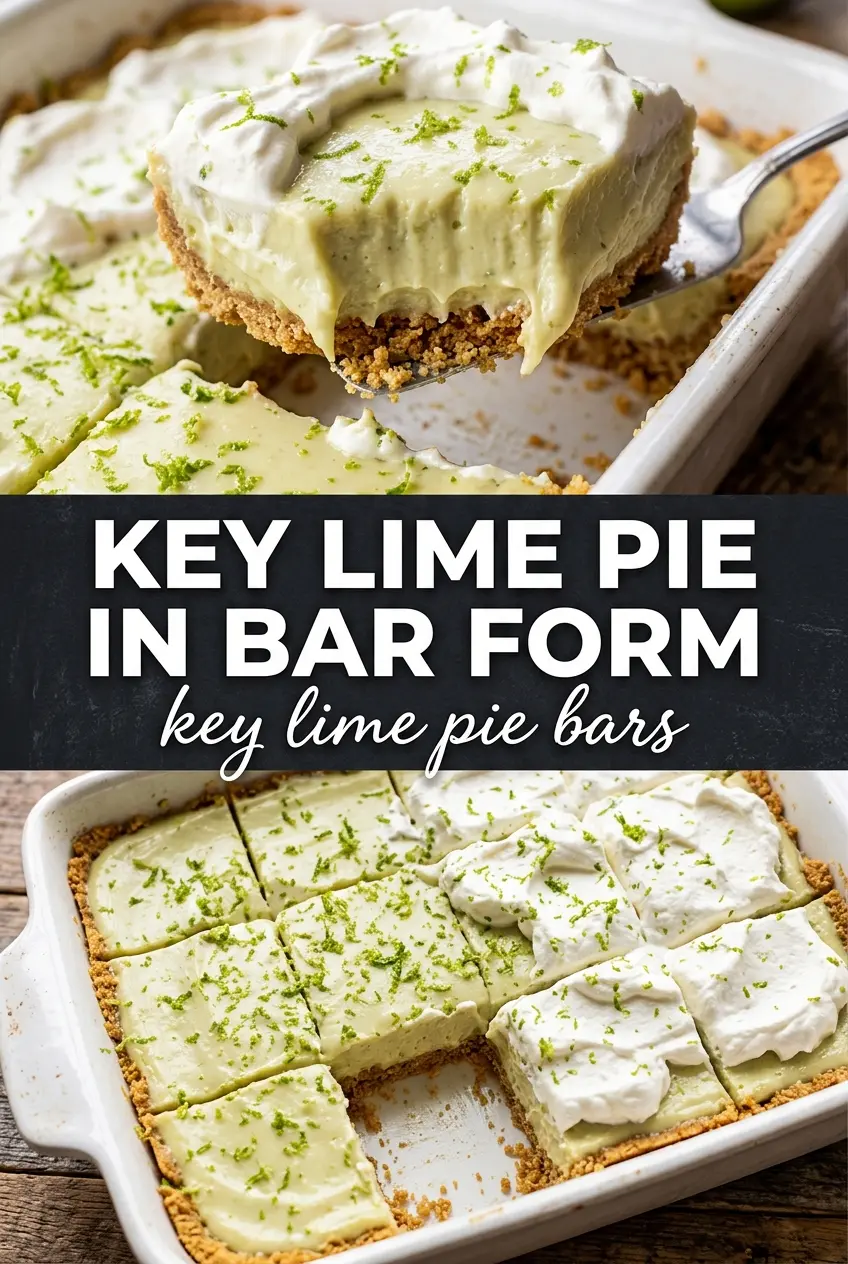
Chilling and Cutting Clean Squares
Chill the bars for at least three hours, or until the slab feels firm all the way through. Use a sharp knife wiped clean between cuts for the neatest squares, especially if you want the powdered sugar and lime zest to stay pretty on top. If the bars cling to the knife, they need more chill time, not more flour or extra baking. A fully chilled pan gives you clean edges and that smooth sliceable center that makes these bars worth waiting for.
How to Adapt These Bars Without Losing the Tart-Creamy Balance
Use regular limes when key limes aren’t available
Regular lime juice gives you a brighter, slightly less floral flavor than key limes, but the bars still land in the same tart-sweet place. Keep the zest in the recipe, because it helps bridge the flavor gap and keeps the filling tasting fresh.
Make it gluten-free with a GF crumb crust
Swap in gluten-free graham-style crumbs or crushed gluten-free digestive cookies in the same amount. The texture stays sturdy if you still press the crust firmly and bake it briefly before adding the filling.
Skip the food coloring for a more natural look
The color is optional and doesn’t change the texture at all. Without it, the filling will be a paler yellow-green, which still tastes exactly the same and looks a little more understated.
Store and serve with the chill in mind
Storage and Reheating
- Refrigerator: Keep covered for up to 5 days. The crust softens a little by day three, but the bars still slice well.
- Freezer: Freeze tightly wrapped bars for up to 2 months. Thaw in the refrigerator so condensation doesn’t make the top sticky.
- Reheating: These bars are meant to be served cold, not warmed. Let them sit at room temperature for 10 to 15 minutes if you want the filling a little less firm before serving.
Answers to the Questions Worth Asking
Key Lime Pie Bars
Ingredients
Equipment
Method
- Preheat oven to 350°F. Mix graham cracker crumbs, granulated sugar, and melted butter, then press firmly into a parchment-lined 9x13 pan.
- Bake the crust for 8 minutes. Cool slightly so the crust is warm but not hot.
- Whisk egg yolks, sweetened condensed milk, key lime juice, lime zest, and a drop of green food coloring until smooth and combined. Stop when no streaks remain.
- Pour the filling over the warm crust and spread evenly. Make sure the surface is level across the whole pan.
- Bake for 18-20 minutes at 350°F until the filling is just set with a slight jiggle in the center. Avoid overbaking so the bars stay tender.
- Cool completely at room temperature, then refrigerate at least 3 hours until firm. The center should cut cleanly when pressed lightly.
- Dust with powdered sugar and scatter lime zest over the top, then cut into 16 bars to serve. Serve chilled for the cleanest slices.