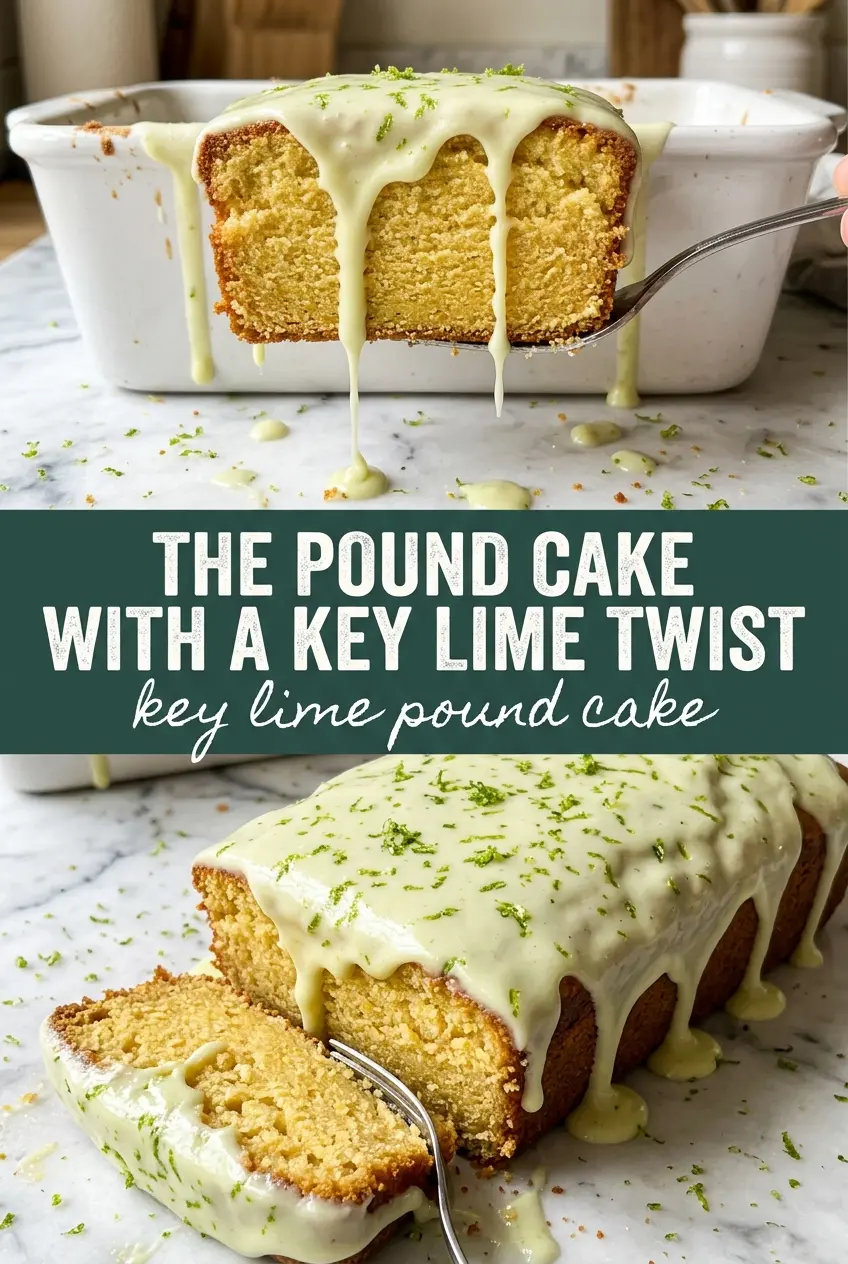
Dense, buttery pound cake with a bright key lime finish has a way of disappearing faster than you expect. The crumb stays tight and tender, the citrus comes through clean instead of turning harsh, and the glaze seeps into the ridges of a Bundt cake so every slice gets that sweet-tart hit. It’s the kind of dessert that tastes polished without asking for anything fussy from the baker.
The trick is treating the batter like a classic pound cake first and a citrus cake second. That means a long cream with the butter and sugar for structure, then gentle alternating additions so the batter stays smooth and doesn’t curdle or overwork. The sour cream matters here because it brings richness and moisture without thinning the batter, and the key lime juice goes in at the end so the flavor stays sharp and fresh.
Below, I’ve included the details that make the difference: how to keep the cake from sticking in the Bundt pan, why the glaze should wait until the cake is fully cool, and a few smart swaps if you need to work with regular limes instead of key limes.
The crumb came out so tight and even, and the key lime glaze sank into every little ridge on the Bundt pan. I baked mine for 66 minutes and it released cleanly after 15 minutes of cooling, which never happens for me with pound cake.
Like this tangy key lime pound cake? Save it to Pinterest for the days when you want a rich Bundt cake with a bright citrus glaze.
The Trick to Keeping a Pound Cake This Dense From Turning Heavy
With pound cake, people often worry about density, but the real problem is usually poor aeration at the start or overmixing at the end. This cake needs the butter and sugar beaten until pale and fluffy, because that’s where the lift comes from. If the mixture still looks yellow and grainy after a few minutes, keep going. That early texture change matters more than any later shortcut.
Once the flour goes in, the goal shifts. Stir just until the last streaks disappear, because overmixing after the flour is added builds toughness instead of structure. The sour cream keeps the cake plush, while the key lime juice adds brightness without making the crumb loose. Bake it until the top is deep golden and the center springs back lightly when pressed, not just until the toothpick comes out.
What the Butter, Sour Cream, and Key Lime Are Each Doing

- Butter — This is the backbone of the cake’s flavor and texture. Use real butter, softened enough that a fingertip leaves a dent but doesn’t sink through. If it’s too cold, the sugar won’t cream properly; if it’s melted, you lose the air that gives the cake its fine crumb.
- Sour cream — This is what keeps the cake from eating dry even though it’s a dense Bundt. Full-fat sour cream gives the best texture, but plain full-fat Greek yogurt can work in a pinch. The cake will be a little tangier and slightly less rich, but it still bakes up well.
- Fresh key lime juice — Bottled juice won’t give the same clean citrus edge. Key limes are smaller and more aromatic than regular limes, and that difference shows up in the glaze and the crumb. If you only have regular limes, use them, but add a little extra zest to bring back some of that fragrance.
- Key lime zest — This is where a lot of the aroma lives. Zest only the green outer layer and stop before you hit the bitter white pith. If you’re making the glaze, rub the zest into the sugar with your fingers first; it wakes up the oils and makes the citrus taste brighter.
How to Build the Batter and Bake It in One Piece
Creaming the Base
Beat the butter and sugar for a full five minutes until the mixture looks noticeably lighter, almost fluffy and satiny. That’s not a decorative step; it traps air that helps the dense batter rise evenly. Scrape the bowl well halfway through so the butter at the bottom doesn’t stay stubbornly thick and uncreamed.
Adding the Eggs Without Breaking the Batter
Add the eggs one at a time, letting each one disappear before the next goes in. If the batter starts to look curdled, it usually means the eggs were too cold or added too quickly. It will usually come back together when the flour goes in, so don’t panic and keep mixing aggressively.
Alternating the Dry Ingredients and Sour Cream
Add the flour mixture and sour cream in three additions, starting and ending with flour. That rhythm keeps the batter smooth and prevents the fat from separating. Stop mixing as soon as the last flour streak vanishes. Overbeating here is how you end up with tunnels and a tough crumb instead of that clean, tight slice you want.
Finishing the Cake and Setting the Glaze
Pour the batter into a thoroughly greased and floured Bundt pan, then tap it once on the counter to release any large air pockets. Bake until a tester comes out clean and the top is a deep golden color. Let the cake sit in the pan for 15 minutes, no longer, or the sugar in the crust can cool enough to cling; invert it, cool it completely, then drizzle on the glaze so it sets in a glossy layer instead of melting off the sides.
Small Changes That Still Keep the Cake Worth Serving
Use regular limes instead of key limes
If key limes are hard to find, regular limes work fine. The cake will taste a little sharper and less floral, so lean on the zest and don’t skip it. Keep the juice amount the same and taste the glaze before adding all of it, since regular limes can be more aggressive.
Make it dairy-free
Use a good plant-based butter and a thick dairy-free yogurt or sour cream alternative with some body. The cake will still be rich, but the flavor won’t be as deep and the crumb may be a touch softer. Choose an unsweetened version so the sugar balance stays on track.
Turn it into mini Bundt cakes
Divide the batter among mini Bundt pans and start checking earlier, since the smaller cakes bake much faster. You’ll get more glaze coverage and a little more edge on each piece, which is handy if you’re serving a crowd. Watch for color, not just time; the centers should spring back and a tester should come out clean.
Storage and Reheating
- Refrigerator: Store covered for up to 5 days. The crumb stays moist, but the glaze will firm up and the citrus note softens a bit after day two.
- Freezer: Freeze slices or the whole cake, wrapped tightly and then sealed in foil, for up to 2 months. Freeze before glazing if possible, then add the glaze after thawing for the cleanest finish.
- Reheating: Warm individual slices at room temperature or in short bursts in the microwave. Don’t heat it too long or the butter will go greasy and the glaze can melt into the cake instead of sitting on top.
Answers to the Questions Worth Asking
Key Lime Pound Cake
Ingredients
Equipment
Method
- Preheat the oven to 325°F and grease and flour a Bundt pan so the cake releases cleanly.
- Beat the butter and granulated sugar until very light and fluffy, about 5 minutes, scraping the bowl as needed for an even aerated batter.
- Add the eggs one at a time, mixing well after each addition until the batter looks smooth and cohesive.
- Stir together the all-purpose flour, baking soda, and salt, then alternate adding this flour mixture with the sour cream in 3 additions.
- After the last addition, stir in the fresh key lime juice, key lime zest, and vanilla extract just until combined for a bright citrus flavor.
- Pour the batter into the prepared Bundt pan and bake for 60-70 minutes until a toothpick comes out clean.
- Cool the cake in the pan for 15 minutes, then invert onto a rack to release and finish cooling completely.
- Whisk the powdered sugar with the fresh key lime juice and key lime zest until smooth, glossy, and pourable.
- Drizzle the glaze over the completely cooled cake so it pools into cracks and crevices across the top and sides.
- Let the glaze set before slicing to keep the drizzle from sliding.