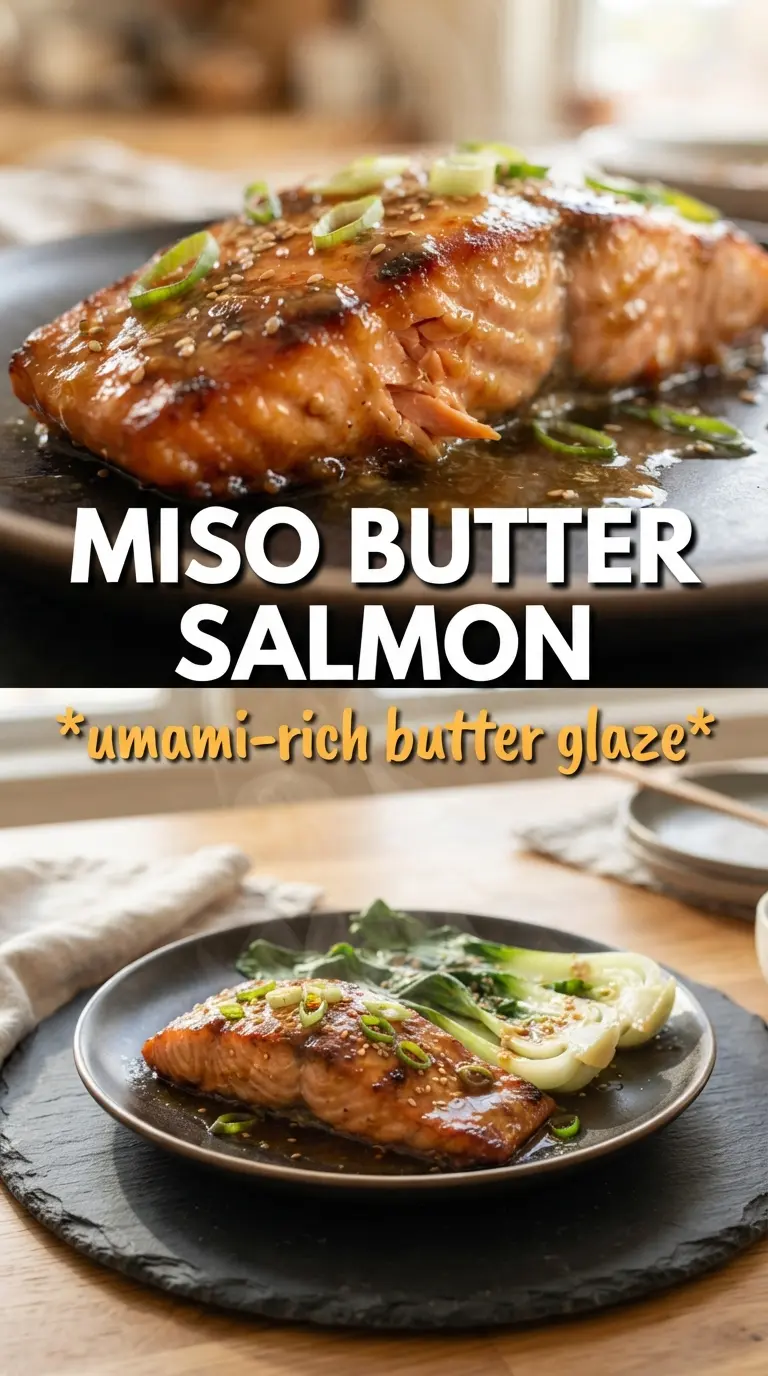
Miso butter salmon earns its spot in the regular dinner rotation because the glaze turns sticky, savory, and caramelized without asking for much work at all. The salmon comes out with a glossy amber crust that tastes deep and layered, while the fish underneath stays tender and just barely flakes apart at the center.
The trick is in the balance. White miso brings salt and umami, butter rounds it out, and a little mirin and sugar help the glaze brown instead of drying out. Broiling at the end matters here, but only after the salmon has had time to marinate, so the surface cooks into a lacquer instead of sliding off the fillet.
Below, I’ll walk through the few spots that matter most: how long to marinate, when the glaze is ready for the oven, and how to keep the broiler from taking the crust from caramelized to burnt in seconds.
The glaze caramelized exactly like you described, and the salmon stayed moist even after the broil. My husband kept sneaking bites from the pan before I could plate it.
Save this miso butter salmon for the nights when you want a glossy caramelized glaze and almost no cleanup.
The Reason This Glaze Turns Sticky Instead of Sliding Off
Most miso salmon problems start before the oven even heats up. If the glaze is too loose, it runs off the fish and puddles on the pan instead of browning on top. This version thickens into a paste before it ever touches the salmon, which gives it enough body to cling during the marinate and concentrate as it bakes.
The other thing that matters is the broiler finish. Bake the salmon first so the fish cooks through gently, then use the broiler only long enough to deepen the color. If you blast it with high heat too early, the sugars in the mirin and sugar can scorch before the salmon has time to cook evenly.
What Each Ingredient Is Doing in the Miso Butter Marinade
- White miso paste — This is the backbone of the dish. White miso is milder and a little sweeter than darker miso, which matters because it seasons the salmon without turning the glaze harsh or overly salty.
- Butter — The butter softens the miso and helps the glaze brown. You can use salted butter in a pinch, but the crust will taste sharper, so back off on the soy sauce a little if that’s what you have.
- Mirin — Mirin gives the glaze its shine and helps it caramelize. If you substitute dry white wine, the flavor gets less round, so add a touch more sugar to keep the glaze balanced.
- Sake or dry sherry — This loosens the paste just enough for an even coat and adds a little depth. If you don’t have either one, use water, but the glaze won’t taste quite as layered.
- Sesame oil — A teaspoon is enough. It adds that toasted, nutty note that reads immediately as Japanese-inspired without overpowering the salmon.
How to Get a Deep Caramelized Crust Without Overcooking the Fish
Mix the Glaze Until It’s Completely Smooth
Stir the miso, softened butter, mirin, soy sauce, sake, sugar, and sesame oil until there aren’t any streaks left. You want a thick, spreadable paste, not a thin marinade, because thickness is what keeps the glaze on top of the salmon while it cooks. If the butter is still cold, the mixture will look broken and lumpy, so let it soften fully first.
Let the Salmon Marinate, But Don’t Rush It
Spread the glaze generously over the fillets and refrigerate for at least an hour. That time gives the salt and umami a chance to penetrate the surface, and it also dries the top slightly so it browns better in the oven. If you leave it much longer than four hours, the salt can start to firm the outside of the fish more than you want.
Bake First, Broil at the End
Start the salmon in a 400°F oven for about 10 minutes, then move it under the broiler for 2 to 3 minutes. The salmon should be nearly cooked through before the broiler goes on, with the glaze bubbling and darkening at the edges. Watch it closely, because the line between deeply caramelized and burnt is short here, especially with the sugar in the glaze.
Rest Briefly Before Garnishing
Let the salmon sit for a minute or two after it comes out of the oven. That short rest helps the juices settle back into the fish and keeps the glaze from sliding off when you move it to plates. Finish with sesame seeds and sliced green onions for a little crunch and freshness against the rich glaze.
How to Adapt This Miso Butter Salmon for Different Needs
Gluten-Free Version
Use a gluten-free soy sauce or tamari. The flavor stays close to the original, but tamari usually tastes a little rounder and less sharp, which works well with the butter and miso.
Dairy-Free Version
Swap the butter for a neutral vegan butter or a thick spoonful of mayonnaise for extra browning. You’ll lose a little of the buttery roundness, but the glaze still clings and caramelizes well.
Using Salmon with the Skin On
Skin-on fillets work fine, and the skin helps hold the fish together on the pan. Bake skin-side down on foil so the glaze stays on top, and lift the salmon off with a thin spatula after it rests.
Storage and Reheating
- Refrigerator: Store leftovers in an airtight container for up to 3 days. The glaze will firm up, but the flavor holds up well.
- Freezer: Cooked miso salmon freezes okay, though the texture softens a bit after thawing. Wrap portions tightly and freeze for up to 1 month.
- Reheating: Warm it gently in a 300°F oven, covered loosely with foil, until just heated through. High heat dries out salmon fast, and the broiler should be skipped on leftovers so the glaze doesn’t burn.
Answers to the Questions Worth Asking
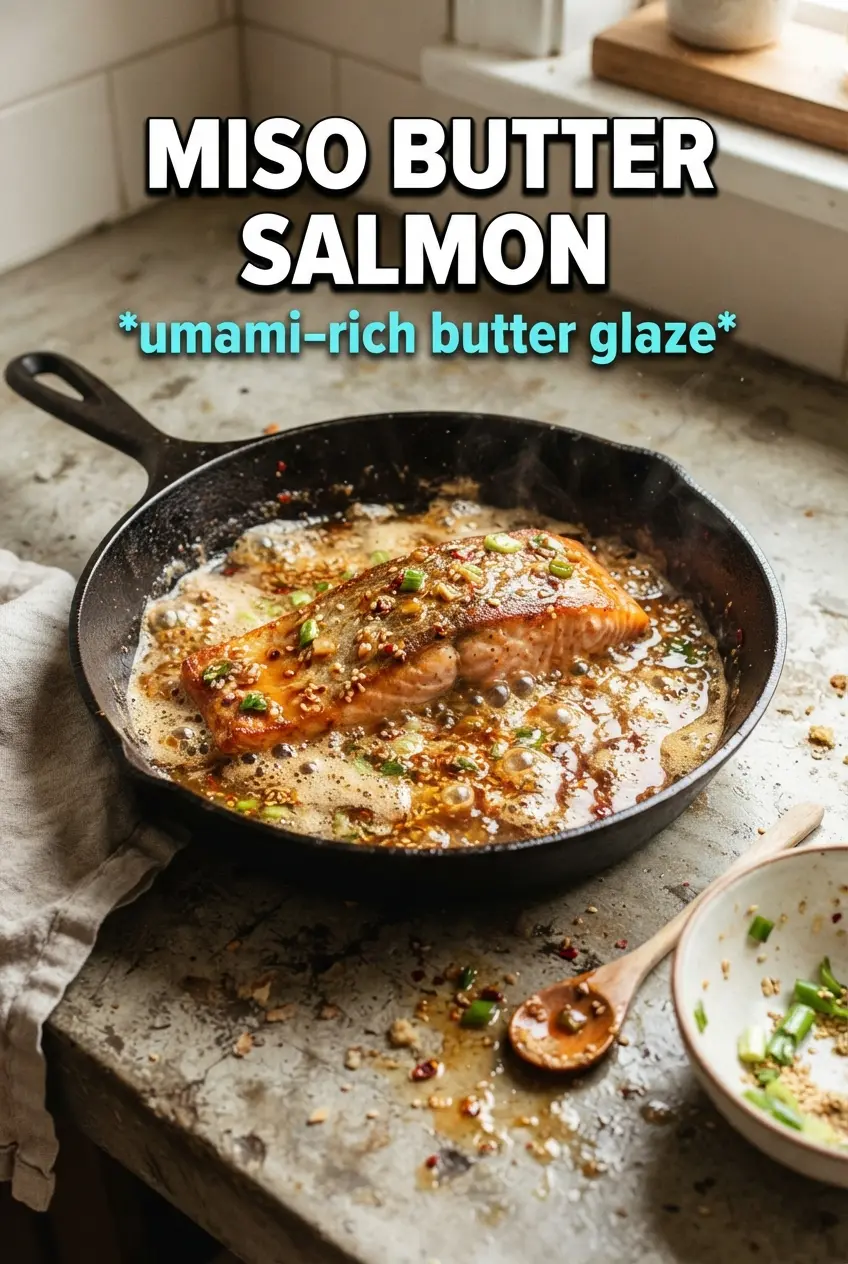
Miso Butter Salmon
Ingredients
Equipment
Method
- Mix white miso paste, softened unsalted butter, mirin, soy sauce, sake or dry sherry, sugar, and sesame oil into a smooth paste.
- Taste the paste and make sure it’s evenly blended with no butter lumps so it coats the salmon consistently.
- Spread the miso butter paste generously over salmon fillets to coat all sides of the flesh side.
- Marinate in the refrigerator for 1–4 hours so the crust clings and flavors the fish as it bakes.
- Preheat the oven to 400°F and line a baking sheet with foil.
- Bake for 10 minutes at 400°F until the miso looks glossy and begins to set on the surface.
- Broil for 2–3 minutes until the miso butter crust is deeply caramelized and slightly charred in spots; watch carefully to prevent burning.
- Garnish with sesame seeds and green onions immediately after cooking for fresh crunch and color.