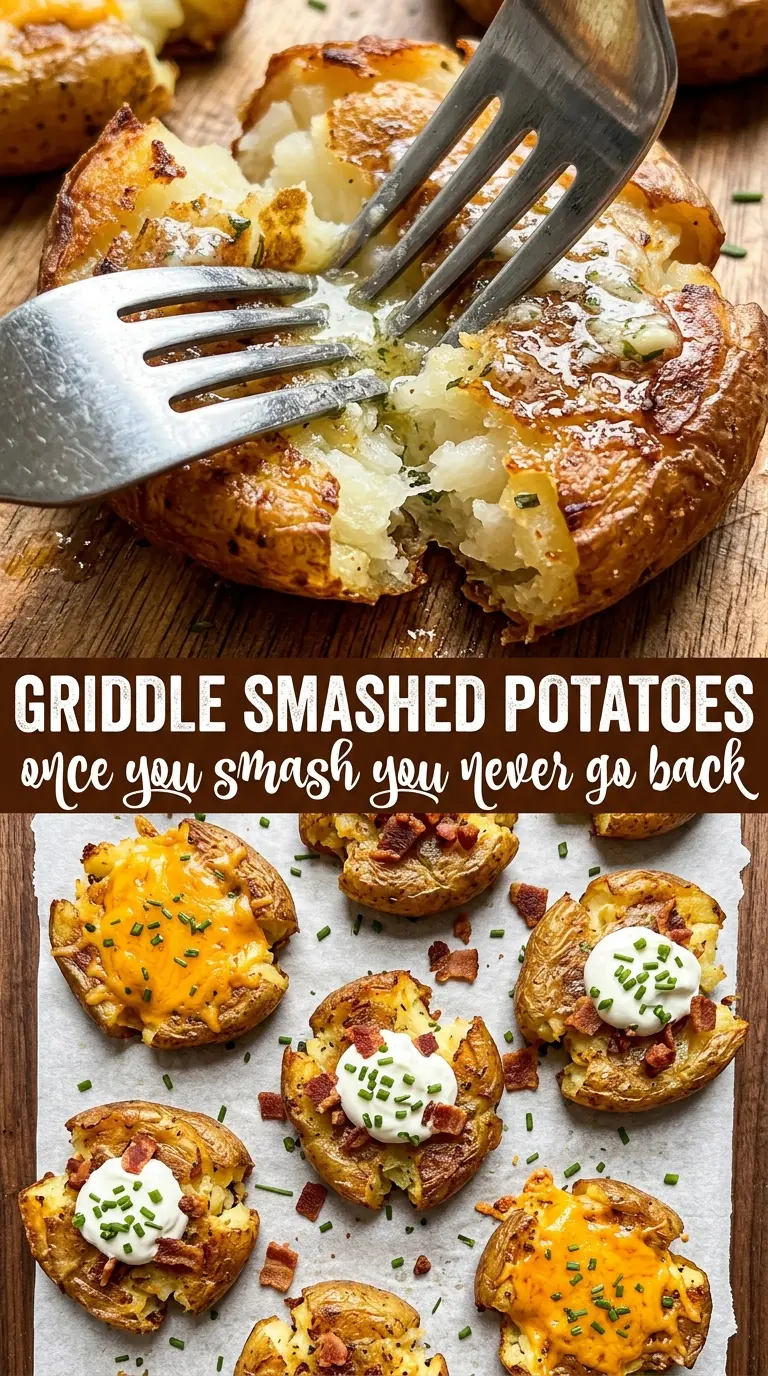
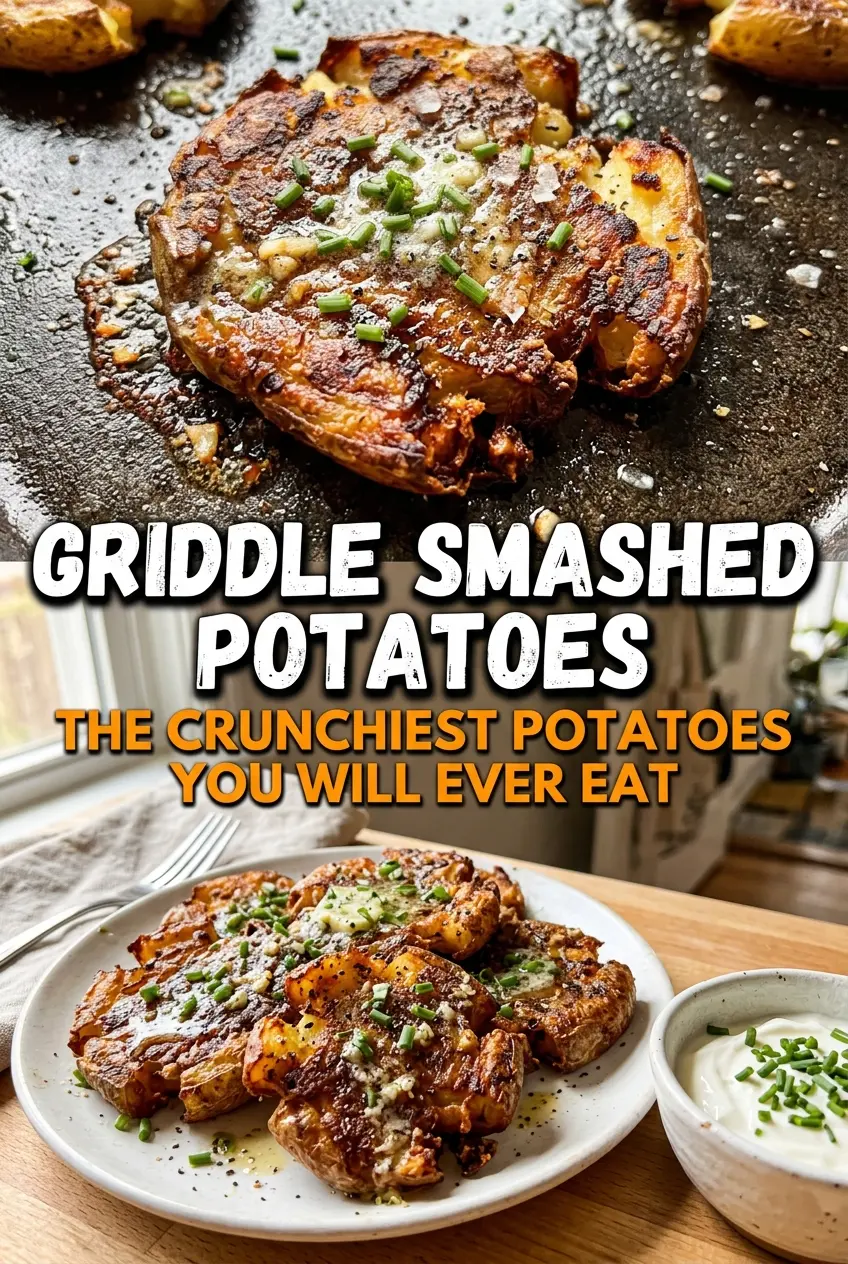
Griddle smashed potatoes hit the table with the kind of contrast that makes people reach for “just one more.” The bottoms turn deeply golden and crisp, the centers stay creamy, and every craggy edge catches the herb-garlic butter instead of letting it run off into the pan. On a hot flat-top, they get a crust that feels almost like a potato chip on the outside and a baked potato in the middle.
The trick is giving the potatoes enough time in the boil to soften all the way through before they ever hit the griddle. If they’re undercooked, they split when you smash them and stay chalky inside. If you let them dry for a few minutes after draining, they crisp instead of steaming, and that little pause makes a bigger difference than most people expect.
Below, I’m walking through the part that matters most: how hard to smash, when to leave them alone, and exactly when to add the butter so the garlic perfumes the potatoes without burning.
The potatoes got ridiculously crisp on the griddle, and the garlic herb butter soaked into all the little edges without making them soggy. I served them with sour cream and they disappeared before the burgers were even off the grill.
Save these griddle smashed potatoes for the nights when you want a crispy potato side with caramelized edges and herb-garlic butter.
The One Thing That Keeps Griddle Potatoes Crispy Instead of Soft
The griddle itself is what makes this recipe special, but the real difference comes from restraint. Once the potatoes hit the hot surface, leave them alone long enough to form a crust. If you poke, flip, or slide them too early, the underside tears before it has a chance to seal, and you lose the crisp layer that makes smashed potatoes worth doing this way.
Medium-high heat gives you steady browning without scorching the garlic butter later. The potatoes should sizzle as soon as they touch the oil, and the first side should release on its own when it’s ready. If they stick, they’re not done yet.
- Yukon gold potatoes — These stay creamy inside and hold their shape after boiling, which matters when you smash them. Russets get fluffier and break apart more easily, so they don’t give the same clean, craggy edges.
- Olive oil — This creates the first layer of browning and keeps the potatoes from welding themselves to the griddle. Use a good enough oil for flavor, but you don’t need anything fancy.
- Butter — Melted butter carries the garlic and herbs across the potatoes at the end. Don’t add it too early, or the dairy solids can brown before the potatoes are fully crisp.
- Fresh garlic and herbs — Fresh parsley, chives, and thyme give the finished potatoes that bright, savory finish. Dried herbs work in a pinch, but the flavor lands flatter and less fragrant.
Getting the Potatoes From Boiled to Craggy and Crisp
Boil Until the Centers Give Cleanly
Start the potatoes in heavily salted water and cook them until a fork slides in without resistance, but they still hold together when lifted. That usually takes 18 to 20 minutes for small Yukon golds. If they’re underdone, the smash will crack them instead of flattening them. Drain them well and let them sit for about 5 minutes so the surface moisture can evaporate.
Smash Them, Don’t Flatten Them to Death
Set the potatoes on the hot, oiled griddle and press each one once with a flat-bottomed cup or heavy spatula until it’s about 1/2-inch thick. You want a wide, rough-edged disk, not a mashed pile. If the potato clings to your tool, lift slowly and re-press from a different angle instead of grinding it into the surface. The jagged edges are what crisp.
Let the First Side Build a Real Crust
Cook the potatoes undisturbed for 8 to 10 minutes, until the bottoms are deeply golden and the edges look set. This is the part people rush, and it’s the part that decides everything. When the crust is ready, the potatoes release more easily and flip without falling apart. Flip carefully, then let the second side brown for another 6 to 8 minutes.
Finish With Garlic Herb Butter
Mix the melted butter with the garlic, parsley, chives, and thyme, then pour it over the potatoes once both sides are crisp. Give them 2 more minutes on the griddle so the garlic softens and the herbs bloom in the heat. If you add the butter too early, the garlic can burn before the potatoes finish cooking. Transfer to a platter right away and finish with flaky sea salt while the surface is still hot.
How to Change These Without Losing the Crispy Edges
Dairy-Free Version
Swap the butter for a good plant-based butter or use olive oil with the garlic and herbs. You’ll lose a little of the rich, round finish that dairy butter gives, but the potatoes still crisp well and the herb topping stays bright.
Vegan-Friendly Serving Style
Use olive oil throughout and skip the sour cream, then serve with a cashew cream or dairy-free dip if you want something cool and tangy on the side. The texture stays the same; the main change is that the finish will taste cleaner and less rich.
Extra-Crisp Griddle Potatoes
After boiling, let the potatoes sit a few extra minutes so the skins dry well before smashing. That small pause gives you a drier surface and a better crust, especially if your griddle runs a little cooler than you expected.
Storage and Reheating
- Refrigerator: Store leftovers in an airtight container for up to 4 days. The edges soften in the fridge, but the flavor stays strong.
- Freezer: These freeze reasonably well if you want to save them, though the texture won’t stay as crisp after thawing. Freeze in a single layer first, then move to a bag or container.
- Reheating: Reheat on a hot skillet or griddle so the exterior crisps back up. The biggest mistake is microwaving them, which warms the center but turns the crust soggy.
Answers to the Questions Worth Asking
Griddle Smashed Potatoes
Ingredients
Equipment
Method
- Place the Yukon gold potatoes in heavily salted water and boil for 18-20 minutes until fork-tender, with visible steam and a slightly soft center. Drain and cool for 5 minutes until you can handle them comfortably.
- Preheat a griddle to medium-high, then drizzle olive oil over the cooking surface until it shimmers. Add the potatoes and smash each one firmly with a flat-bottomed cup or heavy spatula to about 1/2-inch thick, aiming for even, cracked surfaces.
- Cook the smashed potatoes undisturbed for 8-10 minutes until the bottoms are deeply golden and crispy, with strong browning at the edges. Avoid moving them so the crust sets.
- Flip the potatoes carefully and cook 6-8 more minutes until both sides are browned, with crisp edges and caramelized flat faces. Keep heat steady to maintain the sizzle.
- Mix melted butter, garlic, parsley, chives, and thyme, then pour the butter mixture over the potatoes and cook 2 more minutes until it looks glossy and pooled in the crags. Watch for bubbling around the edges.
- Transfer the smashed potatoes to a platter and finish with flaky sea salt for a final crisp lift, with visible flecks on top. Serve with sour cream on the side.