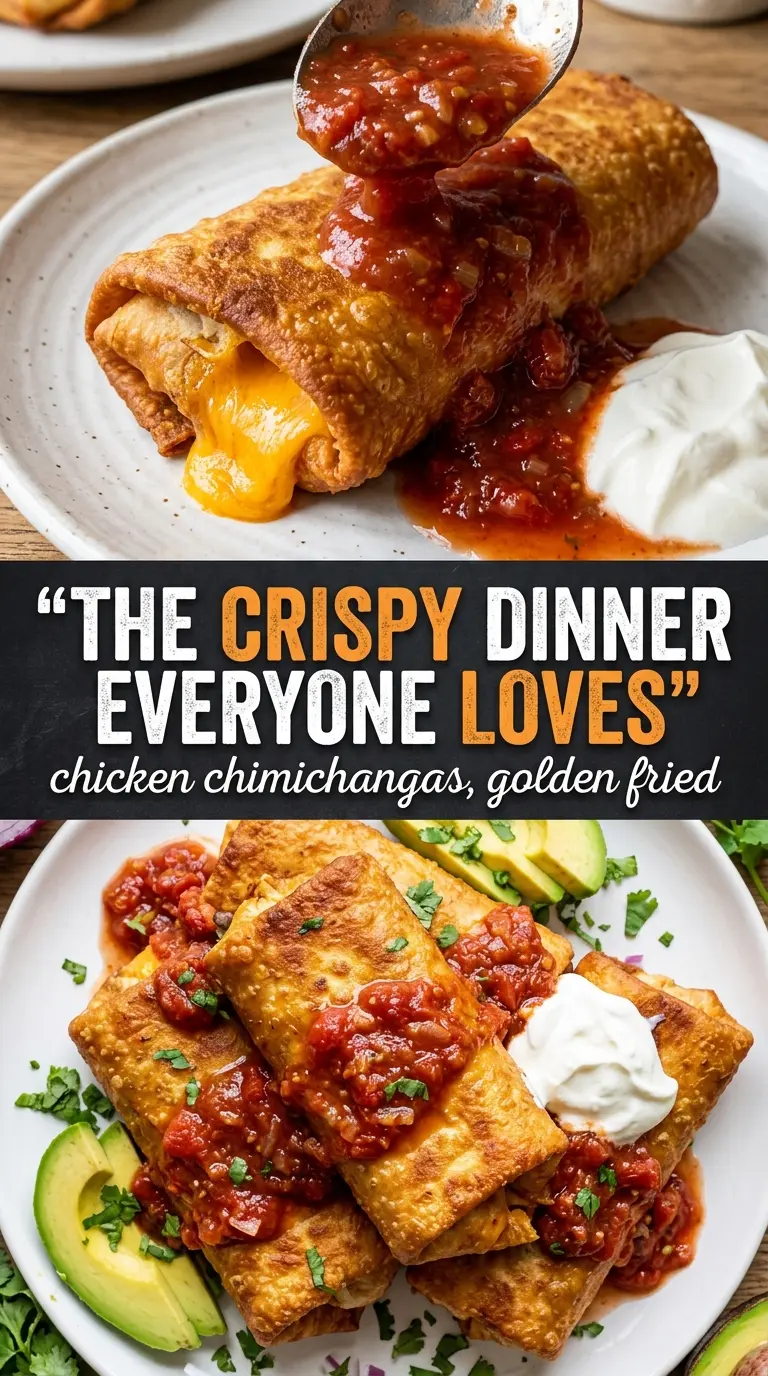
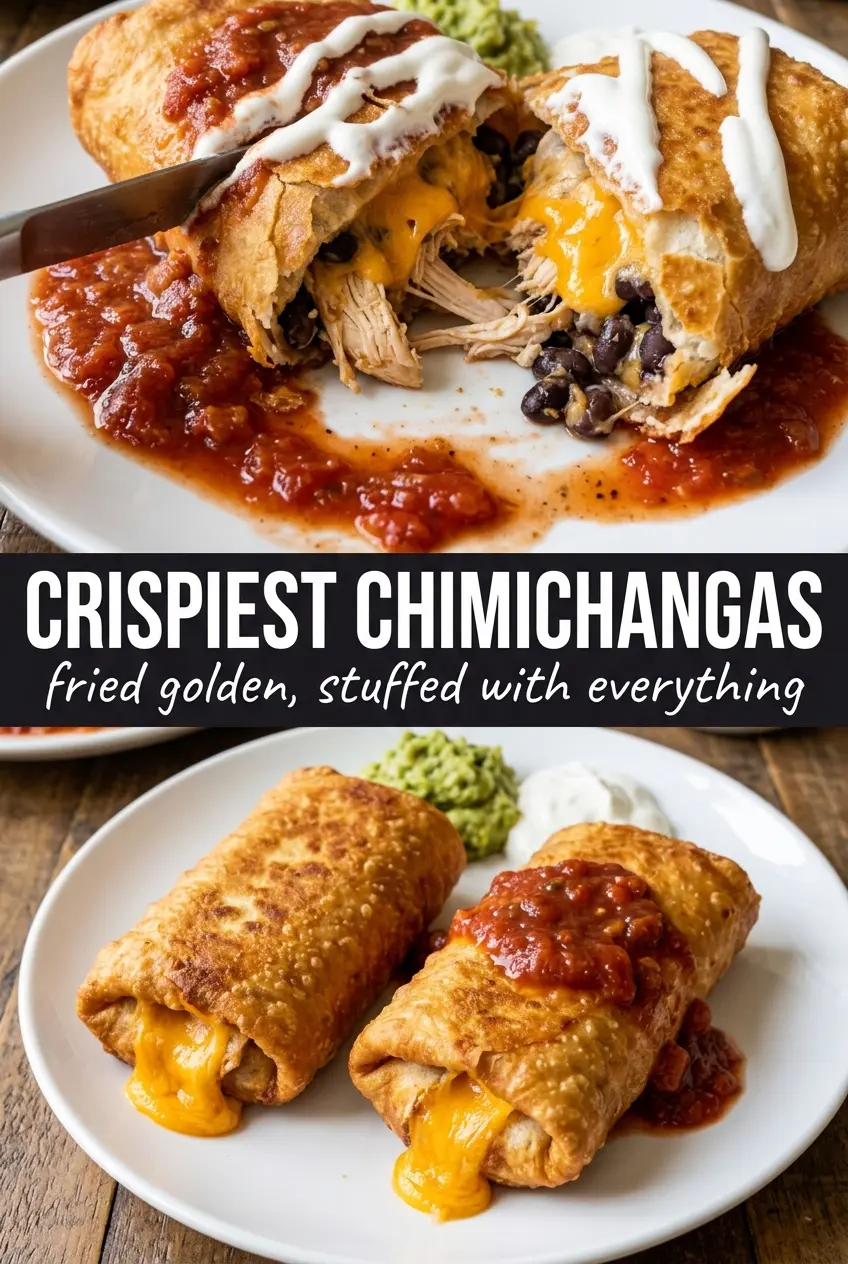
Chicken chimichangas hit that sweet spot between comfort food and a restaurant-style dinner you can pull off at home without much fuss. The tortilla fries up to a crisp, blistered shell that gives way to a filling of seasoned chicken, rice, beans, and melted cheese. When they’re built right, they stay tightly rolled, cook evenly, and don’t leak all over the pan.
The trick is in the filling balance and the roll. Too much salsa makes the tortillas slippery, and too much filling makes sealing impossible, so the chicken gets coated rather than drowned. Rice and beans aren’t just bulk here; they help keep the inside hearty and stable while the cheese melts into everything and holds the center together. Frying gives you the classic shatteringly crisp finish, but the baked version still works if you brush the tortillas well and flip them halfway through.
Below, I’ve included the small details that matter most: how to keep the seam closed, why the oil temperature matters, and what to do if you want to bake instead of fry without ending up with a pale, chewy shell.
The filling stayed put, and the tortilla got crisp all the way around without soaking up a ton of oil. I baked half and fried half, and both were great, but the fried ones had that crackly shell I was hoping for.
Like these crispy chicken chimichangas? Save them to Pinterest for the nights when you want a golden Tex-Mex dinner with a crunchy shell and a melty center.
The Shell Cracks or It Doesn’t: Why the Roll Matters
A good chimichanga starts before the pan gets hot. The tortilla has to be rolled tight enough to stay closed, but not stuffed so full that the seam bursts the second it hits the oil. If the filling is loose or wet, the tortilla slips and opens; if the package is overstuffed, the center stays cold while the outside browns too fast.
That’s why the rice and beans matter as much as the chicken. They give the filling structure, absorb a little of the salsa, and keep the cheese from turning the whole thing into a runny pocket. The seam-side-down start gives the tortilla a few seconds to seal against the hot oil, which is the difference between a neat chimichanga and a skillet full of filling.
What Each Ingredient Is Actually Doing in These Chimichangas
- Shredded chicken — Use cooked chicken that’s already tender and easy to pull apart. Rotisserie chicken works well here because it’s moist and seasoned, but plain cooked chicken is fine since the taco seasoning and salsa carry the flavor.
- Mexican rice — This adds body and keeps the filling from feeling too heavy or all meat-and-cheese. Cold or just-warm rice works best because steaming-hot rice can make the tortilla soft before it even reaches the pan.
- Black beans — Beans make the filling heartier and help it hold together. Drain and rinse them well so extra can liquid doesn’t make the tortillas slippery.
- Taco seasoning and salsa — These do the seasoning work fast. The salsa should be thick, not watery; if yours is loose, spoon off the excess liquid first so the filling stays firm enough to roll.
- Monterey Jack cheese — This melts smoothly and gives you those stretchy pockets inside the chimichanga. Pre-shredded cheese is fine, but freshly shredded cheese melts a little cleaner if you have it.
- Flour tortillas — Use large burrito-size tortillas or the filling won’t roll properly. If they’re stiff, warm them for a few seconds so they bend without splitting.
- Vegetable oil — A neutral oil gives you a clean, crisp shell without competing with the filling. For baking, brush the tortillas well with oil; otherwise they come out dry and pale.
Getting the Filling Tight, the Oil Hot, and the Crust Crisp
Coating the Chicken First
Mix the shredded chicken with taco seasoning and salsa until every piece is coated, but stop before it turns saucy. You want the chicken flavorful and moist, not swimming, because too much liquid makes the tortilla slick and hard to seal. If the mixture looks wet in the bowl, let it sit for a minute so the chicken absorbs more of it before you start filling.
Rolling Like You Mean It
Lay the tortilla flat, add the filling in a narrow line across the center, and keep the mound compact. Fold in the sides first, then roll from the bottom up with steady pressure, like you’re wrapping a gift that needs to hold together in hot oil. If the tortilla springs open, it’s usually too full or too cold; give it a few seconds to warm and try again with less filling.
Frying to a Deep Golden Finish
Heat the oil to 375°F and keep it there. If the oil is too cool, the tortilla drinks it up and turns greasy; if it’s too hot, the outside darkens before the cheese inside melts. Start seam-side down and let that first side set before turning, then fry until the whole shell is a deep golden color with crisp blistered spots. Drain on paper towels right away so the bottom stays crunchy instead of steaming soft.
Baking for a Lighter Crust
Brush every side of the rolled chimichangas with oil before they go into the oven. That coating is what helps the flour tortilla brown instead of drying out into a tough wrap. Flip them halfway through baking so both sides get color, and watch for the edges to turn golden and firm, not just lightly tan.
How to Adapt These for the Way You Actually Cook
Baked Chimichangas with Less Oil
Brush the rolled tortillas generously with oil and bake them seam-side down first so they set before you flip them. You won’t get the same crackly shell as frying, but you’ll still get a crisp, browned exterior with much less mess.
Gluten-Free and Still Crispy
Use certified gluten-free tortillas that are large and flexible enough to roll without cracking. They’re usually a little less elastic than standard flour tortillas, so warming them briefly before filling matters even more.
Swap the Chicken for Beef or Turkey
Cooked shredded beef or seasoned ground turkey works well if you want a different filling. Beef gives you a richer, heavier chimichanga, while turkey keeps the dish lighter and needs a little extra salsa or cheese to stay moist.
Make It Vegetarian Without Losing the Texture
Skip the chicken and add extra beans, rice, and a handful of sautéed peppers or onions. The key is keeping enough structure in the filling so the tortilla rolls tightly and browns evenly instead of collapsing under a soft center.
Storage and Reheating
- Refrigerator: Store cooked chimichangas for up to 3 days. The shell will soften as it sits, but it still reheats well.
- Freezer: Freeze the rolled, uncooked chimichangas on a tray, then wrap them tightly and store for up to 2 months. Cook from frozen if frying, or thaw slightly before baking so the center heats through.
- Reheating: Reheat in a 375°F oven or air fryer until the outside crisps back up. Avoid the microwave if you want the shell to stay crunchy; it turns the tortilla soft and steamy fast.
Answers to the Questions Worth Asking
Chicken Chimichangas
Ingredients
Equipment
Method
- Mix the shredded cooked chicken, taco seasoning, and salsa until well combined, so every bite is evenly coated and moist.
- Lay the flour tortillas flat and pile Mexican rice, black beans, seasoned chicken, and Monterey Jack cheese in the center of each tortilla.
- Fold the sides in and roll tightly like a burrito, then secure each roll with a toothpick to hold the seam closed during cooking.
- Heat about 2 inches of vegetable oil in a deep skillet to 375°F.
- Fry the chimichangas seam-side down for 2-3 minutes until golden and crisp on that first face.
- Turn and fry another 2-3 minutes until all sides are golden and crispy.
- Drain the fried chimichangas on paper towels to remove excess oil and keep the shell shatteringly crisp.
- Alternatively, brush the chimichangas with oil and bake at 425°F for 20-22 minutes, flipping halfway, until golden and crisp.
- Remove the toothpicks and serve the chimichangas with sour cream, guacamole, and pico de gallo.