These red, white, and blue Jell-O shots set up with clean, separate layers and a glossy finish that looks party-ready before you even carry the tray out. The texture lands right where it should: firm enough to hold the stripes, but still soft enough to tip back in one shot without turning rubbery or watery.
The key is temperature and patience. Each layer needs to be cool enough not to melt the one underneath, and the white layer needs a little extra care because sweetened condensed milk can make the mixture thicken unevenly if you rush the gelatin. I like to let the colored layers set until they’re fully firm at the edges before adding anything else, even if that means waiting a few extra minutes.
Below, I’m breaking down the parts that actually matter: how to keep the layers distinct, how to avoid cloudiness in the white stripe, and what to do if you want to make them ahead for a crowd.
The layers held perfectly and the white center stayed creamy instead of sinking into the red. I chilled them a little longer between layers and they came out looking like little flag cups.
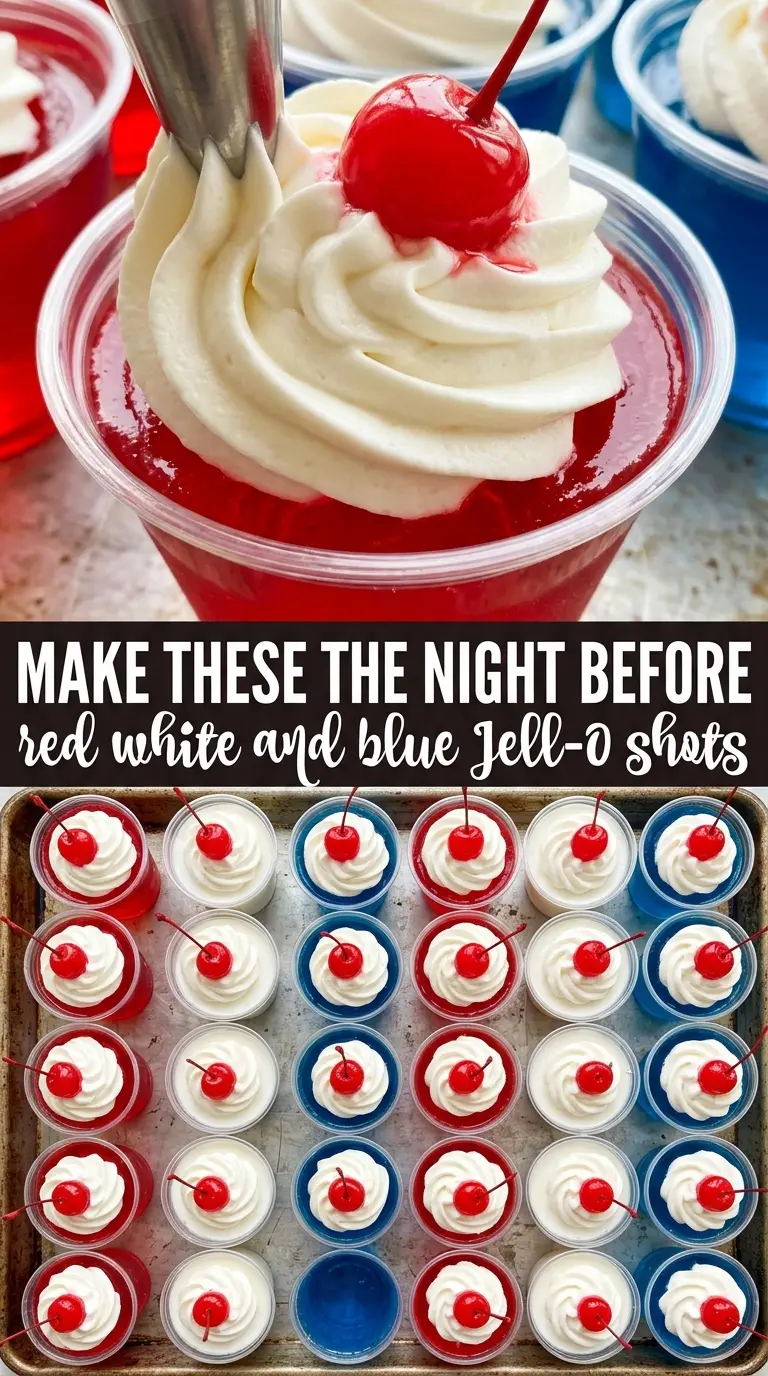
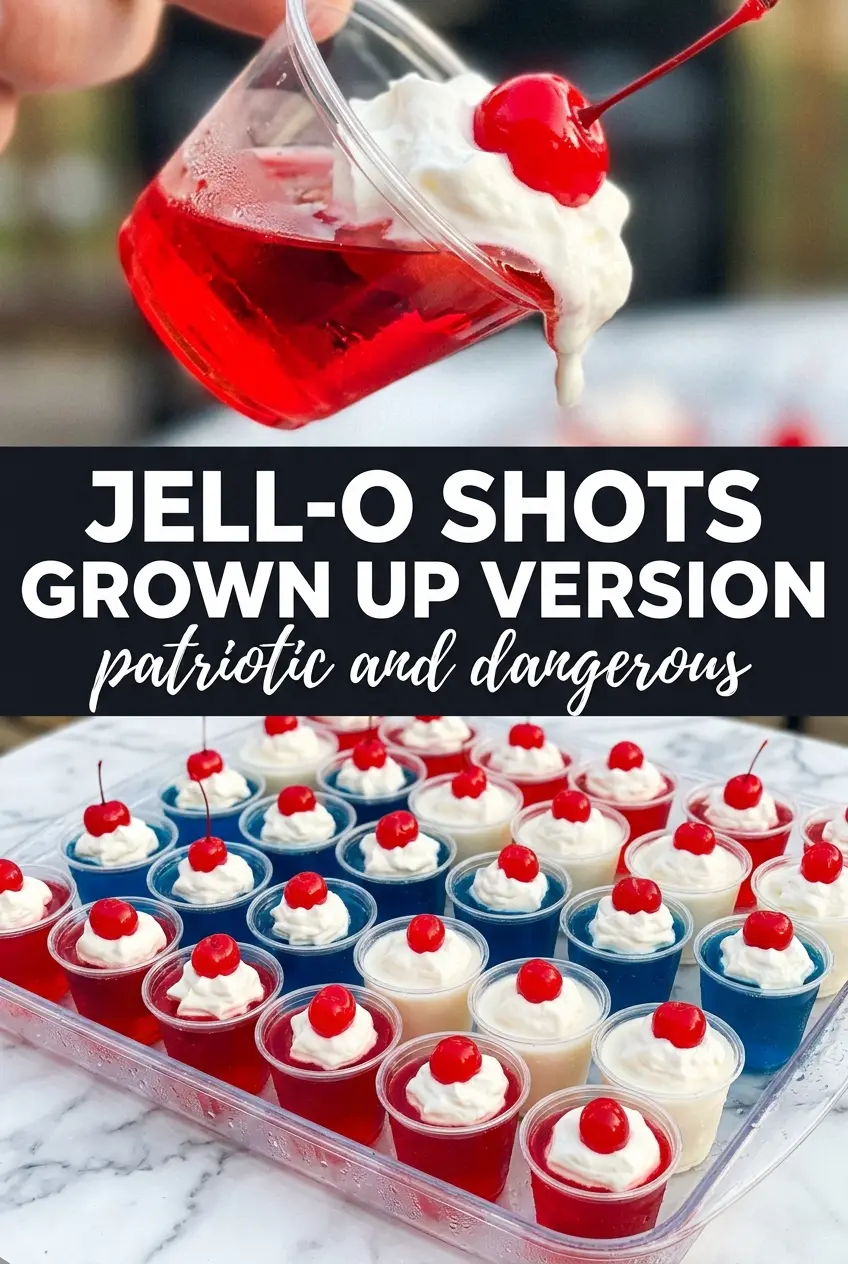
Patriotic layered Jell-O shots with clean red, white, and blue stripes for your next party tray
The Trick to Layering Jell-O Shots Without Muddying the Colors
Layered Jell-O shots fail for one reason more than any other: the next layer goes in while the one underneath is still warm or only half-set. That’s how you end up with marbled edges and colors that bleed into each other instead of staying crisp. The fix is simple, but you have to respect it. Let each layer set until it’s firm enough that a spoonful of the next mixture can sit on top without sinking.
The other thing that matters is how you pour. A direct pour from high up breaks the surface of the layer below. I tilt the cup slightly and spoon the white mixture over the red layer, then do the same with the blue. It takes a little longer, but the lines stay clean and the finished shots look sharp instead of sloppy.
What Each Layer Is Actually Doing Here
- Cherry or strawberry Jell-O — This gives you the first bold layer and the strongest color payoff. Cherry sets a little firmer in my experience, while strawberry tastes softer and a bit sweeter. Either one works, but use a flavor with a clear red color so the striping reads well through the cup.
- Berry blue Jell-O — Blue Jell-O is what makes these look unmistakably patriotic. It also tends to look best when the liquid is cooled before pouring, because a hot blue layer can cloud the white layer underneath. Use the full amount of cold vodka here so the flavor stays balanced and the set remains tender.
- Unflavored gelatin — This is what gives the white layer structure. Sweetened condensed milk alone won’t set on its own, so this ingredient isn’t optional if you want clean layers. Bloom it in the hot liquid and stir until it disappears completely; any grainy bits left behind will show up in the final layer.
- Sweetened condensed milk — This makes the middle layer opaque and creamy instead of clear. It also softens the sharpness of the vodka and keeps the white stripe from tasting flat. Don’t swap in regular milk here or you’ll lose both the body and the smooth, opaque look.
- Vodka — Cold vodka helps the mixture cool faster and keeps the set cleaner. I like a plain, neutral vodka for this recipe because it doesn’t fight the fruit flavors. If you want a lighter shot, replace part of the vodka with cold water, but the texture will be slightly firmer and less boozy.
Building the Layers So They Set Cleanly
Dissolve the Red Layer Completely
Start with the red Jell-O in a heatproof bowl and pour in the boiling water. Stir until the granules disappear, not just until the liquid looks mostly clear. If any crystals are left behind, they’ll show up as gritty spots in the finished shots. Stir in the cold vodka only after the gelatin is fully dissolved, then pour into the cups and stop at about one-third full.
Let the Base Firm Up Before Adding the Middle
The red layer needs a full chill until it’s set enough to hold the next layer without blending. In most fridges that takes about 45 minutes, but the real test is the surface: it should look firm and glossy, not sloshy when you nudge the cup. If the layer still jiggles like liquid, wait longer. Rushing this stage is what causes the stripes to smear together.
Cook the White Layer Gently
Whisk the sweetened condensed milk, boiling water, and unflavored gelatin until the mixture turns smooth and the gelatin dissolves completely. Then let it cool slightly before adding the cold water. If you pour it in while it’s too hot, it can soften the red layer beneath it. Spoon it gently over the red layer and chill again until the top is set enough to support the blue.
Finish With a Cool Blue Top
Mix the blue Jell-O with boiling water until fully dissolved, then stir in the cold vodka and let it cool to room temperature. That cooling step matters because hot liquid will melt the white layer and blur the line between colors. Once it’s no longer warm to the touch, pour it slowly over the back of a spoon or along the side of the cup. Chill until the top layer is fully set and the cups feel firm all the way through.
How to Adapt These Jell-O Shots for Different Crowds
Make Them Without Alcohol
Swap the vodka for cold water in each layer. You’ll lose the slight bite and the shots will set a touch firmer, but the layers still hold and the texture stays fun and jiggly. This is the version I make for mixed-age parties when I want the same look without the alcohol.
Use a Single Flavor Instead of Patriotic Layers
If you don’t need the red-white-blue look, make the same recipe with one flavor of Jell-O and skip the middle layer entirely. That gives you a faster set time and a cleaner, more traditional party shot. The condensed milk layer is what makes these look special, so leaving it out changes the style but keeps the technique easy.
Make the Cups Smaller for a Bigger Crowd
Use smaller plastic cups and fill each layer more shallowly. You’ll get more servings from the same batch, and the shots will set a little faster because the layers are thinner. Just keep the layering calm and deliberate so the colors stay distinct in the smaller format.
Storage and Reheating
- Refrigerator: Store covered for up to 3 days. After that, the edges start to dry a little and the layers lose some of their clean finish.
- Freezer: I don’t recommend freezing Jell-O shots. Freezing changes the texture and can make the layers weep when they thaw.
- Reheating: These are served cold, so don’t reheat them. If they soften too much, chill them again until firm; warming will break the structure and ruin the layered look.
Questions I Get Asked About This Recipe
Jell-O Shots (Red, White, and Blue)
Ingredients
Equipment
Method
- Dissolve cherry or strawberry Jell-O in 1 cup boiling water, then stir for 2 minutes until fully dissolved and glossy. Mix in 1/2 cup cold vodka and immediately pour into shot cups to fill one-third of the way, using a steady pour so the surface looks smooth.
- Refrigerate for 45 minutes until fully set and firm to the touch before adding the next layer.
- Whisk sweetened condensed milk, 1 cup boiling water, and unflavored gelatin until dissolved, then let cool slightly so it won’t melt the red layer. Stir in 1/2 cup cold water, then spoon gently over the set red layer to keep the stripes separated.
- Refrigerate for another 45 minutes until the white layer is fully set.
- Dissolve berry blue Jell-O in 1 cup boiling water, then stir for 2 minutes until smooth. Mix in 1/2 cup cold vodka, cool to room temperature, and gently pour over the white layer to avoid breaking through.
- Refrigerate for at least 1 hour until fully set, then serve cold for maximum jiggle.