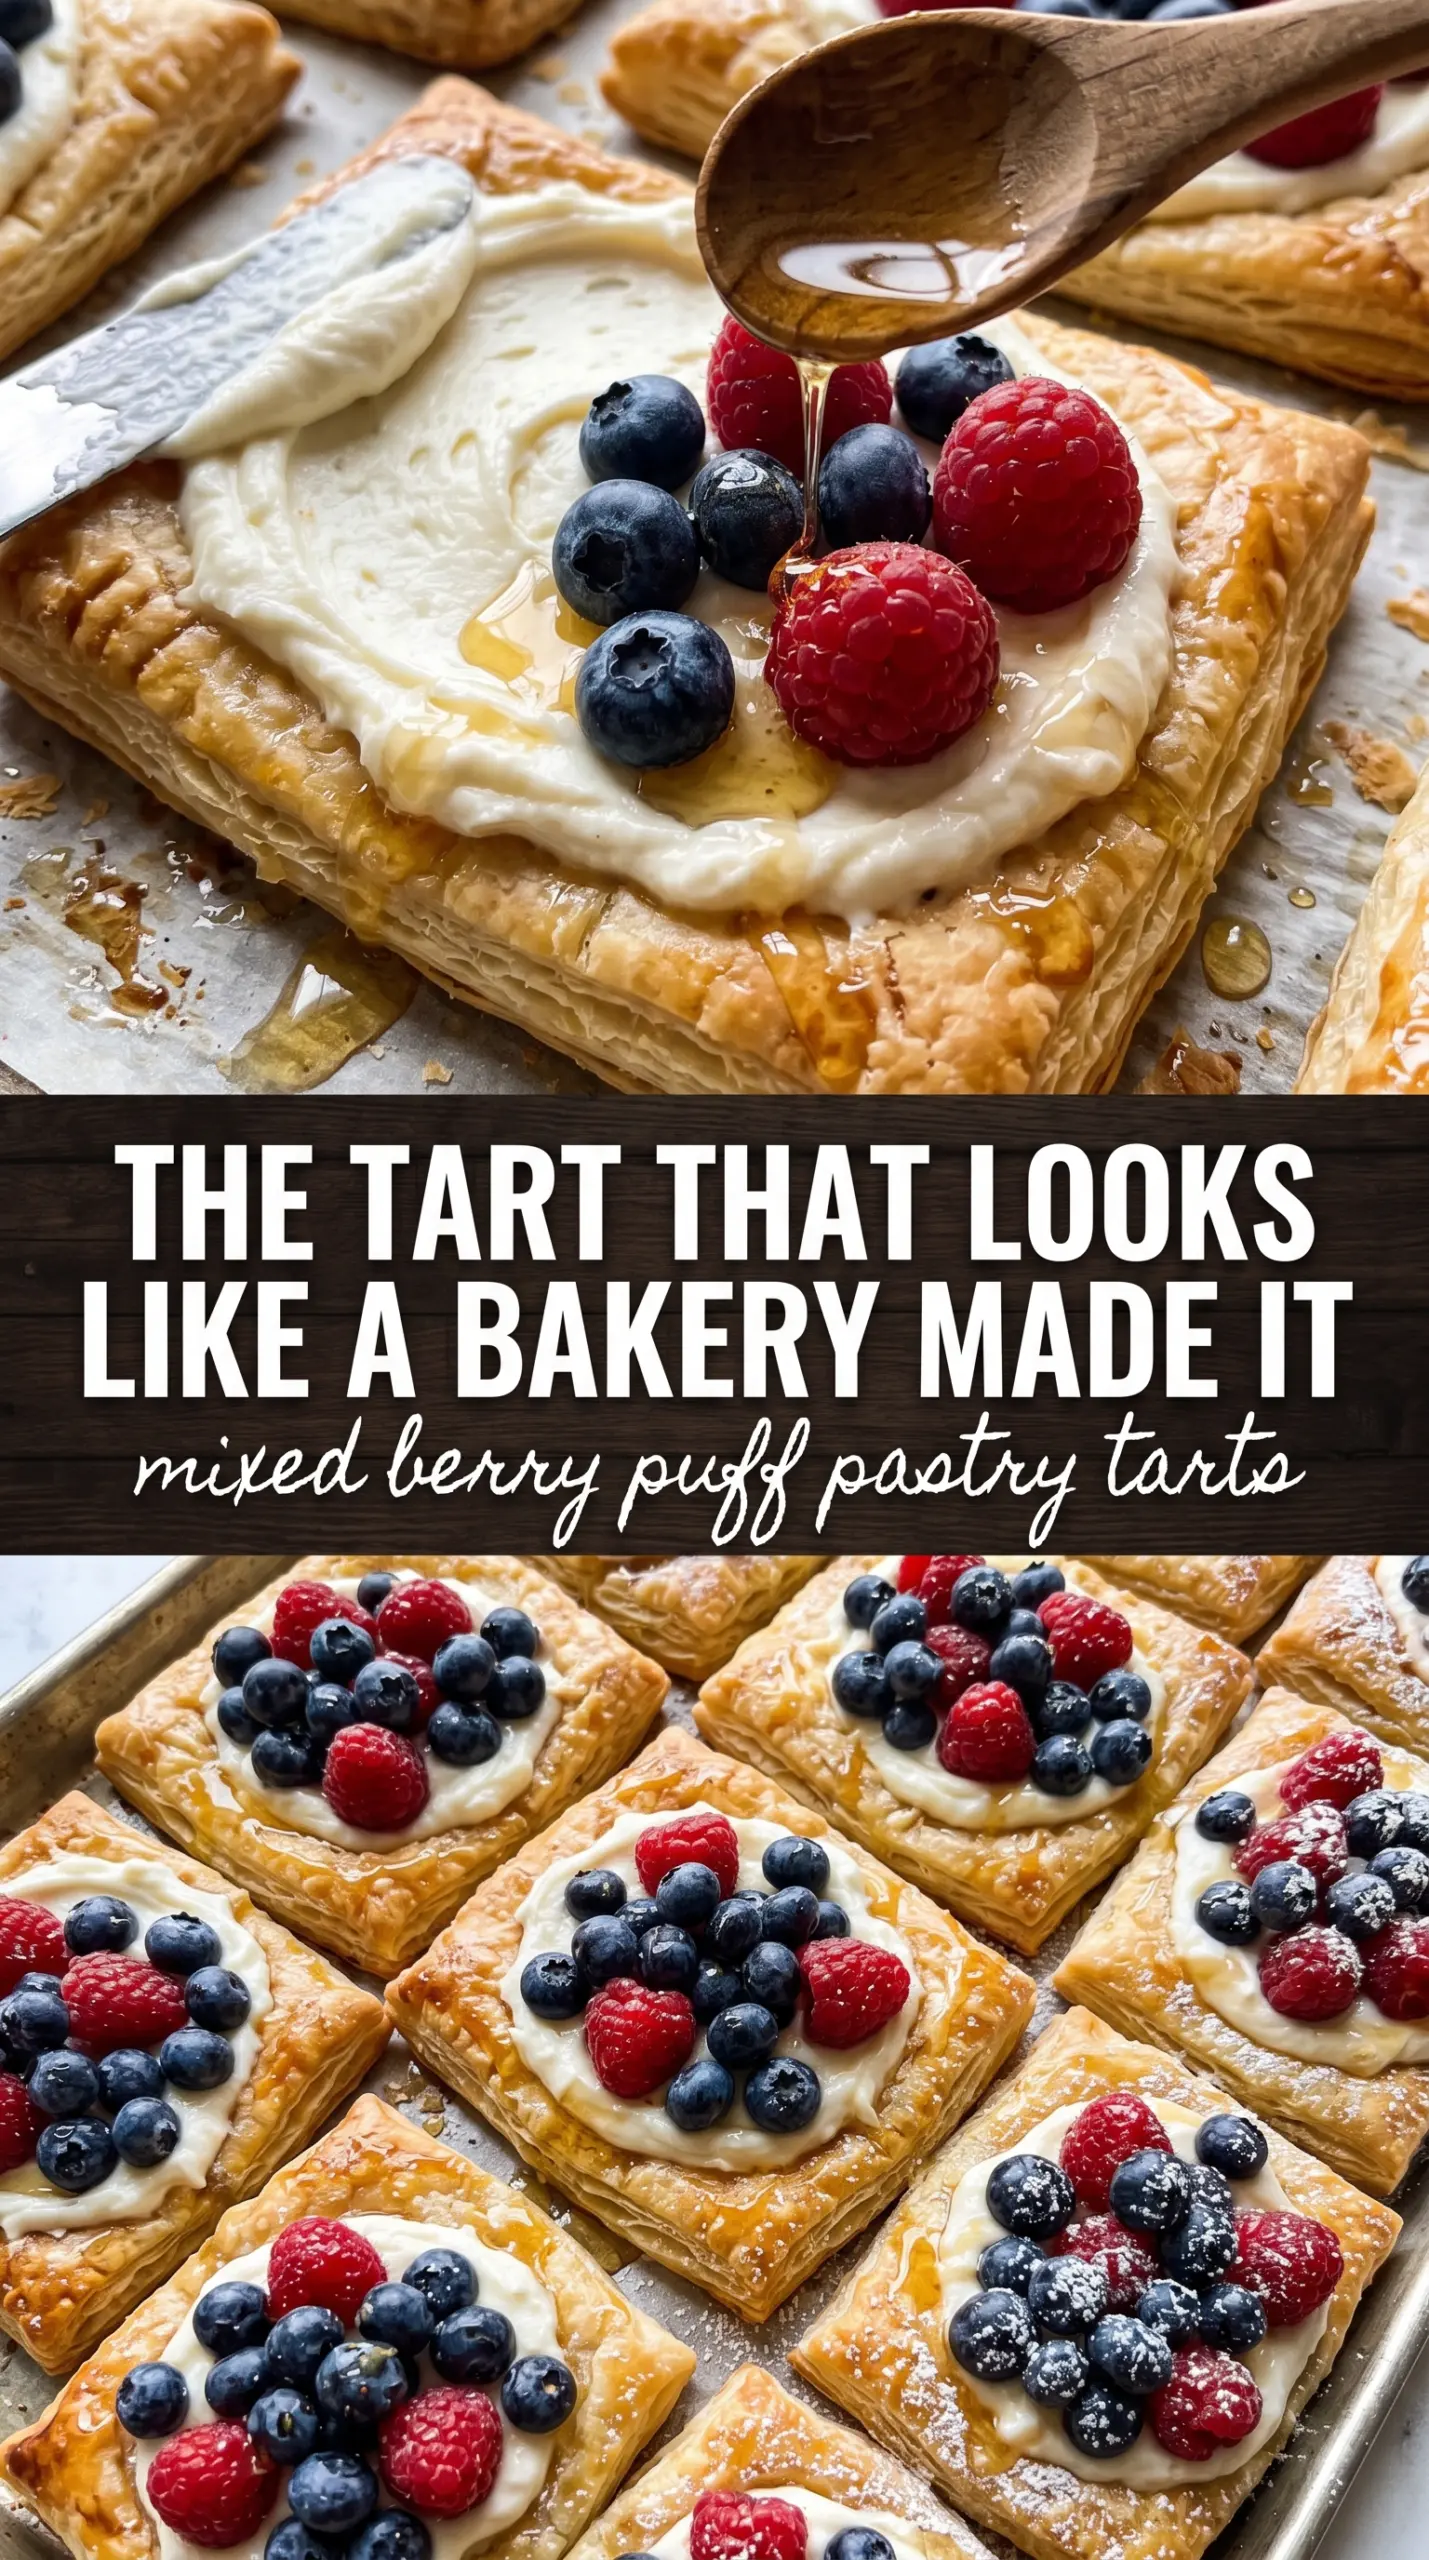
Golden, flaky puff pastry with a soft cream cheese center and a bright heap of berries is the kind of dessert that disappears fast because it hits every note at once. The pastry shatters at the edge, the filling stays cool and lightly sweet, and the fruit turns jammy enough in the oven to feel finished without losing its shape. It looks polished on a tray, but it’s built from a short list of ingredients and a very manageable process.
The trick is keeping the pastry cold until it goes into the oven and keeping the berry layer light enough that the center doesn’t turn soggy. A scored border gives each tart its frame, so the edges puff up while the middle stays flat for the filling. The apricot glaze at the end isn’t just for shine; it gives the berries that bakery-style finish and helps pull the whole tart together.
Below, I’m walking through the part that matters most: how to get the puff pastry crisp, how to keep the cream cheese layer smooth, and what to do if your berries are extra juicy. These are the little details that turn a good tart into one you’d happily serve on repeat.
The pastry puffed up beautifully around the edges and the cream cheese layer stayed smooth instead of leaking. The apricot glaze made the berries look glossy, and they were still crisp-tender after baking.
Save these mixed berry puff pastry tarts for the kind of dessert that looks elegant but comes together fast with store-bought pastry.
The Part That Keeps the Centers From Going Soggy
Puff pastry looks forgiving, but it punishes overfilling. The cream cheese layer works because it acts as a barrier between the fruit and the pastry, and the scored border keeps the tart’s structure open while the edges rise. If you skip the scoring, the whole sheet puffs unevenly and the filling can slide around instead of sitting in a neat frame.
The other key is using a moderate amount of berries. Mixed berries release different amounts of juice, and that’s great for flavor, but too much fruit can flood the center before the crust has time to set. A light layer bakes better than a mound, especially when you want the bottom of the tart to stay crisp.
- Puff pastry — Store-bought pastry is the right choice here because its layers lift dramatically in a hot oven. Thaw it just enough to unfold without tearing; if it gets too warm, chill it again before cutting.
- Cream cheese — Full-fat cream cheese gives the filling body and a tang that balances the berries. Softening it first matters, or you’ll chase little lumps around the bowl and risk tearing the pastry when you spread it.
- Mixed berries — Fresh berries hold their shape best. If you use frozen, don’t thaw them first; toss them straight onto the filling so they don’t bleed as much juice.
- Apricot jam — Apricot has a mild flavor and enough natural gloss to glaze the berries without overpowering them. If you need a substitute, warm seedless raspberry jam works, but the color will read darker and the finish a little sweeter.
What Each Ingredient Is Actually Doing in This Recipe
- Primary ingredient (the star) — Quality matters most. Choose the best you can find.
- Cooking medium (oil, butter, or broth) — This carries flavors and prevents dryness.
- Seasonings (salt, pepper, spices, herbs) — Layer flavors so nothing overpowers. Build depth gradually.
- Aromatics (garlic, onion, herbs) — Cook with fat to bloom flavors. Become the foundation.
- Supporting ingredients — Complement the main ingredient without overpowering it.
- Sauce or liquid (if applicable) — Brings flavors together. Balance richness with acid.
- Acid (lemon, vinegar, wine, or other) — Brightens and prevents flat-tasting results.
- Final finish (garnish, glaze, or sauce) — Prevents one-dimensional taste and adds visual appeal.
Building the Tart So the Pastry Lifts, Not Leaks
Cutting and Scoring the Rectangles
Unfold the puff pastry on a lightly floured surface and cut it into six equal rectangles. Then score a 1/2-inch border around each one with the tip of a knife, cutting only halfway through the top layer. That line is what tells the pastry where to puff and where to stay flat, so don’t slice all the way through or the edge loses its frame. If the dough starts to soften while you work, slide it into the fridge for a few minutes before moving on.
Mixing the Cream Cheese Layer
Beat the softened cream cheese with powdered sugar, vanilla, and lemon zest until it turns smooth and spreadable. You’re looking for a light, creamy texture with no lumps, because a rough filling is harder to spread evenly and can tug at the pastry. Spread it only inside the scored border, leaving the edge bare so it can rise cleanly. If the filling seems too loose, the cream cheese was probably too warm; chill it briefly before assembling.
Layering the Berries and Baking Hot
Arrange the berries over the cream cheese in a single layer, then brush the border with egg wash. The egg wash gives the edges a deep golden color and helps the pastry bake to a crisp finish instead of a pale, dry one. Bake at 400°F until the borders are puffed and deeply golden and the fruit is bubbling in spots, which usually takes 18 to 20 minutes. If the center looks wet but the edges are already browned, your berries were heavy on juice; the tart will still set as it cools for a few minutes.
Glazing for Shine and Serving
Brush the warm berries with apricot jam while the tarts are still hot from the oven. The glaze should be thin enough to sweep on easily, not thick enough to clump on top of the fruit. Finish with powdered sugar after the tarts cool for a few minutes so it doesn’t vanish into the heat and moisture. These taste best warm, when the pastry is crisp and the cream cheese is still cool against the fruit.
How to Adapt These Tarts Without Losing the Crisp Edge
Make Them Dairy-Free
Use a dairy-free cream cheese style spread that bakes well and holds its shape. The filling will be slightly softer and a little less tangy, but the tart still works as long as the substitute is thick, not whipped or runny.
Swap the Berries for Stone Fruit
Sliced peaches, nectarines, or plums work well in place of the mixed berries. Cut them thin so they soften at the same rate as the pastry bakes, and keep the layer light because juicy fruit can overwhelm the center faster than berries do.
Use Frozen Berries the Right Way
Frozen berries can go straight on top of the filling without thawing. That keeps them from leaking into the cream cheese layer before baking, though the finished tart will have a little more juice around the edges than one made with fresh fruit.
Storage and Reheating
- Refrigerator: Store leftovers in an airtight container for up to 2 days. The pastry will soften a bit, but the flavor stays good.
- Freezer: These don’t freeze well after baking because the berries and cream cheese turn watery when thawed.
- Reheating: Warm on a baking sheet in a 325°F oven for 5 to 8 minutes. Skip the microwave; it softens the pastry instead of bringing back the crisp edges.
Questions I Get Asked About This Recipe

Mixed Berry Puff Pastry Tarts
Ingredients
Equipment
Method
- Preheat the oven to 400°F and line a baking sheet with parchment paper for easy release and crisp bottoms.
- Unfold the puff pastry and cut it into 6 rectangles, then score a 1/2-inch border around each rectangle without cutting all the way through so the edges puff.
- Beat the cream cheese, powdered sugar, vanilla extract, and lemon zest until smooth, then spread the mixture within the scored border on each rectangle.
- Top the cream cheese with the mixed berries, then brush the border with the egg wash so it browns and sets during baking.
- Bake for 18-20 minutes at 400°F until the pastry is deeply golden and puffed around the edges, with berries looking slightly softened.
- Brush the berries with warmed apricot jam for a glossy finish, dust with powdered sugar, and serve warm.