Thick, chewy monster cookies hit the sweet spot between peanut butter cookie, oatmeal cookie, and candy-studded treat. The edges bake up golden and set, while the centers stay soft enough to give that just-baked bend when you break one in half. The oats add structure, the peanut butter brings a salty, rich base, and the mix of M&Ms and chocolate chips keeps every bite a little different.
This version works because the dough leans on peanut butter and eggs instead of flour. That makes the texture dense and tender without turning cakey, and the quick oats help the cookies hold together while still staying chewy. A short bake time matters here. Pull them when the centers still look a little underdone, because they finish setting on the pan and that keeps them soft instead of dry.
Below, I’ve included the small details that matter most: which oats give the best texture, how to keep the cookies from spreading too much, and a few simple swaps if you want to change up the mix-ins.
The cookies were thick, soft in the middle, and the M&Ms stayed bright instead of melting into a mess. I baked them right at 11 minutes and they were perfect after cooling on the pan.
Like this peanut butter monster cookie recipe? Save it for the days when you want thick oatmeal cookies packed with M&Ms and chocolate chips.
The Key to Chewy Monster Cookies That Don’t Dry Out
The trap with monster cookies is baking them like a standard drop cookie. They look thick, so it’s tempting to leave them in until they seem fully set, but that’s how they turn dry and crumbly. The dough needs to come out when the centers still look a little soft because the residual heat on the pan finishes the job.
Another mistake is overmixing after the oats go in. Once the oats are fully incorporated, stop stirring. Overworking the dough tightens it up and can make the cookies feel heavy instead of tender.
- Peanut butter — Use creamy peanut butter for the smoothest dough and the most reliable texture. Natural peanut butter can work, but if it separates a lot, the dough can bake up greasy or uneven.
- Quick oats — These give the cookies their classic chew without making them feel bulky. Old-fashioned oats will work in a pinch, but the texture will be rougher and the cookies won’t spread quite the same way.
- M&Ms and chocolate chips — The mix of larger candy pieces and smaller chips gives you color, texture, and pockets of melty chocolate. If you only use one mix-in, the cookies lose some of that monster-cookie personality.
What Each Ingredient Is Doing in the Dough
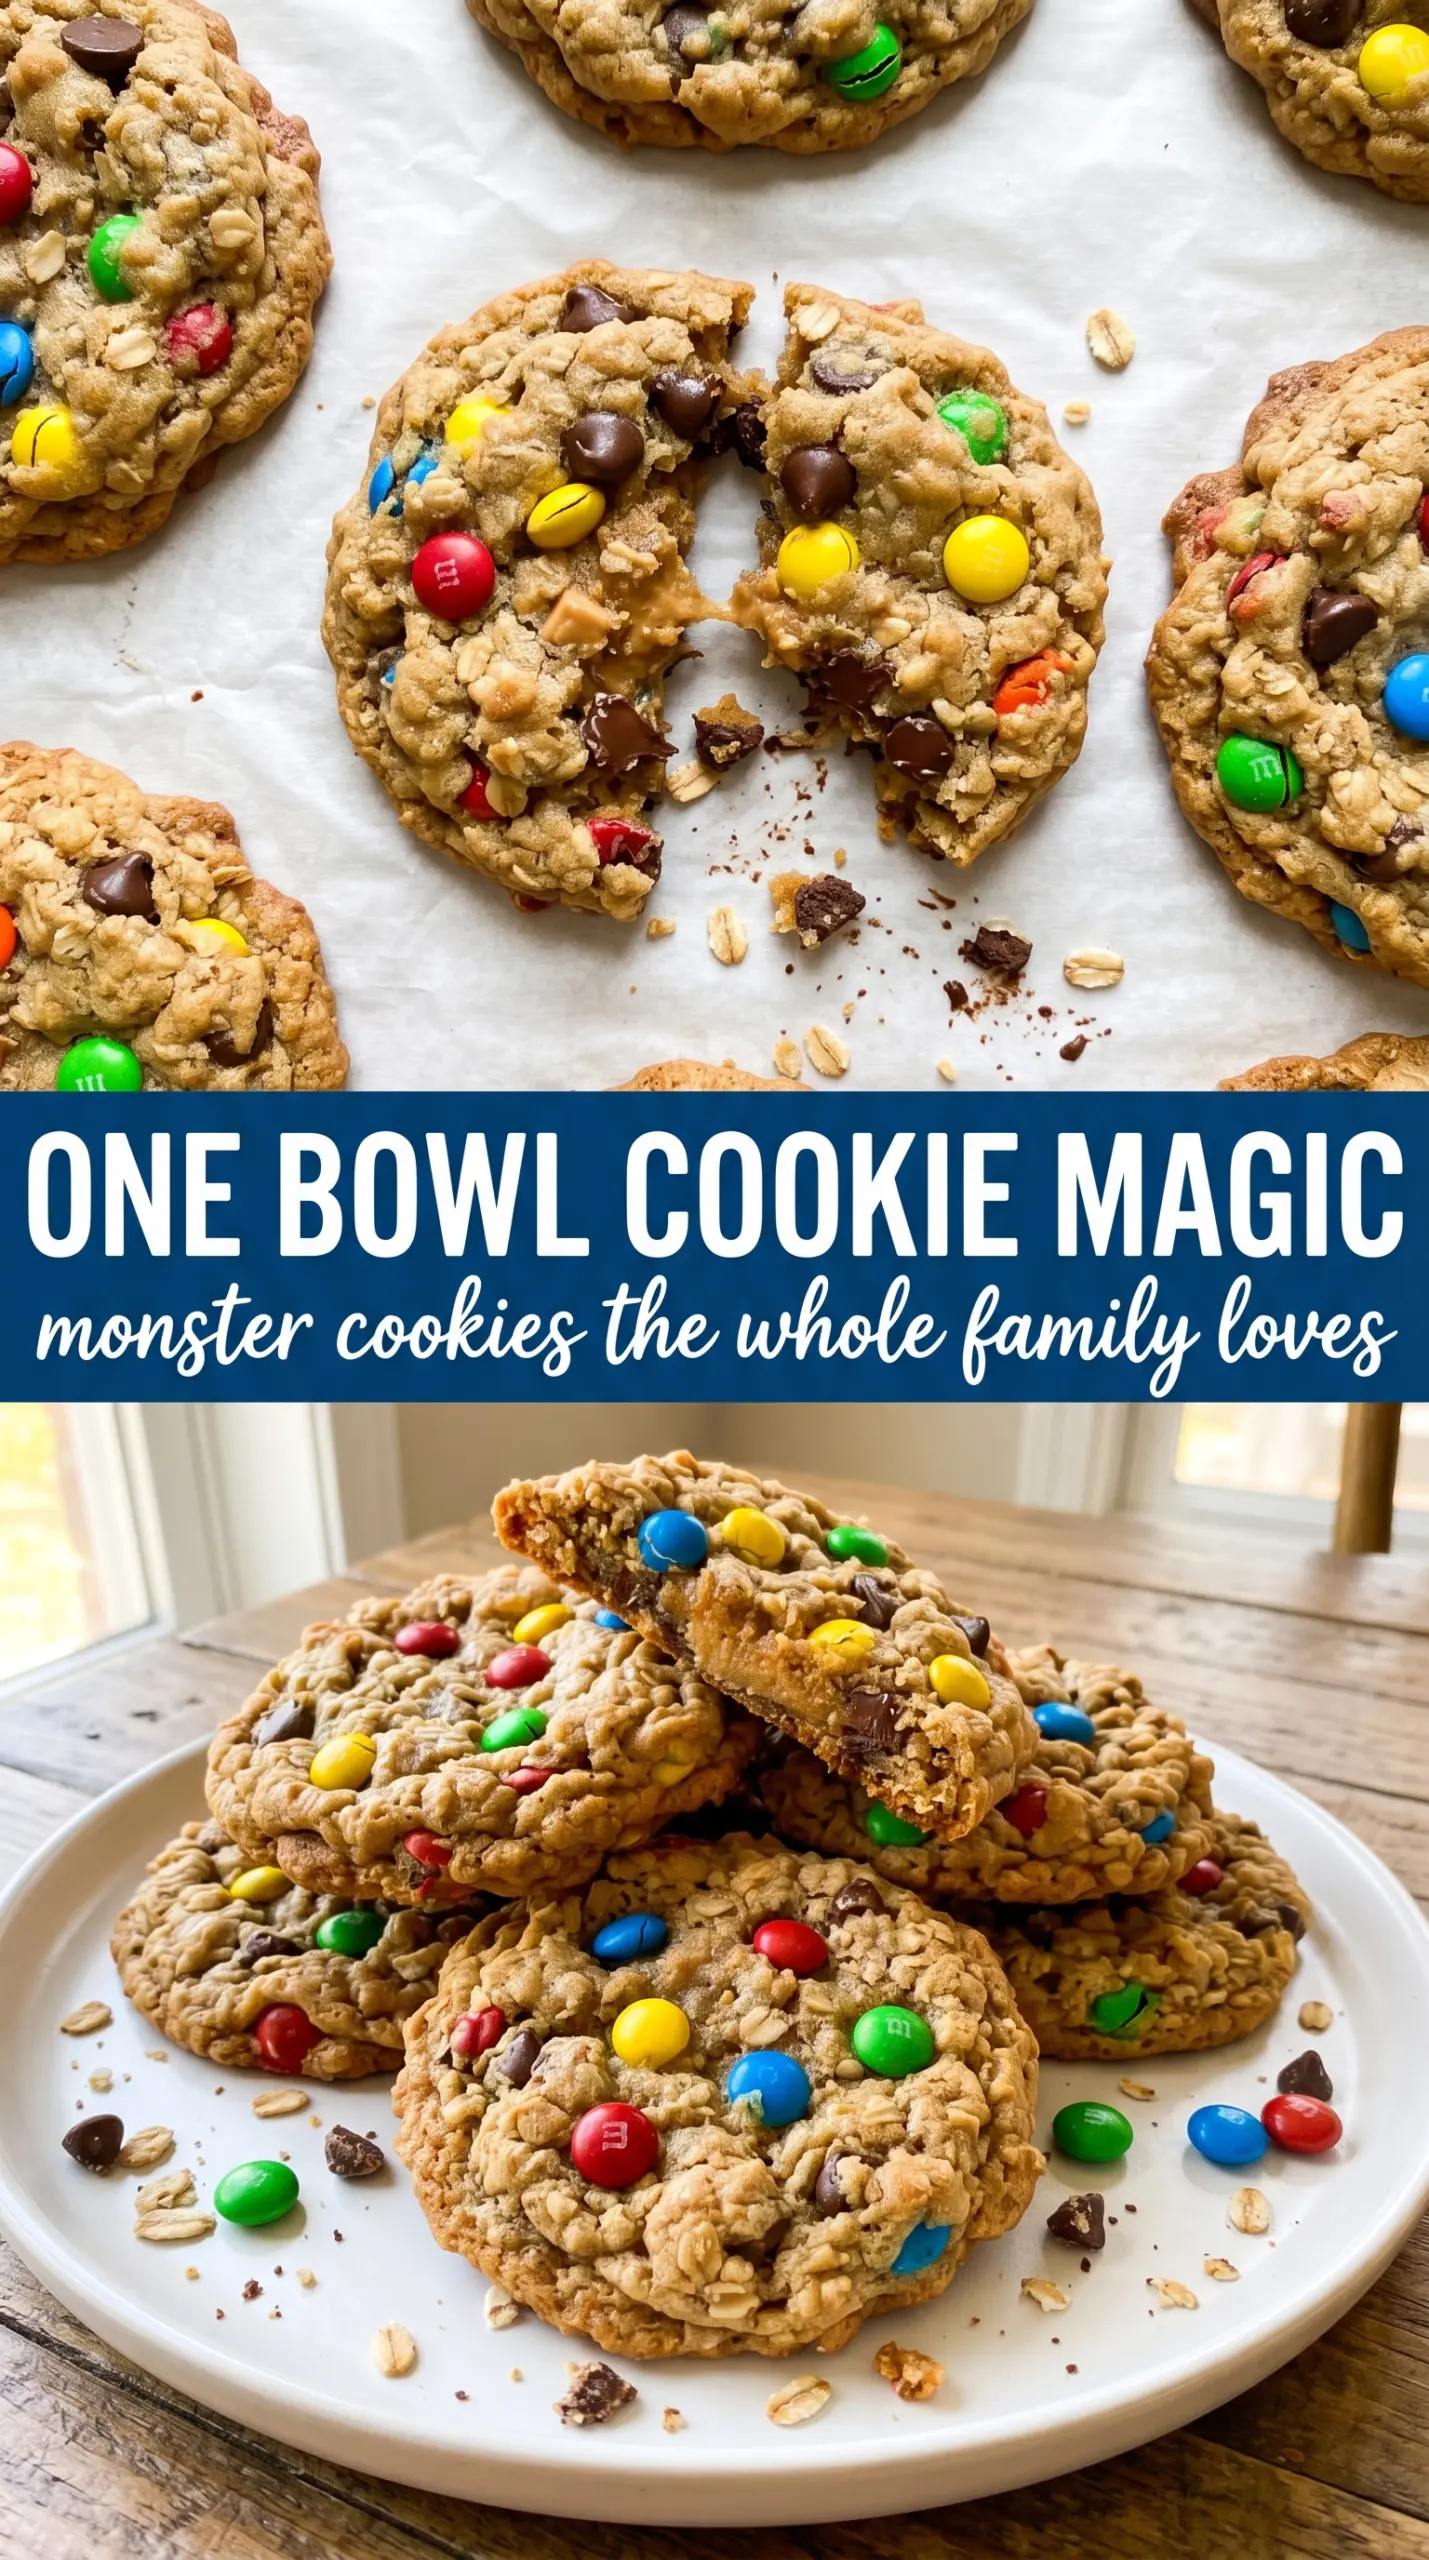
- Peanut butter — This is the base of the cookie, so choose a creamy style that stirs smoothly and holds together. It replaces the fat and part of the structure you’d normally get from flour, which is why the quality of the jar matters here.
- Brown sugar — Brown sugar keeps the cookies soft and adds a deeper, almost caramel note. It also helps the centers stay chewy after baking.
- Granulated sugar — This adds a little spread and helps the edges bake up with a slight crispness. Without it, the cookies can taste flat and stay too dense.
- Eggs — The eggs bind the dough since there’s no flour to lean on. Add them one at a time if your bowl looks crowded; it helps the mixture turn smooth instead of streaky.
- Quick-cooking oats — These are the ingredient that gives the cookies their classic texture and keeps them from feeling like peanut butter candies. If you only have old-fashioned oats, pulse them a few times in a food processor for a closer texture.
- M&Ms and chocolate chips — Use both if you can. The M&Ms stay colorful and the chocolate chips melt into little pockets, so the cookies taste richer and look more fun.
Building the Dough and Pulling Them at the Right Moment
Mixing the Peanut Butter Base
Start with the peanut butter and both sugars and beat them until the mixture looks thick and fully blended, with no dry pockets hiding at the bottom of the bowl. This first mix should look almost grainy but evenly moistened. If the sugars aren’t fully worked in here, the finished cookies can bake up sandy instead of smooth.
Adding the Eggs and Vanilla
Add the eggs, vanilla, and baking soda next and mix until the dough turns glossy and cohesive. The batter should loosen up before it thickens again. If it still looks separated, keep mixing for another few strokes; that means the eggs haven’t fully emulsified yet.
Stirring in the Oats and Candy
Fold in the oats until the dough no longer looks wet, then add the M&Ms and chocolate chips. Stop as soon as everything is evenly distributed. Overmixing here can crush the candy and make the dough stiff, which leads to thicker cookies that don’t spread enough.
Baking Until the Centers Still Look Soft
Scoop the dough into mounds and flatten them slightly with your palm so they bake evenly. Pull them at 10 to 12 minutes, when the edges are set and the centers still look a little underdone. Let them sit on the pan for 5 minutes before moving them, because that rest time is what gives you a chewy middle instead of a fragile, crumbly cookie.
Three Easy Ways to Change the Mix Without Breaking the Texture
Gluten-Free Monster Cookies
These are naturally gluten-free as written, as long as your oats are certified gluten-free. That’s the only ingredient you really need to watch, since the peanut butter, eggs, sugar, and candy pieces don’t bring gluten into the dough.
Dairy-Free Version
Use dairy-free chocolate chips and dairy-free candies if your M&Ms-style candies contain milk ingredients. The cookies will still be chewy and rich because the peanut butter does most of the work.
Nut-Free Version
Swap the peanut butter for sunflower seed butter in the same amount. The flavor shifts a little and the color can bake up slightly greener, but the cookies still hold together well and stay chewy.
Changing the Mix-Ins
You can swap the M&Ms for chopped peanut butter cups, mini marshmallows, or chopped pretzels, but keep the total add-ins about the same. If you overload the dough, the cookies won’t bind as cleanly and they’ll fall apart once cooled.
Storage and Reheating
- Refrigerator: Store in an airtight container for up to 5 days. They’ll firm up a bit in the fridge but stay pleasantly chewy.
- Freezer: These freeze well. Freeze baked cookies in a single layer, then move them to a bag or container for up to 2 months.
- Reheating: Warm one cookie in the microwave for 8 to 10 seconds to bring back the soft center. Don’t overheat them or the chocolate will seize and the edges will turn hard.
Answers to the Questions Worth Asking
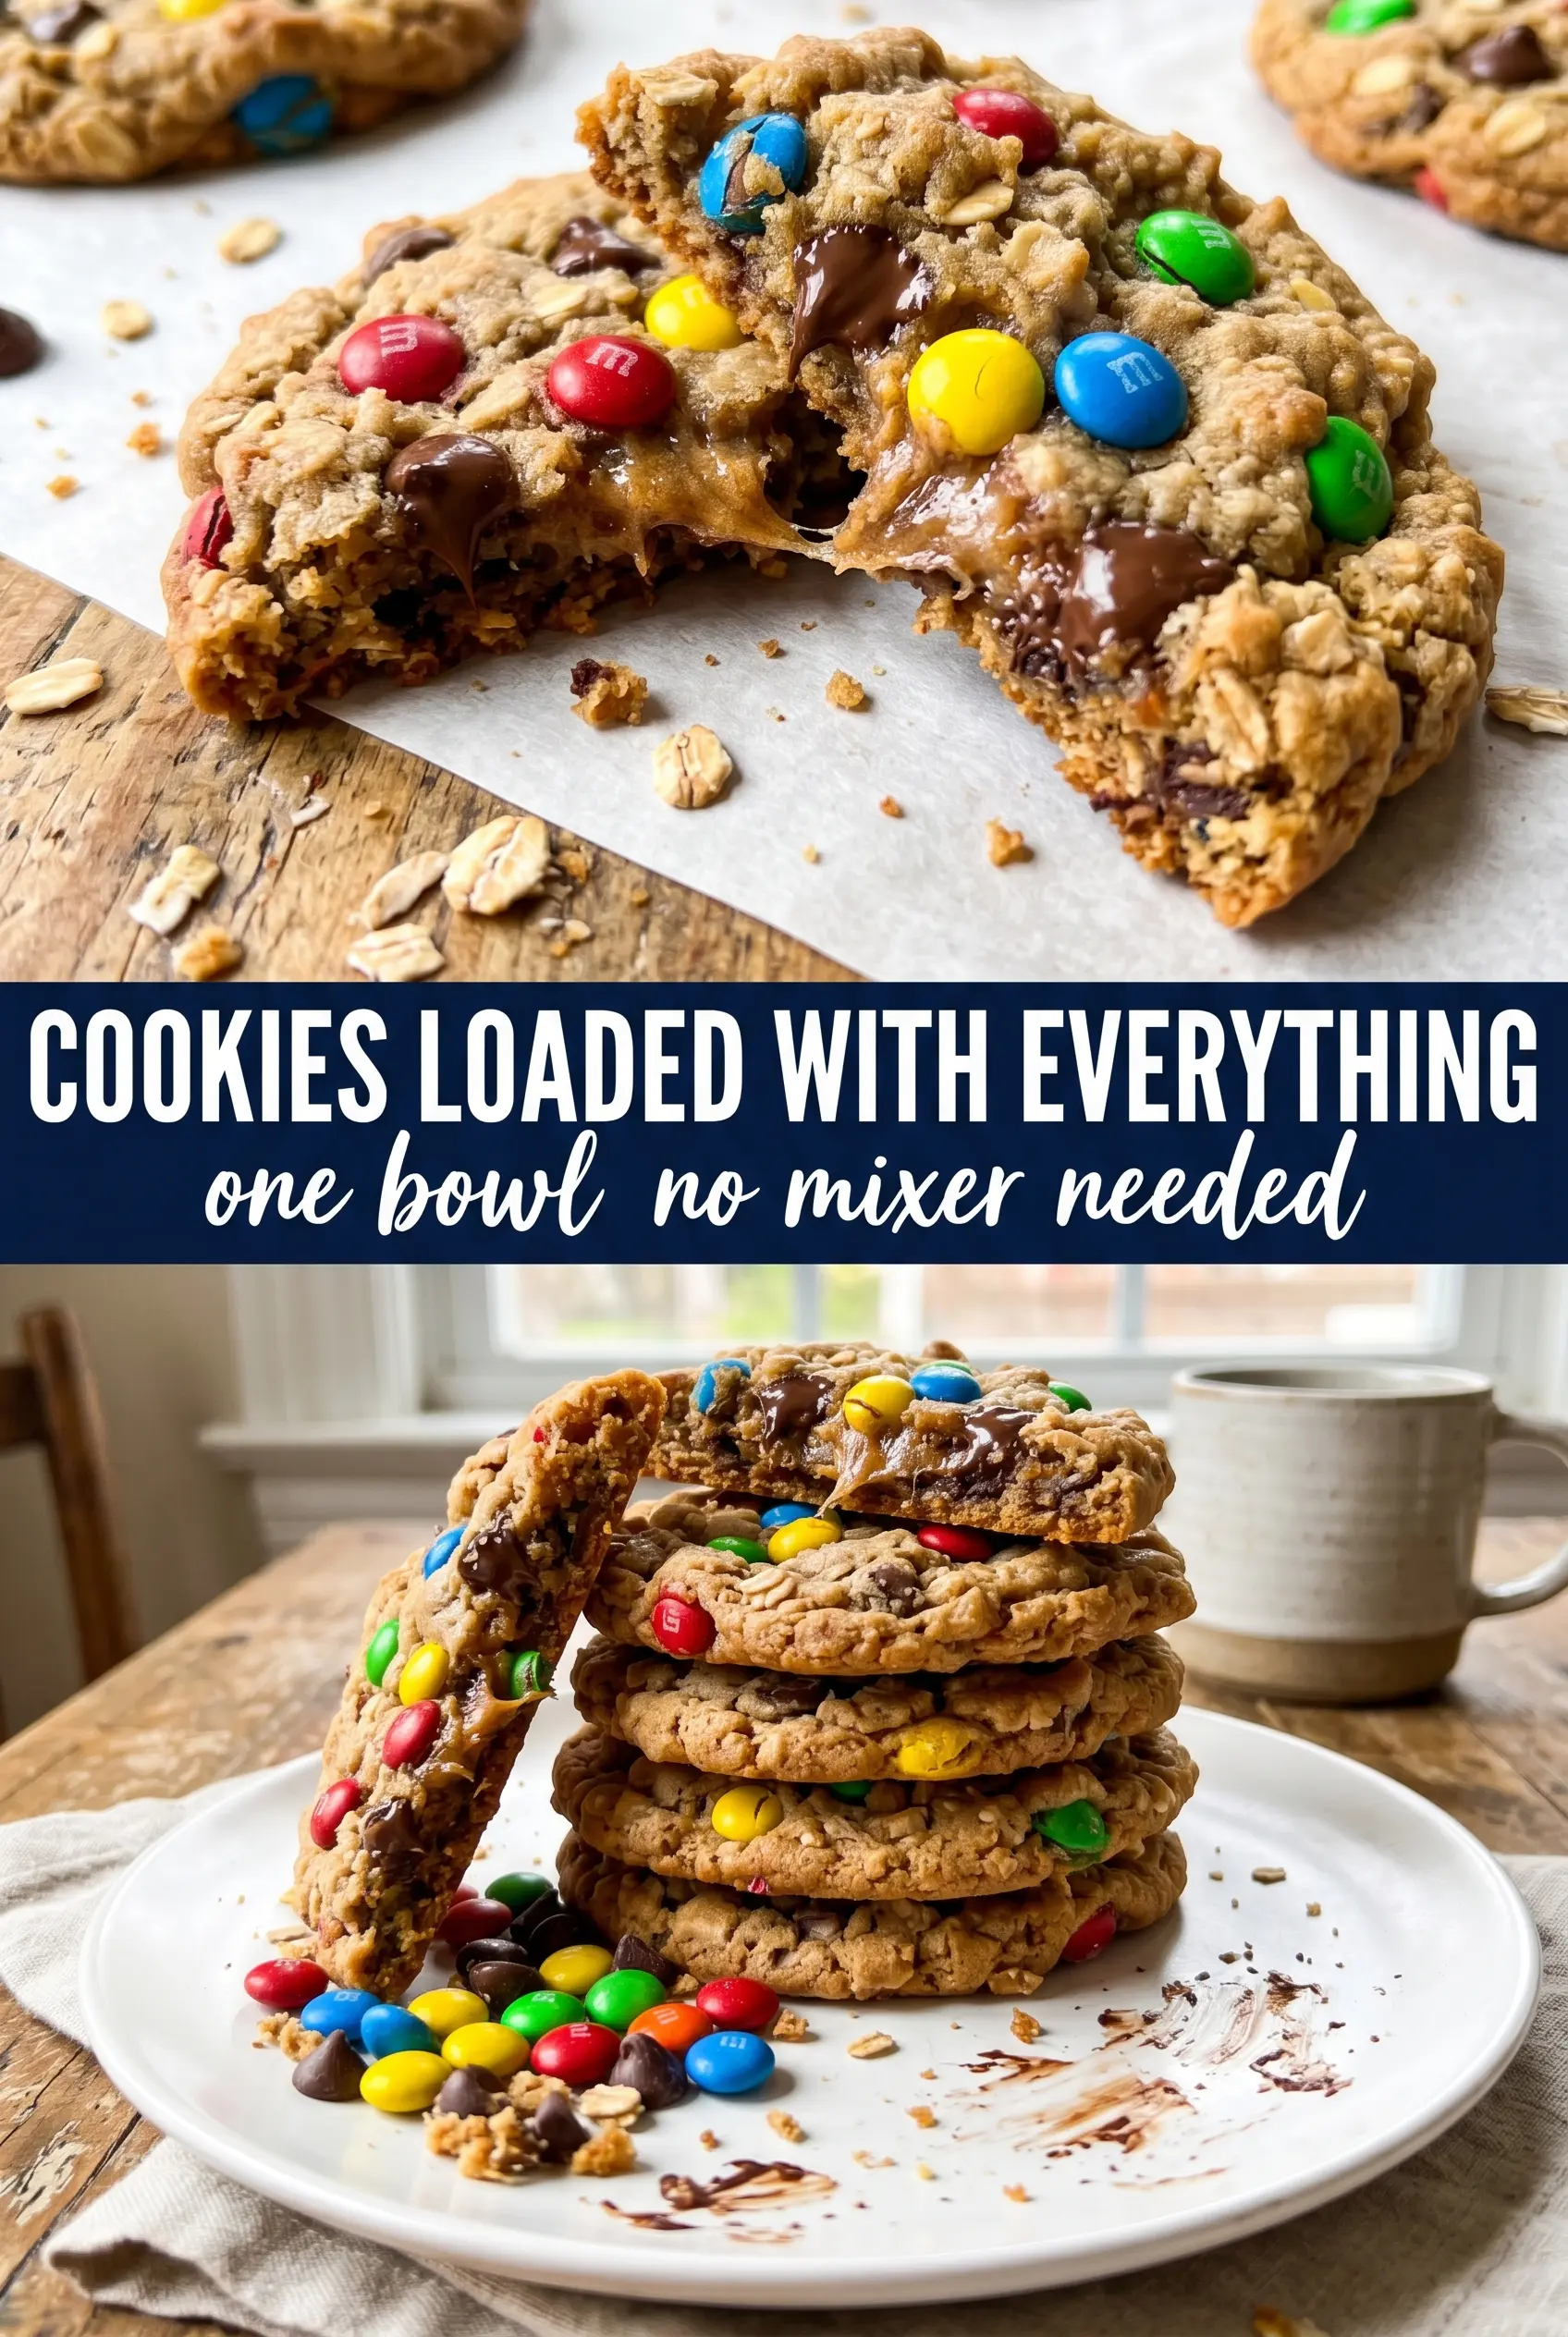
Monster Cookies
Ingredients
Method
- Preheat the oven to 350°F and line two baking sheets with parchment paper, so you’re ready to bake as soon as the dough is portioned.
- Beat creamy peanut butter, brown sugar, and granulated sugar together in a large bowl until combined and glossy.
- Add large eggs, vanilla extract, and baking soda and mix until smooth, with no streaks of egg visible.
- Stir in quick-cooking oats until fully incorporated, then fold the oats through so the dough thickens and looks evenly speckled.
- Fold in M&Ms (red, white, and blue for patriotic version), chocolate chips, and mini chocolate chips until distributed throughout the dough.
- Scoop dough into 2-tablespoon balls and place them 2 inches apart on the prepared baking sheets, flattening slightly with your palm.
- Bake at 350°F for 10–12 minutes until edges are set but centers still look slightly underdone, with a golden rim around each cookie.
- Let the cookies cool on the baking sheet for 5 minutes, then transfer to a wire rack as the cookies firm up while cooling.